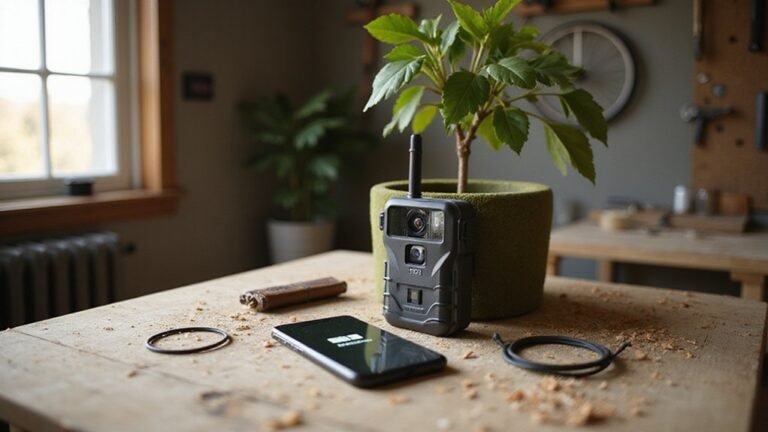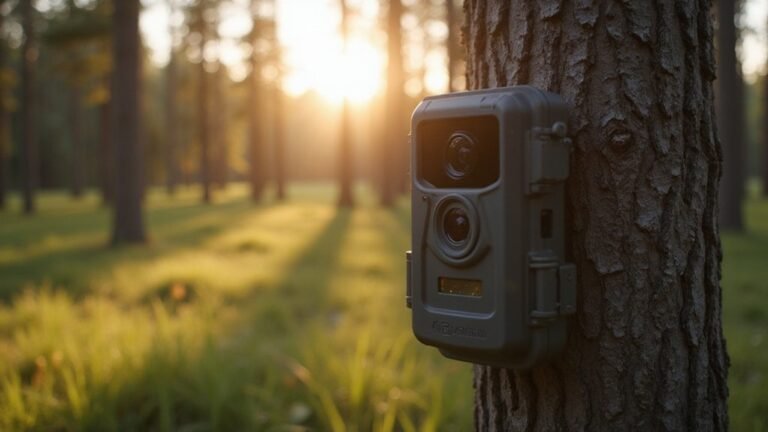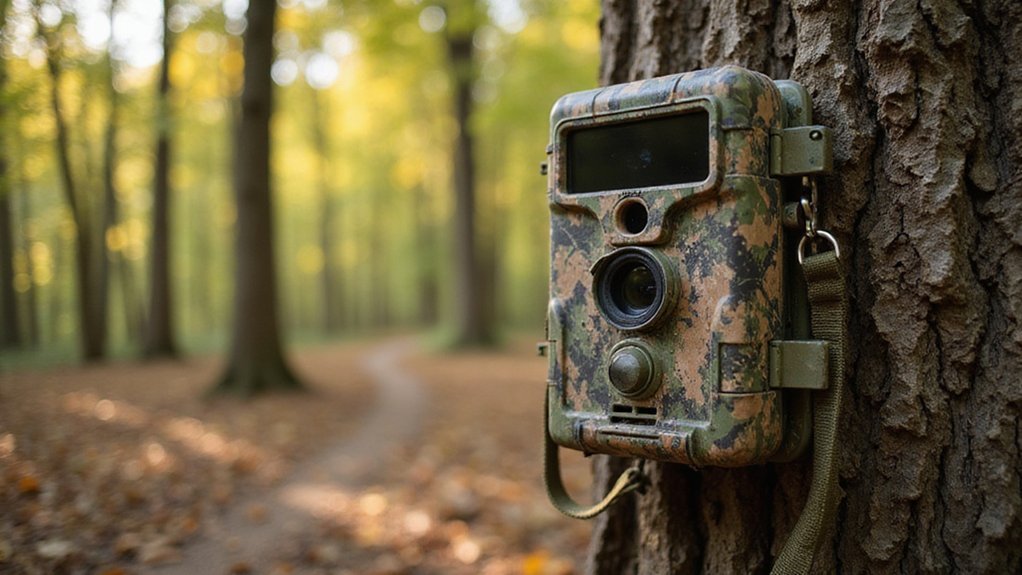
How to Set Up Your Trail Camera for Perfect Shots
Thinking about capturing wildlife with your trail camera but unsure how to get the best shots? The key is setting it up correctly so it’s ready when animals pass by.
From positioning to technical settings, small adjustments can make a big difference. By following simple steps, you’ll be able to improve your images and enjoy better wildlife photos.
The detailed setup tips start right below.
Find the Perfect Location for Your Trail Camera
To find the ideal location for your trail camera, start by selecting a north-facing orientation. This minimizes sun glare and prevents direct sunlight from ruining your shots. Look for areas where animals are likely to pass through, such as narrow funnel corridors, creek edges, or hardwood draws. Pinch points where wildlife is forced to pass are especially effective because they increase your chances of capturing clear images. For optimal results in low-light conditions, you can apply the same principles of evaluating environmental factors and light sources as you would when choosing night vision devices. For instance, understanding an area’s ambient light levels is key to selecting the right low-light gear.
Position your camera along natural wildlife pathways, like established trails or feeding areas, to target predictable animal movement. Using natural cover, such as brushy draws or thick undergrowth, can also help conceal your setup and reduce harsh light. To keep your camera performing reliably, ensure you have installed the latest firmware updates for its specific model. Focus on spots with high animal traffic and consistent movement patterns to improve your chances of capturing quality photos. You can enhance traditional scouting efforts by placing cameras at bait sites or minerals, which are areas known to concentrate deer activity.

[SIMPLE & RELIABLE TRAIL CAMERA FOR BEGINNERS] Designed for first-time users, this entry-level trail camera focuses on easy operation and dependable performance. The classic solid brown housing blends naturally into outdoor environments, making it ideal for wildlife monitoring and backyard use. With clear, straightforward controls, anyone can start using it in minutes—no technical experience required. A perfect choice for hunters, landowners, and beginners looking for a no-frills, easy-to-use trail camera.(8×AA batteries and SD card not included.)
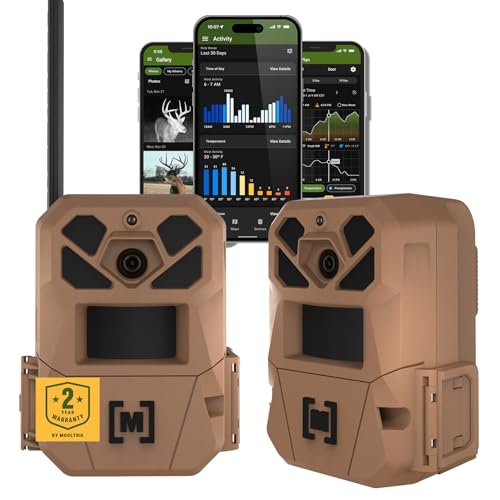
HARVEST MORE BUCKS THIS SEASON - EDGE 3 delivers real-time deer activity, movement patterns, and location intelligence—so you know when and where mature bucks are moving instead of hunting on hope.

Easy WiFi Access: The GardePro E6 features ultra-low-power WiFi + Bluetooth technology and works exclusively with the GardePro Mobile App—no monthly fee required. Note: The E6 does not connect to home WiFi routers or cellular networks. This camera supports direct connection to a smartphone only, using Bluetooth and the camera’s built-in WiFi (range up to 45 ft). PCs, laptops, and web browsers are not supported for WiFi connection.
Clear Obstacles for an Unobstructed View
To guarantee your trail camera captures every passing animal without fail, you need to eliminate all obstacles that could block or trigger false images. Start by trimming overhanging branches and tall grasses within a 3 to 4-foot radius around the camera, as these can obscure the lens or cause false motion detections. Next, focus on the animal trail itself: remove brush, debris, and fallen logs, and widen narrow paths to ensure a clear corridor for wildlife movement. Check ground-level obstructions such as reflective rocks or shifting leaves, which can also interfere with detection. Face the camera north to avoid exposure problems from direct sunlight and ensure consistent photo quality throughout the day. For the best results after sunset, ensure you understand how to enable night vision settings. Its core technology uses passive infrared sensors to detect heat signatures, activating the camera without startling the animal. Selecting the right camera placement strategies is crucial for maximizing detection rates and image quality. Finally, adjust the camera’s angle to prevent framing issues and conduct a motion test by walking through the detection zone. Review the test images to confirm the entire view is unobstructed, making any needed final adjustments. Proper obstacle removal and camera positioning will help you capture every animal that passes through your spot.
Mount and Secure Your Trail Camera Firmly
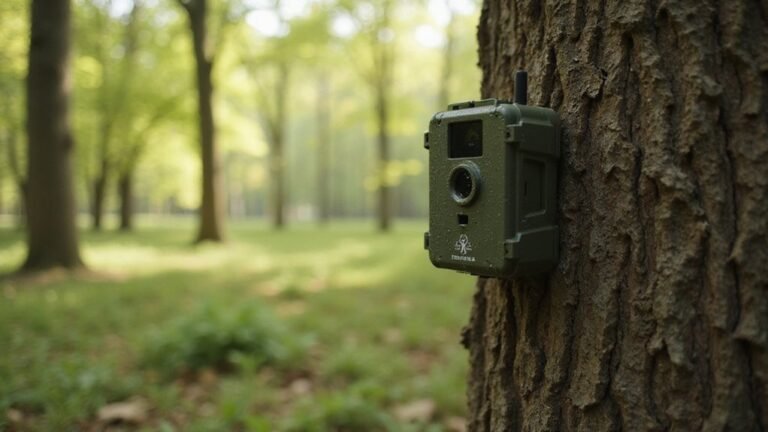
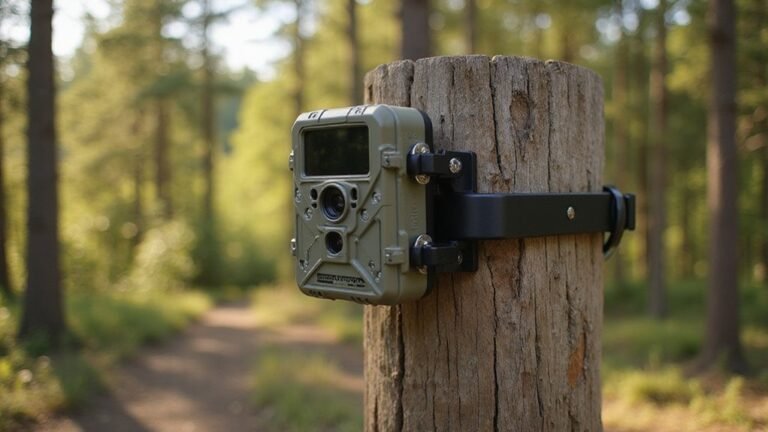
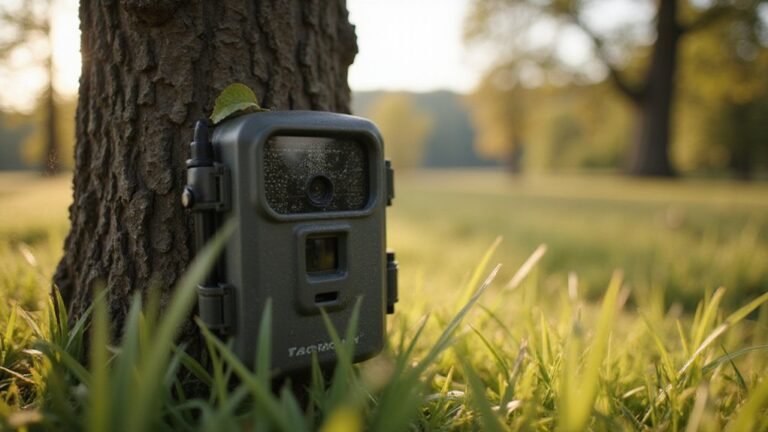
To mount your trail camera securely, choose a solid tree or post with at least an 8-inch diameter. Secure the camera 3 to 4 feet high to effectively capture wildlife activity. Use a heavy-duty strap, threading it tightly through the camera’s slots and looping it firmly around the mount. Pull the strap until there is no slack to prevent wobbling. For added theft prevention, consider placing the camera inside a lockable steel box and use a high-quality security lock to complete the setup. Understanding the infrared illuminators in your camera can help you gauge its effective range when choosing a mounting location. To ensure stability, gently shake the setup to verify it is rock-solid against wind or animal contact. Position the lens slightly downward along the trail’s direction, not perpendicular, to optimize image capture. Position the camera to face north to minimize sun glare during peak wildlife activity times in the early mornings and late afternoons. Managing your Moultrie Mobile plans effectively can free up budget for better security accessories.

【Strong and Durable】6.6Feet Long,1 Inch Width,Long-Lasting Alloy Buckle,Made of high tensile strength nylon, max 1800 LBS load capacity.

Package includes:4 piece trail cam straps with 1inch wide/6.6 feet length with heavy duty sturdy metal cam buckle,and work strength 550lbs,break strength 700lbs.

Set Up Your Power and Memory Card
Once your camera is securely mounted, begin by selecting the appropriate voltage regulator for your battery type. Use a multimeter to test the external power pack’s voltage and ensure it matches your camera’s requirements. Correct polarity is essential; verify it before connecting to prevent damage. Good battery maintenance depends on secure, insulated connections to prevent power loss. For a cost-effective and longer-lasting power solution, consider building a pack using rechargeable lithium-ion 18650s sourced from knock-off tool batteries. Just as with night vision technology, investing in quality components upfront can save money over time. It’s the same principle as ensuring a secure and stable base when using a cantilever scope mount for precision aiming. Next, insert a memory card formatted in FAT32. Before inserting, perform a memory card formatting in the camera’s menu to ensure compatibility and avoid errors. Choose a card with sufficient capacity and high enough speed for your recording needs. Integrating your camera with a cellular trail camera system can streamline the process of data retrieval and remote monitoring. Finally, test both the power supply and data writing functionality to confirm that the camera operates correctly before sealing it against the elements.

【UNIVERSAL BATTERY CHARGER】 The Battery Charger can charge simultaneously rechargeable batteries of different specifications. Suitable for 3.7V lithium ion battery -- 10440, 14500, 16340, 17335, 17500, 17650, 18350, 18500, 18650, 18700, 25500. 𝐍𝐨𝐭 𝐬𝐮𝐢𝐭𝐚𝐛𝐥𝐞 𝐟𝐨𝐫 𝐍𝐢-𝐌𝐇, 𝐍𝐢-𝐂𝐝, 𝐀𝐀, 𝐀𝐀𝐀, 𝐀𝐀𝐀𝐀, 𝐚𝐧𝐝 𝐂 𝐛𝐚𝐭𝐭𝐞𝐫𝐢𝐞𝐬.

Note: No Battery Only Charger. Only for Lithium -ion Rechargeable Battery, Not AA or AAA Battery,Not NiMH Battery. Li-ion Universal Charger: Suitable for flashlights headlamps batteries. Compatible with 3.7v li-ion rechargeable batteries. Such as Li-ion:26650 22650 14500 16340(RCR123) 10440 17670 18490 17500 17335

Universal 18650 Charger for: Flexibly charge 1 or 2 Li-ion batteries (IMR, INR, ICR) including 18650, 18490, 18500, 18350, 17670, 16340, RCR123A, 14500, 10440, and more.
Choose the Right Camera Mode and Trigger Settings
Select the appropriate camera mode based on your environment’s activity level. Use single-shot mode for open fields with low movement, or burst mode for high-activity trails to capture rapid motion. Set the trigger speed to 0.2 seconds in open areas to quickly detect passing animals, and slow it to 1.0-3.0 seconds in low-activity zones to avoid unnecessary triggers. Adjust the PIR interval and sensitivity to improve detection accuracy for specific animals while reducing false triggers caused by wind movement. Keep in mind that faster trigger speeds and shorter intervals drain your battery faster, so find a balance that suits your needs. High-performance optics like those in night vision goggles also require significant power, underscoring the importance of battery management in field electronics. Finally, set your trigger delay: zero seconds for trails where immediate response is needed, or several minutes at bait sites to prevent repeated shots of the same animal. For most situations, using a standard interval of 20 seconds between triggers is an effective compromise to capture continuous activity while preserving battery life. While trail cameras detect heat, they won’t be triggered by something like a passing gas cloud due to its diffuse temperature and quick dissipation. For more advanced thermal detection projects, you can explore a DIY thermal drone build.
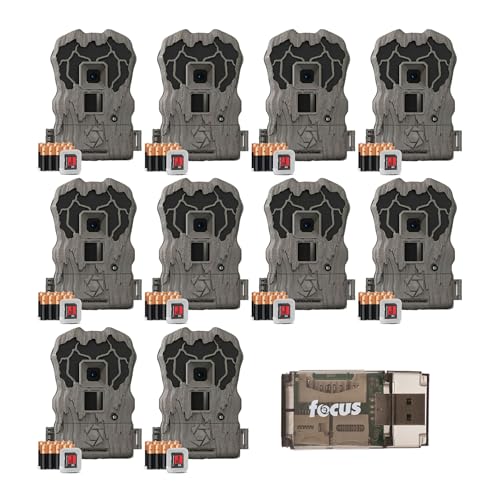
Bundle Includes: Stealth Cam Browtine Pro Came 20MP Trail Camera (Camo, 10-Pack), 10 x 32GB 100 MBPS Memory Card, and Card Reader

Bundle Includes: Stealth Cam Browtine Pro Came 20MP Trail Camera (Camo, 2-Pack), 2 x 32GB 100 MBPS Memory Card, and Card Reader

This Bundle Includes: 2 x Stealth Cam Browtine 16MP, 1 x High Speed Card Reader, and 2 x 32GB SDHC UHS-I Memory Card.
Test and Verify Your Camera’s Aim
To test and verify your camera’s aim effectively, start by examining the lens alignment. Have a helper walk perpendicular to your detection path at measured distances, such as 10, 20, and 30 meters. This ensures the camera triggers consistently across its field of view. Review the test images to confirm the subject appears fully in-frame and is sharply focused. Make adjustments to the camera’s tilt if the subject is cut off or blurry. Walk through the detection zone to verify that the camera’s motion sensor triggers reliably, as indicated by a red blinking light. Additionally, verify the infrared calibration by capturing nighttime shots. Check for proper exposure without hotspots or blackout zones, ensuring the camera provides clear illumination and image quality in low light. This process is similar to verifying the clarity of nighttime shots when evaluating a thermal imager for iphone. For models like the Tactacam Reveal X, remember to format your SD card to the FAT32 file system for reliable video and photo storage. For securing your camera in challenging environments, consider using a rugged bump helmet as a stable mounting platform. Properly aligning and calibrating your camera in these ways guarantees reliable operation during both day and night.
Fine-Tune Sensitivity and Delay for Your Target
Adjust your trail camera’s sensitivity and detection delay settings based on your environment and activity targets for optimal results. For sensitivity, start with a moderate level during summer to prevent false triggers from foliage moving. Use high sensitivity only in open, still areas like fields, whereas in dense forests, low to medium sensitivity helps filter out leaf movement and focus on larger animals. A high-quality SD card with sufficient storage and fast write speeds is essential to capture every high-resolution image or video without failure.
Detection delay is vital for capturing sequences effectively. Begin with a 30-second delay for general monitoring purposes. During times of high activity, such as the rut, shorten the delay to 10 seconds to catch fast-moving animals. When bait is involved, set a longer delay of 5 minutes to avoid multiple shots from a single visit. Pair this delay with burst mode—using a 10-second delay with a 7-shot burst is typically ideal for rutting behavior. For best results, ensure proper trail camera placement by considering the prevailing wind direction and animal travel patterns. Regularly test and tweak these settings weekly as environmental conditions change to keep your camera functioning at its best.
Review Your First Images and Make Final Adjustments
Review your first images and make final adjustments to perfect your setup. Start by verifying your range assessment: ensure the camera is mounted between 2 and 6 feet high, tilted toward activity zones 10 to 15 feet away. Center the field of view on trails or key pathways for optimal coverage. Confirm that the clearest images occur within 3 to 5 meters; adjust the lens so the horizon is level and no branches or obstructions block the view. Check your test shots to verify the camera captures the entire target area at the desired angle, with high resolution settings like Ultra for detailed images. When reviewing, capture triggered photos in sets of three consecutive images for better analysis. Lastly, review all metadata settings: confirm the date and time are accurate, and ensure your capture mode is properly configured. These final tweaks will help guarantee your future images are precise and valuable for your project.
Troubleshoot False Triggers and Blurry Images
To troubleshoot false triggers and blurry images, start by ensuring your camera’s placement is optimal. Clear vegetation that could move in the detection zone to prevent false triggers caused by wind. Avoid mounting the camera where direct sunlight hits it, as glare can cause incorrect detection or glare. PIR sensors detect environmental changes, so understanding this can help you better anticipate and manage triggers from shifting heat patterns, not just motion. Adjust the sensor calibration and set sensitivity to medium or low so it filters out minor heat or wind fluctuations. Understanding wildlife behavior helps set appropriate trigger intervals: use a short delay with movement in dense woods and a longer delay near water to prevent ripple triggers. For sharper images, securely mount the camera on a sturdy tree to eliminate vibrations. Always use fresh, high-capacity batteries and a large, formatted SD card to maintain consistent power, which helps prevent blurring during captures.
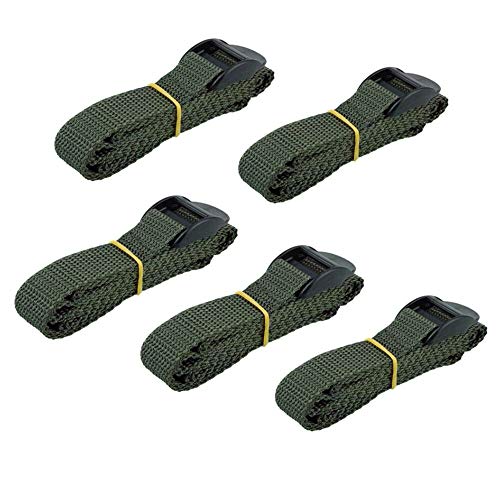
[STRONG AND DURABLE DESIGN] This camera is made from UV resistant Nvlon Fiber, which is very strong and durable and can be a good option for spare straps.

[STRONG AND DURABLE DESIGN] This camera is made from UV resistant Nvlon Fiber, which is very strong and durable and can be a good option for spare straps.