DIY Trail Camera Security Box: Protect Your Investment
Worried about your trail camera getting damaged or stolen? Building a DIY security box can give you peace of mind and better protection for your investment.
With some basic materials and a few simple steps, you can create a sturdy, camouflaged fortress that keeps your camera safe from tampering or weather.
By the end of this, you’ll know how to craft a custom enclosure that’s both secure and discreet, all while saving money compared to store-bought options.
Let’s dive into the details so you can start building your own trail camera armor.
Gather Your DIY Trail Camera Box Tools and Materials
To build your DIY trail camera security box, you need to gather specific tools and materials. The main materials include an air conditioner disconnect box for the housing, stainless steel plates for reinforcement, and aircraft cable for locking. Additionally, you’ll require various tools such as a jigsaw with metal blades, an angle grinder with cutting discs, and a full set of drill bits. Measuring tapes and metal files will help with precise adjustments, while screwdrivers are essential for assembly. Trail cameras can be crucial for monitoring animal activity to inform hunting and trapping strategies, and understanding night vision technology can help you choose the best camera for low-light conditions, just as comparing night vision and thermal imaging can help you select the right tool for different surveillance needs. Choosing a trail camera often involves weighing infrared vs. thermal cameras to match your specific monitoring needs and budget.
Proper tool maintenance is crucial for safety and accuracy. Keep drill bits sharp and replace or clean cutting discs regularly to ensure precise cuts and reduce the risk of accidents. For finishing touches, gather spray paint for exterior coating, Mod Podge for sealing surfaces, a padlock for security, and aluminum sleeves to secure the cable ends. Having all these tools and materials ready will streamline your building process and ensure a durable, effective security box.
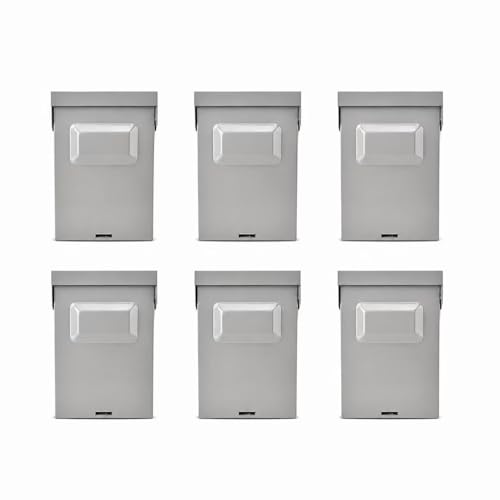
1. Safe & Reliable Power Disconnect Designed for residential and commercial HVAC systems, this AC disconnect box provides a safe and convenient way to cut off power during air conditioner maintenance or repair. Ideal for A/C units, condensers, heat pumps, and outdoor electrical applications.

60 AMP, 240 VAC AC Disconnect Switch(Non-Fused), built with 2 Pole, 3 Wire, 1 Phase configuration for efficient and safe power pull-out switch off; dependable use in home and light commercial HVAC systems

【Reliable 30A AC Disconnect】Exquisitely engineered, this unit features a 30A, 240V fused AC circuit breaker (with fuses included), 2-pole, 3-wire, single-phase design, and holds UL certification. Its exceptional electrical load-handling capacity ensures not only efficient operation but also reliable safety protection.
Cut and Drill the Camera Box Enclosure
To cut and drill the camera box enclosure correctly, start by measuring your camera and adding 2 to 3 inches on each side for foam padding. Use those measurements to mark the lens and sensor cutouts on the lid with a pencil. For cutting these holes, a metal saw or grinder works best; keep the edges square and smooth them with a file to prevent sharp or uneven edges. This careful approach is similar to assembling the airframe and components for a precise drone build. When drilling mounting holes for the padlock, make sure the diameter exceeds the shank so the lock can slide through easily. Also, drill snug entry ports for cables to keep them secure and protected. A properly sealed enclosure will also help prevent moisture from interfering with sensitive electronics, much like protecting the thermal imaging sensors in a high-end scope. For reliable performance, you’ll want to maintain a clear signal for features like remote image preview if your camera supports them. If you’re working with an old box, now’dgrinder with metal cutting discss the time to repair any damaged hinges. Consider placing labels near the lens for quick identification later. Always double-check that the lid’s opening aligns properly with the camera’s lens and sensor when the enclosure is closed, and use a vise to clamp and cut the box lid securely during the fabrication process.
Reinforce and Attach the Box to a Tree
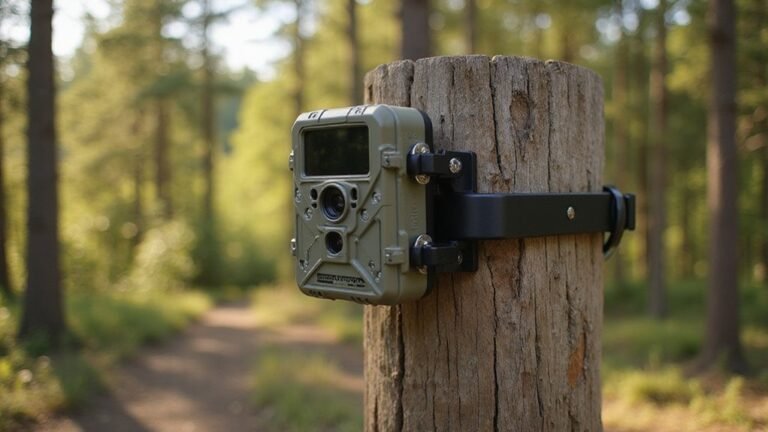
To securely reinforce your camera box and attach it firmly to a tree, start by installing a steel plate inside the box using epoxy and 3/8-inch lag bolts. This creates a durable mounting surface. For the tree attachment, select a smooth, healthy section of bark and clear away any debris to ensure a flush fit. Drive five-inch eye screws with washers deep into the trunk at an appropriate height for stability. This use of tree mounting brackets provides a permanent and stable attachment point suitable for seasonal removal. For heightened nighttime surveillance, consider the enhanced capability of drones equipped with top night vision cameras. Selecting the right game camera for this application is important, as some offer superior detection circuits that are less prone to false triggers. You can further enhance nocturnal monitoring by analyzing thermal signatures with a thermal imaging scope. Wrap a steel strap around the tree, passing it through the box’s bracket, and tighten it firmly to prevent movement. Finally, connect your camera’s mount to the eye screw using a stove bolt, ensuring there is no wiggle or play. This method provides a strong, tamper-resistant setup that resists pulling, prying, or dislodging.

Material:the bracket is made of heavy-duty 304 stainless steel,which is durable.(7.9 x 2.2inch)200x55mm brackets

Thoughtful Set: you will get 2 sets of the birdhouse hanger bracket; They can well meet your use and replacement in daily life; Each set has 2 accessories and woodworking screws, making it convenient for you to quickly finish the installation

When you want to install signage on round poles but don't want to drill holes in anything, choose our sign mounting brackets! This sign mounting hardware set is easy to install with just a screwdriver, and the sign bracket is made of high quality stainless steel with excellent waterproof, rust and corrosion resistance for long term use.
Install a Tamper-Proof Lock on Your Camera Box
To effectively secure your camera box with a tamper-proof lock, ensure the lock has robust tamper-proof mechanisms. Opt for a steel padlock that features drill-resistant inserts, anti-cut shackle guards, and an IP68 weather-sealed body to withstand harsh weather conditions. You can also consider a dedicated security solution like a trail camera lock designed specifically for this purpose, or a high-security cable lock if a standalone box is not used. This level of detailed environmental durability is comparable to the sealing standards required for thermal imaging drones operating in extreme conditions. Proper installation techniques are crucial; the hasp must be aligned within a I0.5mm tolerance to ensure the lock engages fully. Use the specified lag bolts and torque them to 120 Nm to guarantee a stable, secure mount. Confirm that the lock body is oriented correctly and firmly fastened to the reinforced box. This precise installation allows the lock’s protective features to operate fully, providing a durable barrier against prying, cutting attacks, and outdoor elements, and the proper camera placement will further enhance its security by keeping it out of easy reach.

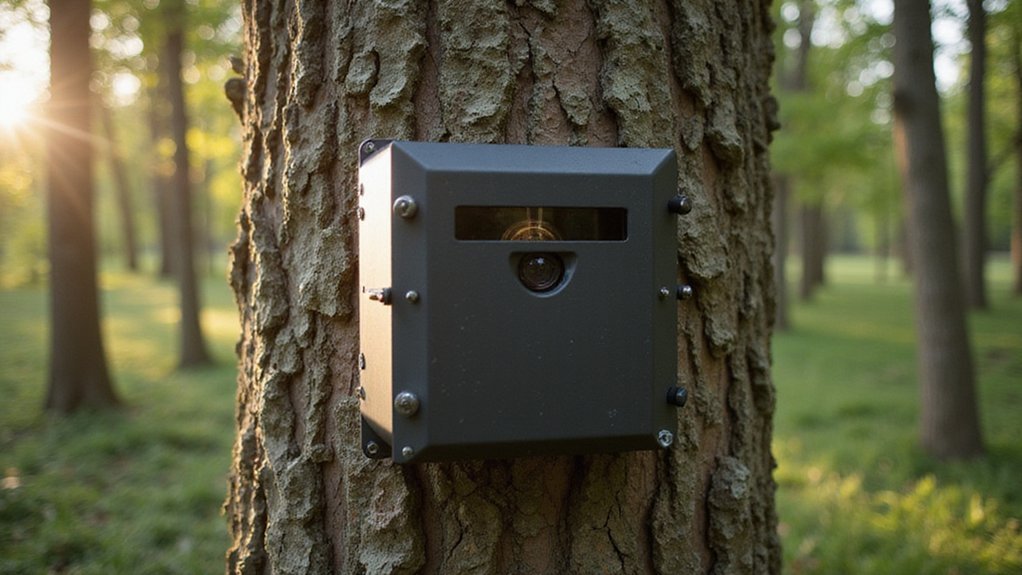
OFFICIAL OEM ANTI-THEFT PROTECTION: Built by Tactacam specifically for REVEAL cameras, this powder-coated steel security box deters theft and protects against animal damage with a precision fit — no gaps, no rattling, no repositioning after removal

Secure Trail Camera Protection – Custom-built metal security box perfectly fits Moultrie Edge Cellular Trail Camera, providing reliable protection against theft and wildlife interference.

Adjustable 6ft Steel Cable – Flexible 180cm long 5.5mm dia security cable with loops, perfect for locking bikes, bicycles, scooters, ebikes, trail cameras, kayaks, and outdoor gear.
Secure Your Camera Inside the Protected Enclosure
Secure Your Camera Inside the Protected Enclosure
To secure your camera inside the protected enclosure, proper positioning and stabilization are essential. Align the lens precisely with the enclosure’s cutout so that the camera’s view is unobstructed and flush against the opening. Center the unit to maintain balance and prevent tilting, which could interfere with video quality. Use foam inserts or padding to secure the camera firmly, preventing movement caused by vibrations or impacts. For projects requiring enhanced low-light capability, consider integrating infrared illumination into your setup. If you are using a Stealth Cam model, its Quick Connect feature can greatly simplify the process of securely mounting and removing the camera from the enclosure.
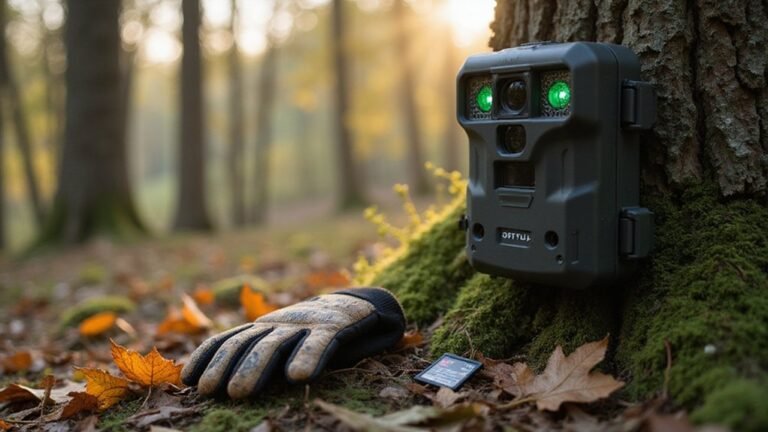
Next, focus on the battery placement. Ensure there is enough internal space for easy access to batteries without applying strain or causing obstructions. Secure loose batteries and the SD card with foam or tape to prevent them from shifting or falling out during operation. Finally, verify that the camera’s lens is free from any internal supports, rigging, or wiring that could block the view. For enhanced security in the field, consider constructing a custom aluminum box to permanently house the camera without removing cables and to add a dedicated notch for a cable lock. Proper internal arrangement not only protects your gear but also guarantees optimal performance from within its armored housing. If you encounter connectivity issues with your device, performing a hard reset may be necessary to restore functionality.
Camouflage Your Trail Camera Box to Blend In
To effectively disguise your trail camera security box, blending it into the environment is essential. Start by attaching natural materials like moss, leaves, and local foliage to the box, matching the surroundings to break up its shape and make it less noticeable. Use lightweight, eco-friendly adhesive or zip ties to secure these materials firmly without damaging the box or the environment. Consider using a mixture of shaggy moss and sheet moss for varied texture and deeper camouflage.
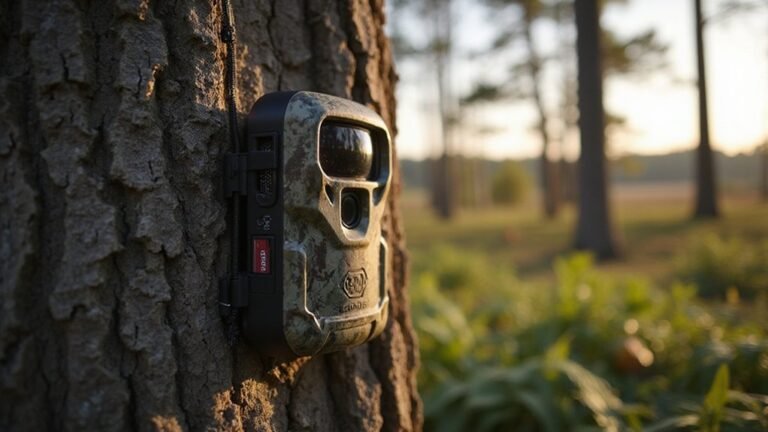
Next, apply matte earth-tone paints that match the color and texture of nearby tree bark, rocks, or ground cover. Adding textured layers can mimic bark’s roughness or ground’s uneven surface, providing further concealment. This method of discreet monitoring is similar to the principle behind a cellular trail camera, which transmits images without revealing its location. Incorporate 3D elements such as twigs, small branches, or pinecones to create depth and disrupt the box’s silhouette. Ensuring your camera’s night vision capabilities aren’t obstructed by these added materials is crucial for maintaining performance after dark. Ensuring the camera’s lens remains unobstructed is a key step during the Tactacam Reveal X Pro setup process.
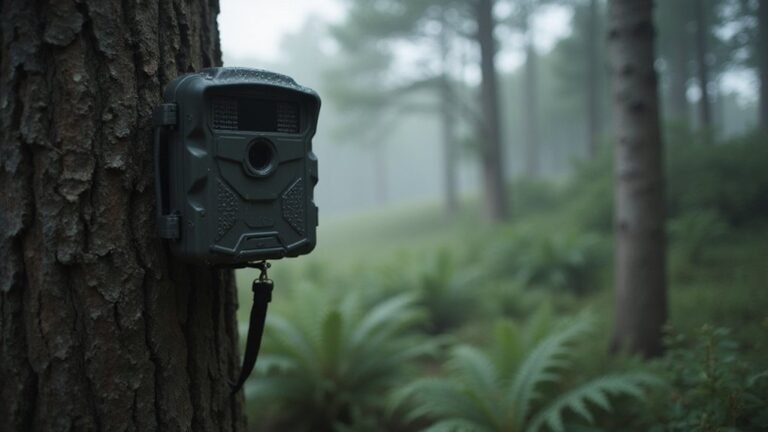
Finally, choose a strategic mounting location. Place the camera on the shaded side of a tree, behind dense bushes, or in a branch fork where natural cover is thickest. Position the box so it faces away from human pathways or frequently traveled trails, and ensure it aligns with existing foliage and growth patterns. This multi-layered approach helps your camera blend seamlessly into nature, reducing its visibility to both wildlife and passersby.

Flesh Tone Acrylic Paint Set 6 Colors

CONVENIENT SIZE - This terra cotta acrylic paint set includes 5 - 2 oz bottles of textured paint. The colors in this paint set include: FolkArt Terra Cotta Snowbank, Terrazzo Tan, Mesa Pink, Pueblo, and Clay Pot

Excellent hiding power and coverage, works on metal, wood and plastic works on nature blinds, hunting equipment, vehicles, boats and more
How to Adapt the Design for Your Camera Model
To adapt the design for your camera model, start by precisely measuring your camera’s dimensions to ensure a secure fit. Record the lens diameter and measure the camera sensor width to confirm that any cutouts won’t interfere with internal components. Calculate the total depth of your camera to select an electrical enclosure with appropriate internal clearance, preventing any tight fits or movement. For enhanced security, you should also reinforce the vulnerable lock tab area with a steel strip using rivets for a durable attachment, a technique that provides superior cantilever support to the structure.
Next, note the position of the rear cable exit. This location determines where you’ll drill the hole for cable routing, so measure and mark it accurately. Adapt all cutouts based on these measurements, adjusting the lens opening’s diameter and the sensor cutout width to match your specific camera model. If the cable exit is not in an optimal position, relocate the hole accordingly to ensure easy access and avoid strain on the cable. A common issue that can prevent a camera from functioning is improper SD card formatting, so ensure your storage media is prepared correctly.
Finally, resize the main opening of the box to prevent metal edges from touching critical components inside. This step guarantees a secure, snug fit while maintaining the integrity of internal parts. Proper adaptation ensures your camera remains protected and functional within its disguised enclosure.

Applicable to Multiple bracket camera junction box, you can use Bullet camera、Dome camera and solar panel brackets to collect the excess wires

Applicable to Multiple bracket camera junction box, you can use Bullet camera、Dome camera and solar panel brackets to collect the excess wires

★★★★★ MATERIAL: High quality ABS; REMINDS:All parts as termial block,sealing ring and screws all packaged in the box after over-plastic. You can search ASIN # B073SY5H7V to purchase one in two out waterproof wiring electrical box,it's 1In 2Out Waterproof Electric Junction Project Box with 6 Position 15A Barrier Terminals,PG9 Cable Glands,White Gray.
Prevent and Fix Common DIY Box Problems
To prevent and fix common DIY box problems, focus on several key areas. Always apply weatherproof coatings to all plywood surfaces and, importantly, to your metal fasteners before assembly. This step is vital for preventing rust and maintaining the box’s durability over time. If you’re using a steel plate, ensure you enlarge the box’s slots precisely to match the thickness of the plate. Properly sized slots help avoid misalignment and prevent binding during assembly.
Regularly check movable metal parts, such as tabs, for corrosion buildup. Clean them promptly to prevent seizure, which can hinder opening or closing the box smoothly. Additionally, inspect the seals periodically. A compromised seal can allow moisture to enter, leading to wood cracking and metal corrosion. Regularly check battery voltage to ensure a consistent power supply for your camera, preventing operational failures. Addressing these issues proactively keeps your trail camera box functioning well across many seasons.
Why a DIY Box Beats a Store-Bought One for Security
A DIY trail camera enclosure offers far superior protection than a store-bought one because you control the security features. You can drill multiple lock holes and add steel plates to reinforce tabs, making forced entry much more difficult for a thief. You decide how many lock points are needed and how the box attaches to the tree with lag bolts, creating a physical barrier tailored to your environment. This customization also ensures the materials are suitable for your location—using robust metal enclosures, sealing edges against moisture, and applying weather-resistant finishes. A store-bought box typically can’t match this level of targeted defense, making your DIY enclosure a unique, hardened fortress that directly counters local threats and keeps your equipment secure.