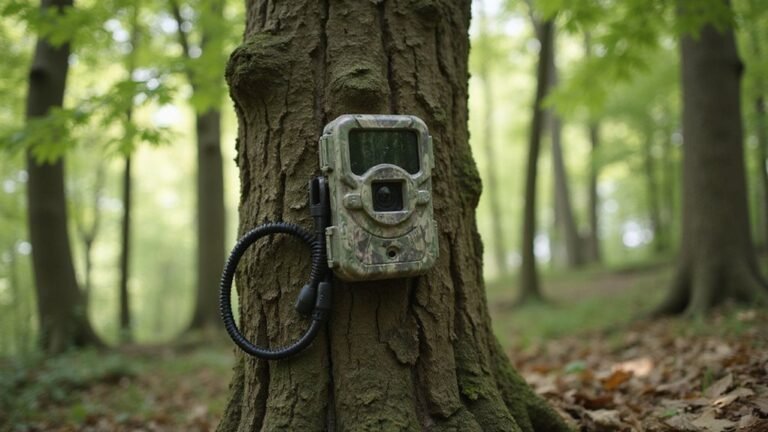
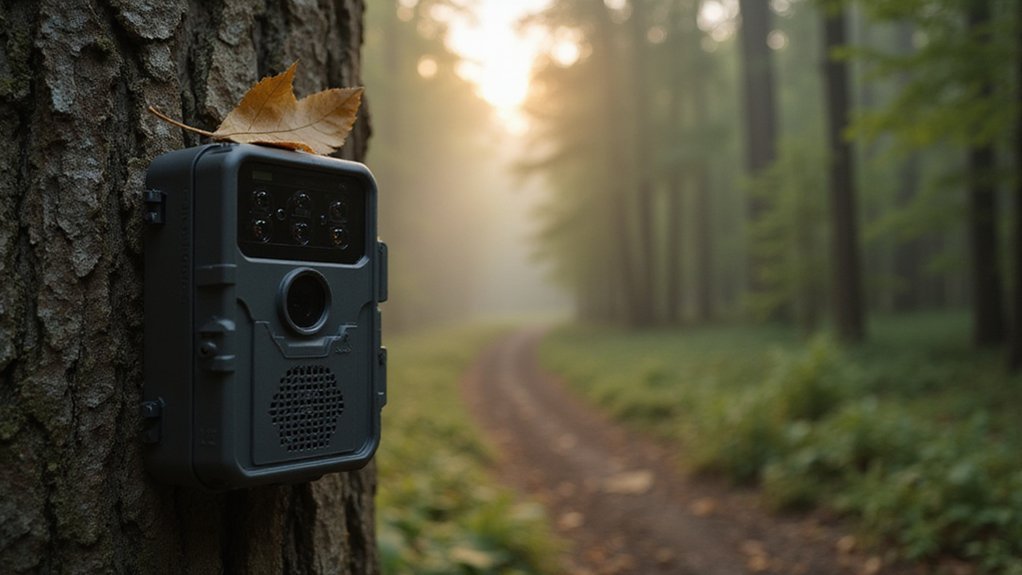
A Guide to Game Camera Types for Night Vision & Hunting
Choosing the right game camera for night hunting can feel overwhelming with so many options out there.
The biggest decision often comes down to infrared type—red glow LEDs for brighter images that might spook game or no-glow 940nm LEDs to stay hidden.
Once you understand these basics, you’ll be better equipped to pick the setup that fits your terrain and hunting style.
The full details follow to help you make the best choice.
IR vs. No-Glow vs. Glow: Which Night Vision Type Fits Your Hunt?
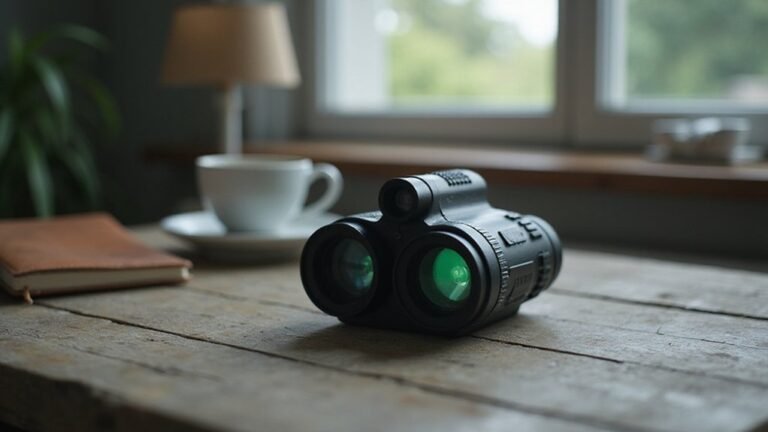
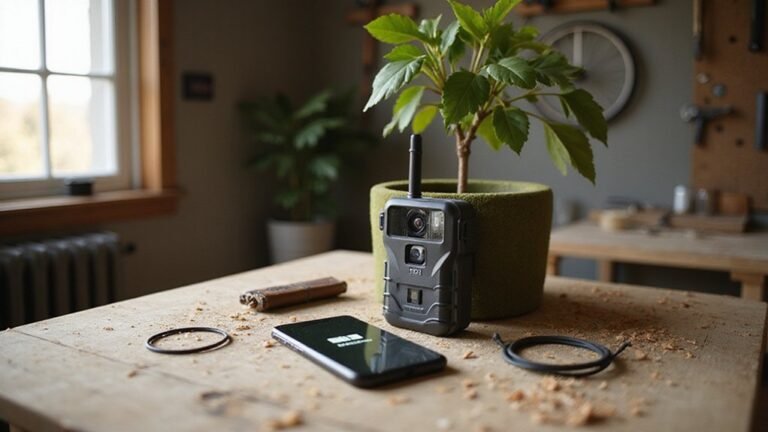
Glow (low-glow) trail cameras use 850 nm LEDs, which emit a faint red light that is usually visible to the human eye. This produces brighter night images and enhances infrared contrast, resulting in sharper wildlife detection at longer ranges. However, the visible glow can alert game to your camera’s presence, potentially scaring animals away. No-glow (black flash) models use 940 nm LEDs, making their infrared illumination practically invisible. This allows you to maintain concealment, especially for wary game, but images tend to be darker and less detailed at greater distances. Choose glow for better brightness and clarity when visibility isn’t a concern, or opt for no-glow when stealth is critical to avoid spooking game. Red glow cameras are a popular and affordable alternative that also emit visible red light, though they typically operate at a lower intensity than low-glow models, making them a middle-ground option for budget-conscious hunters. For those seeking advanced connectivity, Moultrie Mobile models offer cellular plan integration that automatically transmits images to your phone, saving you from card retrieval trips. If you are handy with electronics, building a custom thermal unit can give you more control over sensor sensitivity and resolution, though it requires careful calibration of the lens and detector to ensure accurate temperature readings. For a DIY approach, you can learn how to assemble a thermal drone to achieve superior heat detection from elevated vantage points.
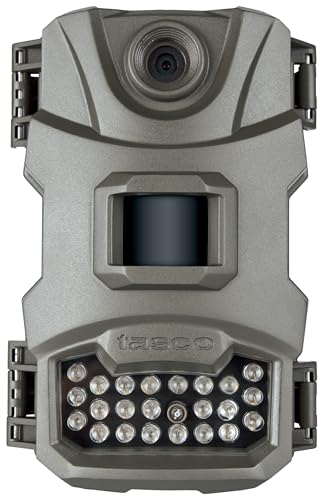
High-Resolution Images: Crystal clear 12MP images for detailed captures

ONE CELL PLAN, NOT ONE PER CAMERA: All 2 cameras relay to a single CuddeLink Cell Home, and up to 23 can run on one plan. Adding a camera never adds another monthly bill. Cuddeback puts the saving at 50 to 90 percent.

Trail cameras with night vision motion activated weather-resistant: Rohs Certified Wildlife Trail Camera Designed for Reliable, Durable Outdoor Use. IP66 Dustproof And Weather-Resistant Case Helps Protect The Trail Camera In Outdoor Environments
Match Detection and Flash Range to Your Hunting Setup
To match your trail camera’s detection and flash ranges effectively, start by measuring the actual distance from your mounting spot to the edge of the animal trail you want to monitor. Don’t rely solely on the maximum specifications listed on the box. For narrow funnels, a detection range of about 65 feet usually suffices; for open fields, you’ll want 90 to 120 feet. The SuntekCam Mini Trail Camera offers a detection range up to 80 feet during the day, which aligns with common narrow funnel setups. To avoid common placement mistakes like aiming at heat sources or tall grass, angle your camera slightly downward and clear any vegetation from the field of view. While both technologies capture nighttime activity, thermal imaging detects heat rather than reflected light, making it ideal for spotting hidden animals in complete darkness. Understanding the trigger speed ensures you don’t miss fast-moving targets, as a slower sensor can fire too late even with perfect range alignment.
Pair your camera’s flash range with your detection range to ensure you get clear images at night. If your detection distance is 100 feet but your infrared flash only reaches 65 feet, your camera will trigger beyond the illumination zone, resulting in dark, unusable pictures. Conversely, if your IR flash reaches 100 feet but your detection is only 65 feet, the camera will trigger prematurely, wasting light and battery life. Aim to match both specs closely—such as 90/90 or 100/100 feet—so that the camera triggers and illuminates within the same zone. This alignment ensures every nighttime photo is properly lit and usable.
Trigger Speed and Delay: Capturing the Full Pass, Not a Partial Frame
A fast trigger speed alone won’t ensure you capture the full pass if your delay setting is too long. To reliably record complete motion sequences, you need a short trigger delay that matches the speed of the action. For high-speed events, aim for a trigger speed under 0.3 seconds to ensure you don’t miss any critical moments. Pair that with a minimal delay—often less than a second—to start recording just before or right as the movement begins. Conversely, for stationary or slow-moving subjects, you can extend the delay to several minutes, such as 5 minutes, which helps conserve battery life and storage space. Balancing both trigger speed and delay is essential: a quick trigger without a short delay wastes footage, and a short delay is pointless if your trigger responds sluggishly. Always optimize both parameters based on your activity’s movement speed to capture the full pass effectively. For example, comparing trigger performance and cost models like the Tactacam Reveal 3.0 and Pro helps illustrate this balance. The shot lag setting on the Camp Party 45 provides a delay between triggers ranging from 1 second to 1 hour. Resetting the camera’s delay settings to factory defaults, similar to performing a hard reset on the Spypoint Link Micro LTE, can resolve inconsistent trigger timing issues. A reliable flashlight for hunting can also help illuminate the scene during low-light camera checks, ensuring you don’t disturb wildlife with improper lighting.
Why Low-Light Performance Beats High Megapixel Counts for Night Hunts
Sensor size matters far more than megapixel count in low-light conditions. Larger sensors collect more light per exposure, which produces cleaner images at high ISO settings. This means less noise and more detail in shadows, essential for night hunts. Lower-resolution sensors typically have bigger pixels that gather more light naturally, reducing noise without relying heavily on noise reduction software. On the other hand, high-megapixel sensors spread light over more pixels, which can lead to grainy images when the light is limited. Even action cameras like the Insta360 Pro 2 use Pure Video mode to produce daylight-like clarity in dark conditions, proving that sensor-driven processing can outperform raw resolution.
Lens speed also plays a critical role. An f/1.8 lens allows much more light to reach the sensor than an f/4 lens, regardless of the camera’s resolution. A fast lens effectively enhances low-light performance by maximizing the amount of light hitting the sensor. Therefore, prioritizing sensor size and lens aperture will always yield better night images than chasing higher megapixels. For dawn, dusk, or midnight movement, devices with larger sensors and faster lenses will deliver cleaner, more usable images every time.
Dual-Lens Game Cameras: Sharper Night Photos Without Trade-Offs
Dual-lens trail cameras deliver sharper night photos without the trade-offs associated with single-lens systems. By pairing separate optics for day and night, you get a dedicated night lens optimized solely for infrared capture. This specialization enhances image contrast and detail during low-light conditions, reducing blur, haze, and noise that often plague single-lens cameras when switching filters. As a result, your black-and-white nocturnal images are clearer, making movement patterns of animals like deer or coyotes easier to identify. Meanwhile, the daytime lens remains optimized for bright conditions, producing vibrant color photos. Although these cameras tend to cost more, you gain a significant advantage: no compromise between day clarity and night performance. No-glow infrared LEDs illuminate up to 100 feet, and quick trigger speeds ensure you won’t miss fleeting wildlife activity. With exceptional battery life supporting roughly 16,000 images per set of AA batteries, these units handle extended monitoring sessions without frequent maintenance, solidifying their price-to-performance value in the field. For those evaluating handheld options, thermal monocular or binocular systems offer a different value proposition focused on real-time observation rather than time-lapse image capture. To avoid unexpected costs, always check the free plan details before committing, as some models require a monthly subscription for cloud storage and remote viewing. Properly adjusting focus and reticle settings ensures your dual-lens camera captures consistently sharp images at varying distances, similar to the sighting process used for thermal scopes.

DUAL LENS + 360° PTZ — TRUE FULL-COVERAGE SCOUTING: Two precision lenses and full pan-tilt-zoom control wipe out every blind spot around your stand, feeder, or entry trail — one camera does the job of two trail cams.

New version trail cam: Clear Day & Night Imaging Capture sharp 64MP photos (adjustable: 5/16/36/48/56/64MP) and smooth 4K HD videos (3840x2160P /2560x1440P). The high-quality optical lens ensures crisp daytime images and night vision performance, making it ideal for wildlife observation, deer scouting, and property surveillance.
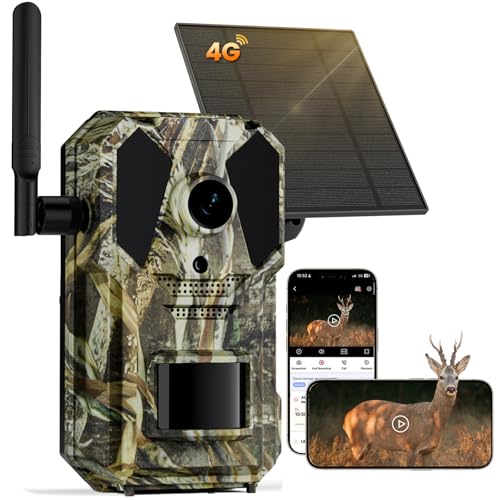
Solar-Powered Trail Camera: Featuring a 5W solar panel and 7800mAh battery, it delivers non-stop 24/7 monitoring with no frequent charging required, saves money on disposable batteries, eco-friendly. sustainable power for long-term use.
4K Video and Wide-Angle Lenses: When the Extra Cost Is Worth It
Opting for 4K video and wide-angle lenses is worthwhile when you need broader coverage and better options for cropping footage. With 4K resolution, you gain the ability to zoom into footage without losing quality, which helps identify antler points or determine a deer’s size during daylight hours. Wide-angle lenses that offer 120° to 140° views are perfect for covering large openings, food plots, or trail intersections with fewer cameras, saving you money and effort. Keep in mind that at night, 4K resolution doesn’t automatically mean better quality; IR illumination and sensor quality are more important for nighttime performance, similar to how Blink camera night vision relies on infrared LEDs rather than high resolution alone. In thermal optics, sensor quality also matters more than pixel count for detecting heat signatures in low-light conditions. TrialCam Go app control and Wi-Fi connectivity enable remote setup and real-time preview of photos and videos within 33 feet, simplifying monitoring and adjustments. Wide-angle lenses also make animals appear smaller in the frame, which means you sacrifice some close-up detail but gain increased situational awareness of larger areas. This is especially useful for documenting trail use or monitoring extensive regions with a single camera. The extra cost for 4K and wide-angle features pays off when you want detailed footage and broad coverage in a single setup, making your scouting more effective and efficient. Tactacam discontinued the Reveal SK due to issues with reliability and performance in cold weather, which led users to seek alternative models.
How Cellular Trail Cameras Change Your Scouting Game
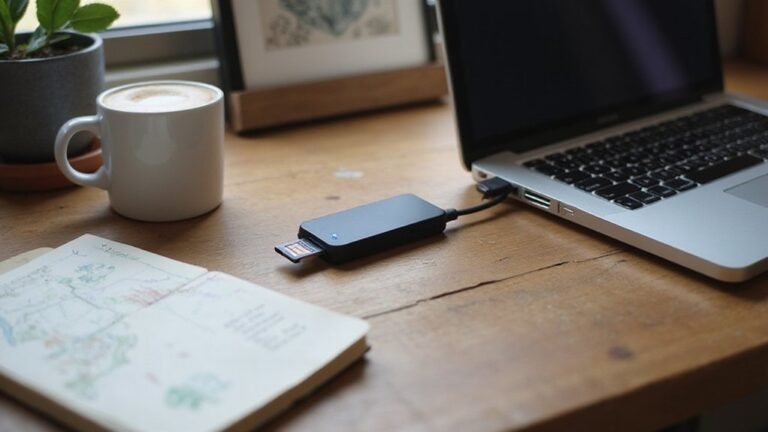
Because cellular trail cameras send photos directly to your phone or app in near-real time, they revolutionize your scouting efforts. You can quickly identify movement patterns such as feeding times or travel routes without ever walking up to the camera. This drastically reduces scent and noise, helping wildlife behave naturally. Advanced sensor technology ensures instant triggers, allowing you to review images remotely and save time. You can monitor multiple properties with a single device, greatly expanding your scouting range without physical checks. Placement becomes more flexible—install units in remote, off-grid locations and still receive updates. This approach also keeps you out of bedding areas, preserving natural movement patterns. The fast data flow enables you to adjust your stands closer to the hunt day. Additionally, cellular models record trespassers or suspicious activity, acting as security cameras. Do keep in mind that they require a higher initial investment and a data plan, but for serious hunters, the real-time insight offers a strategic advantage. Because these cameras use cellular towers rather than radio frequencies or Wi-Fi, they eliminate the need to get within a specific range for photo retrieval. Reviewing footage on a Stealth Cam SD card reader allows you to access and manage stored images directly from the memory card. Understanding the Quick Connect feature on these devices simplifies setup by streamlining the pairing process between the camera and your mobile app. For recovering game after dark, a thermal drone can provide a similar strategic advantage by locating downed animals from the air.

30MP Photos & 1080P HD Videos for Clear Wildlife Monitoring:Capture detailed outdoor moments with 30MP high-resolution photos and Full HD 1080P videos. The advanced image sensor delivers clear and vivid images during daytime and reliable performance in low-light environments. This mini trail camera helps capture wildlife activity, deer movement, and outdoor scenes with improved detail, making it ideal for deer scouting, wildlife observation,Garden Monitoring and property monitoring.

Fast trigger speed: The WOSODA trail cameras will be triggered instantly in 0.3s without delay, once detecting the movement, you will never miss any exciting moments even at night, and the trigger distance is up to 60ft.((Not included SD card,supports up to 256GB)

Fast trigger speed: The WOSODA trail cameras will be triggered instantly in 0.3s without delay, once detecting the movement, you will never miss any exciting moments even at night, and the trigger distance is up to 60ft.
Game Camera Battery Life and Solar Compatibility for Remote Placements
Battery life and solar compatibility are crucial considerations for remote game camera placements. Lithium AA batteries offer the longest runtime, providing around 4,000 shots compared to 2,500 with alkaline batteries, and they perform well in cold weather. NiMH rechargeable batteries last only about 2 to 2.5 months, making them unsuitable for long deployments. Features like video recording, burst captures, and high-resolution images significantly drain batteries, so limiting these functions can extend operational periods. Cellular uploads, especially when set to immediate mode multiple times daily, rapidly consume power, causing each connection to draw significant power from batteries, while weak signal strength causes more connection attempts, further depleting the batteries. Additionally, cameras with black LED technology are less visible to game and draw slightly less power than standard IR LEDs. Investing in a camera with efficient power management can further reduce overall power drain during idle periods.
Using solar panels can reduce trip frequency, but their effectiveness depends on placement. Direct sunlight is necessary for efficient recharging, so mount panels where they aren’t shaded by canopy or obstructions. Combining solar power with conservative camera settings, such as disabling video or increasing detection delay, can enable your camera to operate for months without maintenance. Additionally, clearing the setup zone of branches and heat shimmers prevents false triggers that waste power. Regular maintenance, including checking batteries and cleaning contacts, ensures your system maximizes every charge.

[SET IT & FORGET IT POWER] This solar-powered trail camera features an integrated top-mounted solar panel and a built-in 5200mAh rechargeable battery for reliable, long-lasting outdoor monitoring. Unlike models with separate solar panels, this all-in-one design reduces cable-related power loss and water ingress risks. For added flexibility, 4 AA batteries (sold separately) can serve as backup power in cold weather or during extended rainy periods. For best results, fully charge the internal battery via USB for 8 hours before first use. Solar charging efficiency varies with sunlight intensity and exposure time
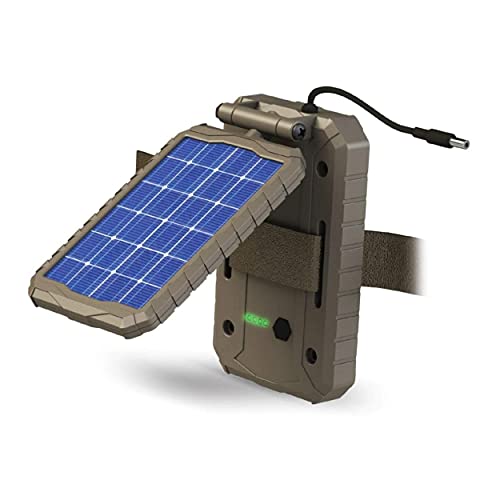
EXTENDED CAMERA FIELD LIFE: Embrace renewable energy, eliminating the need for traditional batteries and ensuring a cost-effective approach to keeping your trail cameras charged; A 3000mAh Li-ion Battery extends the field life of your trail camera
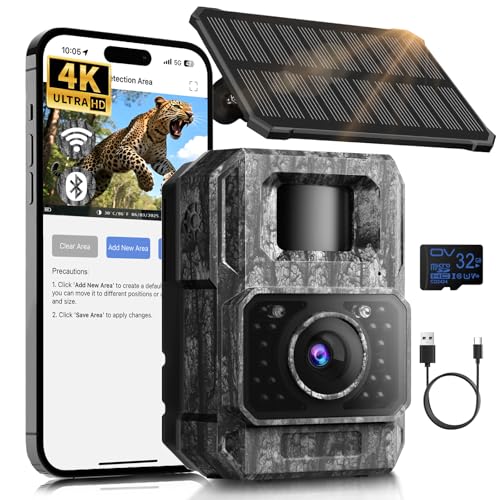
𝐍𝐎𝐓𝐄: 𝐢𝐭 𝐢𝐬 𝐍𝐎𝐓 𝐜𝐨𝐦𝐩𝐚𝐭𝐢𝐛𝐥𝐞 𝐰𝐢𝐭𝐡 𝐡𝐨𝐦𝐞 𝐖𝐢𝐅𝐢, 𝐝𝐨𝐞𝐬 𝐍𝐎𝐓 𝐬𝐮𝐩𝐩𝐨𝐫𝐭 𝐜𝐞𝐥𝐥𝐮𝐥𝐚𝐫/𝟒𝐆/𝟓𝐆 𝐧𝐞𝐭𝐰𝐨𝐫𝐤𝐬, and 𝐝𝐨𝐞𝐬 𝐍𝐎𝐓 capable of real-time motion alerts or push notifications. The camera creates its own short-range Wi-Fi hotspot (𝐍𝐨𝐧-𝐂𝐞𝐥𝐥𝐮𝐥𝐚𝐫) for setup, and downloading files only. Wi-Fi range is up to 33–50 ft in open areas. The camera records automatically even when your phone is not connected. No subscription or monthly fees
Pick a Camera for Your Terrain: Open Fields, Tight Cover, or Security Duty
Choosing the right game camera for tight cover involves selecting a compact, no-glow IR model with a narrower detection zone. Short-range illumination is sufficient because the subjects stay close to the camera. Camouflage concealment is crucial to hide the small housing within dense brush or foliage. These cameras typically feature infrared sensors optimized for close-proximity detection, preventing animals from being spooked and ensuring clear images in low light. To succeed, ensure you choose a model with a fast trigger speed so you don’t miss sudden movements, and verify it offers good battery life for extended stays in hard-to-access spots. Proper placement at eye level or slightly above the animal’s expected path increases effectiveness. A model with smarter AI motion detection will further reduce false triggers from swaying branches or grass in tight cover.
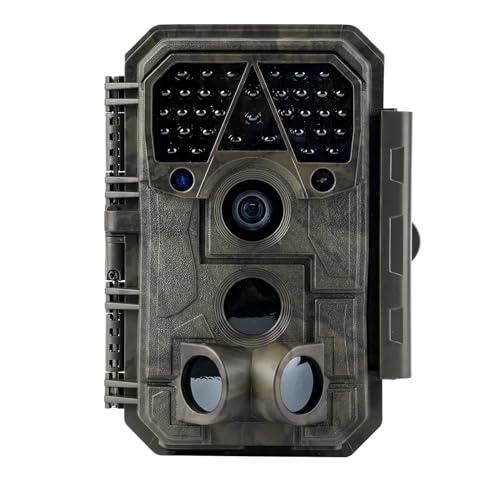
Crystal-Clear 64MP Photos & 1296p HD Video – Stunning detail day or night, thanks to advanced image tech and a high-performance f/1.6 aperture lens.

[SIMPLE & RELIABLE TRAIL CAMERA FOR BEGINNERS] Designed for first-time users, this entry-level trail camera focuses on easy operation and dependable performance. The classic solid brown housing blends naturally into outdoor environments, making it ideal for wildlife monitoring and backyard use. With clear, straightforward controls, anyone can start using it in minutes—no technical experience required. A perfect choice for hunters, landowners, and beginners looking for a no-frills, easy-to-use trail camera.(8×AA batteries and SD card not included.)

Excellent Detecting Sensitivity & Good Sound Recording: The combination of 0.2s fast trigger speed, 3 continuous shots, and the sensitive motion-activated sensor avails to capture more exciting moments. The wildlife camera is created for the fast-paced action and highlight of scenes. It records clear sounds thanks to the high quality microphone on the left side of the camera body. It keeps recording by overwriting the old photos and videos when the SD card is full, perfect for security purposes.
Trail Camera Durability: What IP Ratings Actually Mean for Outdoor Use
IP ratings consist of two digits that indicate a camera’s resistance to solids and liquids. For outdoor trail cameras, IP65 means the device is dust-tight and can handle light rain or showers. IP66 raises that protection to resist heavy rain, snow, and powerful water jets. If you need a camera that can survive temporary immersion in water, IP67 is the way to go, as it can handle submersion for short periods. It’s important not to confuse “weather resistant” with waterproof—IP66 is resistant to powerful jets but is not designed for continuous water submersion. Always check actual IP ratings rather than marketing claims, because real weather resistance comes from thorough testing. Keep in mind that IP ratings do not protect against impacts or battery failure, so pairing your camera with a sturdy mount is essential. For most outdoor use, IP66 offers the best balance of durability and affordability.