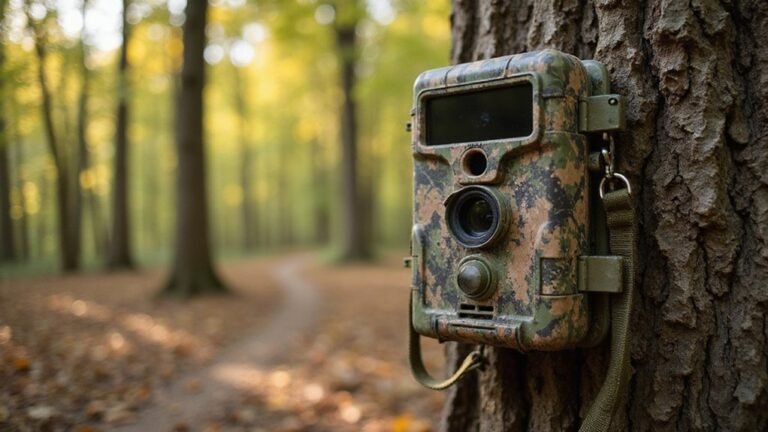
Spypoint Flex M Quick Start Guide: Your Setup Checklist
Want to get your Spypoint Flex M trail camera up and running smoothly? The process involves a few key steps—creating an account, setting up the hardware, and positioning it correctly to catch wildlife without false triggers.
By following a simple checklist, you’ll be ready to start capturing images quickly and avoid common setup issues. Keep reading for all the details.
Create Your SPYPOINT Account and Download the App
Create your SPYPOINT account and download the app.
To activate your FLEX-M, you need to create a SPYPOINT account first. Begin by visiting the SPYPOINT website and clicking on “Activate a device” in the top-left corner. Enter a valid email address, then create a password of at least 10 characters—use the eye icon to check your entry. Provide your country and phone number, then click Sign In to confirm your registration. After setting up your account, download the SPYPOINT app from your device’s app store. Log in to the app using the same credentials to enable activation, manage settings, and view photos. Make sure to complete the app setup before deploying your camera in the field. For reliable operation, check battery compatibility and use recommended batteries. When placing your camera, select a location with good cellular signal and wildlife activity to ensure optimal photo capture. For scenarios requiring detection in total darkness, night vision technology offers advantages over thermal in capturing detailed images. For sighting your camera, a proper mounting surface ensures stable alignment and consistent image clarity. The app will serve as your primary control point once paired with your device. Use the same credentials to log into the app after account activation. When comparing cellular camera options, consider performance and cost factors to match your specific needs.
What You Need Before Starting Your Flex M Setup
Before starting your FLEX-M setup, you need to gather and prepare several items. First, check your battery compatibility—it must be a specified lithium or battery pack option. Inspect the battery compartment to ensure correct orientation, and keep spare batteries handy for remote deployment. Wait to power on the device until all components are installed properly. For extended field use, consider a power source that supports continuous operation, though a thermal drone build often requires additional voltage regulation.
Next, prepare a Class 10 or U1 microSD card, formatted as required, with a capacity up to 512 GB. This ensures reliable storage and smooth operation. Have the antenna ready, as it’s essential for a strong cellular signal; verify the antenna connection before powering up. Confirm that your chosen deployment site has adequate cellular coverage for photo transmission.
Keep your SIM barcode or device number accessible for activation purposes. Also, ensure you have your account credentials ready and that the SPYPOINT app is installed on your mobile device. Before heading out, check for any firmware updates—this will require a computer-formatted FAT32 microSD card for the update process. To avoid return trips, test the camera connection via the app before leaving the setup location.

【7000mAh High-Capacity Battery】Upgraded 7.7V/7000mAh LIT 22 rechargeable lithium battery pack provides extended power for your SPYPOINT cellular trail cameras. Lasts 30% longer than standard batteries, reducing charging frequency and ensuring uninterrupted wildlife monitoring.

【7500mAh High-Capacity Power】Upgraded 7.7V/7500mAh LIT-22 rechargeable lithium battery delivers extended runtime for your SPYPOINT cellular trail cameras, reducing charging frequency and ensuring uninterrupted wildlife monitoring.

【7000mAh High-Capacity Battery】Upgraded 7.7V/7000mAh LIT 22 rechargeable lithium battery pack provides extended power for your SPYPOINT cellular trail cameras. Lasts 30% longer than standard batteries, reducing charging frequency and ensuring uninterrupted wildlife monitoring.
Install the Antenna, Batteries, and SD Card the Right Way
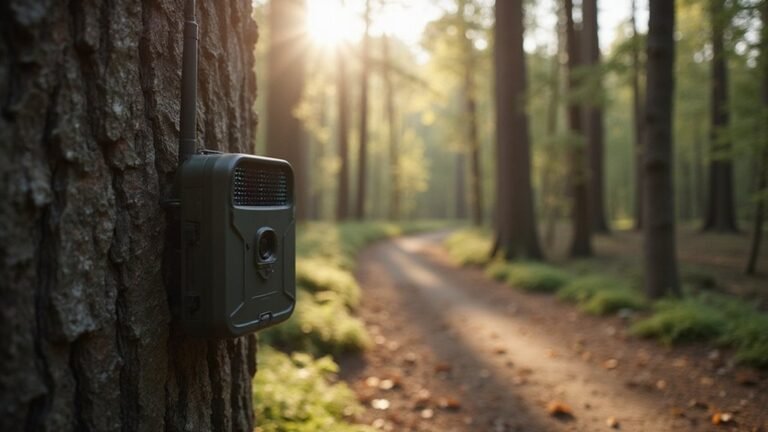
To install the antenna, batteries, and SD card correctly on your FLEX-M, follow this specific order. Start by installing the antenna: remove the protective cap on top, then screw the antenna tightly into the port. Ensuring a secure fit is crucial because it guarantees reliable cellular connectivity, but trail cameras typically offer longer battery life than security cameras. Next, load eight AA batteries into the tray, paying careful attention to polarity markings. Insert the tray into the device following the arrow indicator and press until it clicks, which ensures proper contact and retention for good battery performance. Finally, insert the microSD card with the metallic contacts facing upward. Make sure the card has been formatted beforehand to prevent compatibility issues. Proper formatting is confirmed when the green light changes from blinking to solid, ensuring the card is ready for use. If you encounter persistent errors, clearing the card via your computer or camera can help restore full functionality. Once all three components are in place, close all compartments securely before powering on. Doing this step-by-step now helps prevent connectivity and performance issues later. Understanding the manufacturing origins of your device can provide insight into its quality standards and warranty support.

8 pack of Energizer Ultimate Lithium AA Batteries

Energizer Double A Lithium batteries are the world's longest lasting AA batteries.

Compatible with WOSPORTS & WOSODA Trail Cameras: Specially designed for compatible WOSPORTS and WOSODA trail camera models, including G300, G300 Plus, G300W, G600, H13T, H29, and H47. Please confirm your camera model before ordering.
Step-by-Step: Activate Your Flex M in the App
Follow the onscreen prompts to activate your Flex M. You’ll need to enter any promo code or referral information if prompted. The app will confirm once the device is being added successfully. After inserting the batteries and memory card, turn the Flex M on. Be aware that the first power-up might take up to 15 minutes for firmware updates to complete. Unlike a thermal camera, which detects heat signatures like body gas emissions, the Flex M uses standard motion and infrared sensors for wildlife triggers. Ensure the camera enters standby mode, indicated by the lights turning off, before proceeding. If you encounter issues, revisit the Cameras section in the app to verify the connection or re-check app permissions, especially if scanning fails. Activation is complete when the device appears as active in your account list. During this initial setup, always confirm that the memory card is properly formatted in the camera before relying on it for storage. For outdoor installations, you may also want to build a security box to protect the camera from theft or weather damage.

They store up to 32GB of media for cameras or media storage in your trail cameras. You don’t have to worry about your SD card filling up quickly.

Optimal Storage Capacity: The Spypoint MicroSD 32GB Class 10 Memory Card ensures sufficient storage space for your images, preventing the need for frequent card swaps

UNBEATABLE VALUE: Get premium cellular capabilities at an unbeatable price with the SPYPOINT FLEX-M Cellular Trail Camera, offering you the best value in cellular trail cameras and hunting equipment. Setup is a breeze with mobile activation and on-camera buttons for easy formatting of the 𝗺𝗶𝗰𝗿𝗼𝗦𝗗 𝗰𝗮𝗿𝗱 (𝗡𝗢𝗧 𝗜𝗡𝗖𝗟𝗨𝗗𝗘𝗗) and test photo capture. Plus, ensure continuous operation with extended autonomy by pairing with our compatible solar panels (sold separately).
Format the Memory Card for First-Time Use
Your Flex M requires a microSD card formatted correctly before first use. Only microSD cards are compatible, and SPYPOINT recommends using a high-quality Class 10 or U1 card sized between 2 GB and 512 GB. To format the card, turn on the camera while the status LED blinks green. Hold down the FORMAT button for about 5 seconds; waiting until the green delay light flickers is too late. During formatting, the FORMAT LED will blink green, and it will turn solid green once the process completes. Understanding night vision goggle prices can help you budget for additional accessories like spare memory cards, with military-grade options often featuring durable construction and superior low-light performance. Resetting the camera using a paperclip can clear persistent formatting errors.
For computer formatting, use FAT32 on a Windows PC or FAT via Disk Utility on a Mac. After formatting, reinsert the memory card into the camera. If you experience ongoing issues, repeat the long-format procedure. Sometimes, a corrupted card may need to be replaced. Keep the camera turned off until you are ready to install it in the field to avoid accidental damage or formatting errors. Formatting the card deletes hidden files that can prevent storage issues and ensures the card is correctly configured for your camera’s compatibility.
Flex M Startup Lights and TEST Button Check
After formatting the memory card, power on the Flex M startup device and observe its lights and buttons. Turn the device on; the green STATUS light flashes while the battery level is displayed. Signal lights will flash together until a cellular signal is acquired, indicated by bar strength. The microSD card indicator stays ON, and the delay light blinks for 10 seconds. When the STATUS light turns solid green, all lights turn off, meaning the device is in standby mode. The signal acquisition process is similar to how night vision binoculars use sensors to detect available light levels.
Next, press the TEST button for at least 1 second. The battery level appears immediately, and the signal lights will blink every second until the cellular strength is shown. This process confirms the signal enhancement; fewer bars suggest repositioning is necessary. After completing the test sequence, the lights turn OFF. Understanding this light sequence is essential for first-time setup without external help.
If you see a red slow blinking every 2 seconds, it indicates a SIM card issue or hardware failure—your first step in troubleshooting. An orange flashing light points to battery problems. Always verify activation, antenna connection, and memory card status before considering the unit defective. This troubleshooting approach is similar to how users interpret device status indicators to diagnose issues without manual intervention.
How to Install Eight AA Batteries (and When to Use the LIT-22 Pack)
To install your eight AA batteries, start by opening the latch to access the battery compartment door. Remove the door and insert each battery into the tray, paying close attention to the + and − markings. Ensure each cell is seated snugly for proper contact and reliable operation. Place the tray back into the compartment with the arrows on it facing upward. Then, securely close the door and latch to keep everything in place. A tight fit in the compartment ensures a secure connection and prevents dislodgement during use.
Use fresh batteries from the same package—never mix old and new cells—to prevent uneven wear and ensure consistent power. If you opt for lithium AA batteries, they provide better longevity and performance, especially in colder conditions, compared to alkaline batteries. Avoid using rechargeable AAs because their lower voltage can harm the device and lead to inconsistent operation. For long-term home security setups, a trail camera with night vision is essential for capturing clear images in total darkness. A DIY thermal camera can also be built using thermal imaging components for specialized temperature detection. Instead, consider the LIT-22 rechargeable lithium pack, which replaces the tray entirely and allows for extended use without swapping out multiple disposables. For enhanced clarity in low-light conditions, a backup camera featuring infrared LEDs ensures reliable visibility even when ambient light is absent.

Manufacturer: Energizer

2 pack of Energizer Ultimate Lithium AA Batteries

Works with All AA Devices: Rechargeable lithium AA batteries support stable 1.5V output, ensures superior performance over 1.2V batteries, making it ideal for high-drain devices like Blink cameras, toys, and more
Where to Mount Your Flex M for Best Detection
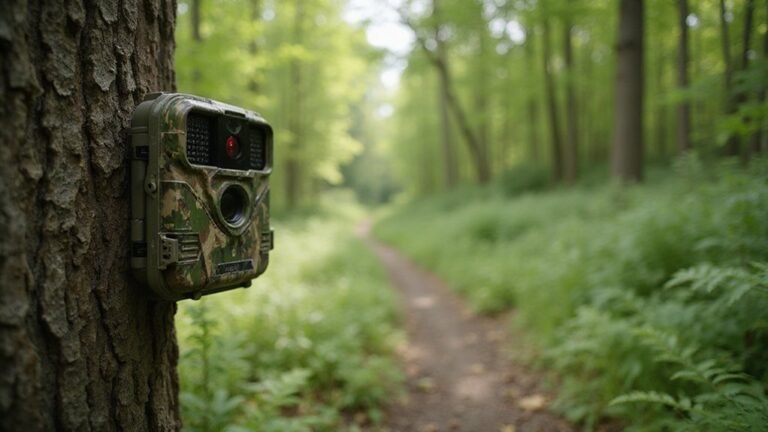
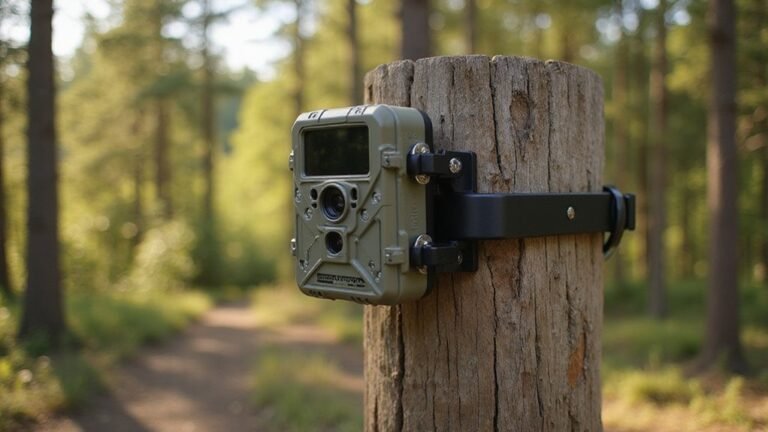
To ensure accurate detection, mount your Flex M with the foreground clear of branches, twigs, and tall grass at least 10 yards away. Debris that blows in the wind can cause false images and drain your batteries quickly. Position the camera facing north or away from the rising or setting sun to prevent glare that can interfere with image quality. Avoid placing it in deep valleys or dense foliage where the signal might be blocked. The mounting system can be somewhat awkward, but using optional special mounts can improve access and positioning for better results. These positioning choices help your Flex M capture consistent, relevant images without unnecessary triggers. Unlike certified gear, uncertified DIY setups pose significant risks of false triggers.

Tilt Adjustment: Perfect for hunters, wildlife photographers, and outdoor enthusiasts. Adjust your camera to any angle for the best possible shot. Mounts securely to MOST 1-3/4 T-Post. Modeled off 1-3/4 Home depot tan top T-Post.

360° Leveling & 180° Tilt Adjustment: Perfect for hunters, wildlife photographers, and outdoor enthusiasts. Adjust your camera to any angle for the best possible shot. Mounts securely to ANY TREE, ANY ANGLE using the strap included with your camera or zip ties/wire for flexible positioning.

WIDE COMPATIBILITY: Replacement SMA male antenna fits Spypoint LM2, Flex, Flex-S, Flex-M, Flex-Dark, G-36, Moultrie Edge, Spartan, Covert, and Muddy cellular trail cameras.
Final Field Test: Confirm Your First Image
After mounting your Flex M in a suitable location, perform a final field test to ensure you will receive usable images. Press the TEST button for at least one second to trigger a single capture and transmission. Monitor the battery level and signal bars on the camera; once the lights return to standby mode, the camera is ready. Check your app within 30 minutes to confirm the image has arrived, indicating a successful test. To verify motion detection, walk in front of the lens, ensuring that movement activates a photo and transmission. This step ensures your camera is capturing wildlife activity accurately, not just static images during setup. Remember to check the battery and signal lights during each visit to maintain reliable operation. A correctly received first image confirms your setup is complete, allowing you to leave with confidence. With a detection range that often exceeds 90 feet, this field test verifies the camera reliably captures movement at advertised distances.
Common Flex M Setup Mistakes to Avoid
To avoid setup mistakes, follow these key points when installing your Spypoint Flex M. First, always format your microSD card before use and insert it into the camera to ensure reliable operation. Do not attempt to use a standard SD card as it will not fit the slot properly. Fully charge the internal battery for at least 12 hours or use eight fresh AA batteries; the camera won’t turn on without power. Secure the antenna tightly, as a poor connection can severely reduce cellular signal strength.
In the app, ensure you select the FLEX-M model specifically and scan the QR code exactly to complete activation successfully. Mount the camera at mid-body height with a north or south orientation to avoid the adverse effects of sunrise and sunset lighting on image quality. Offset the camera 90 degrees from animal trails to improve capture chances, preventing direct trails from being in view. For theft prevention, use a security box and cable lock. Make sure the weather-resistant seal of the battery compartment is fully closed, and clear away leaves or grass that could block the lens, as obstructed images compromise your surveillance.