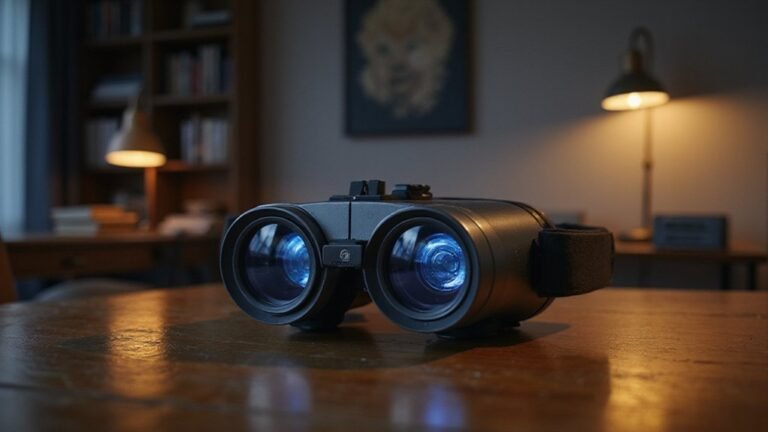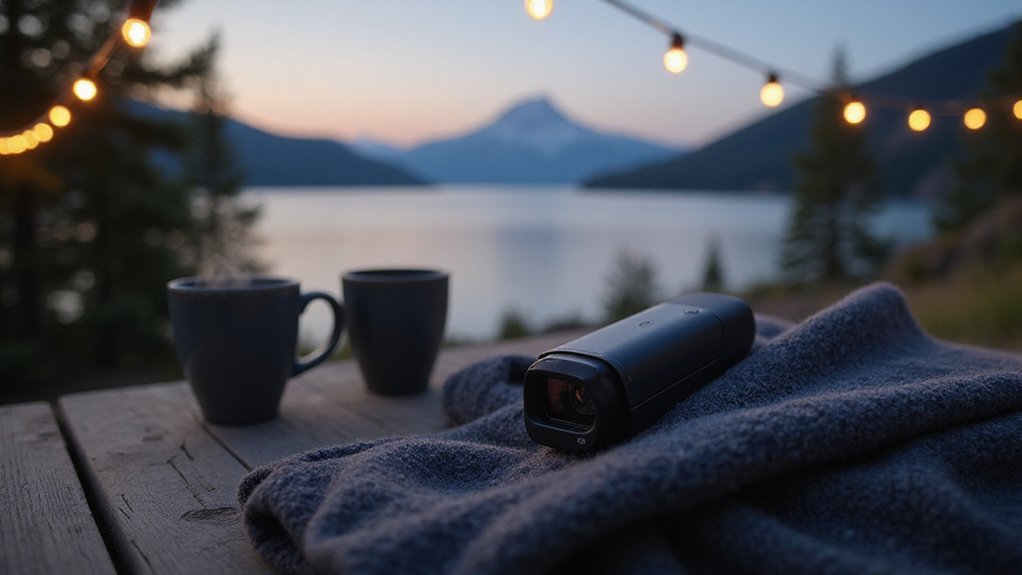
What Is a Thermal Clip-On? Your Essential Guide
If you’ve ever wondered how to add thermal imaging to your daytime rifle scope without changing your setup or losing accuracy, a thermal clip-on might be just what you need.
It mounts in front of your existing scope and enhances your vision with infrared heat detection, all while keeping your zero and reticle intact.
Want to know how it works and how it might fit into your shooting gear? Keep reading.
Why You’d Want a Thermal Clip-On Over a Dedicated Scope?
A thermal clip-on is often the better choice if you already own a quality daytime scope. It mounts in front of your existing optic, allowing you to keep your familiar sight picture, zero, and reticle. This means you avoid re-zeroing your rifle and can switch between day and night use instantly. Because you’re not buying a new scope, it’s a cost-effective way to add thermal capabilities without replacing your investment. For a beginner, this setup simplifies the learning curve by leveraging your existing daytime scope rather than requiring a completely new system. Unlike a dedicated thermal scope, a clip-on allows you to retain your daytime zero when switching between modes.
Modularity is another significant advantage. You can move the clip-on between rifles or even use it as a handheld scanner. If you prefer a setup that offers quick changeovers and dual-role functionality with minimal fuss, a clip-on provides practical flexibility. It allows you to keep your rifle configured for daylight shooting until thermal imaging is genuinely needed, making it a versatile and budget-friendly option. However, clip-on devices are generally limited to about 7-8x magnification before pixelation degrades the image, which can impact target recognition at longer distances.

☑️ STRONG AND FLEXIBLE POLARIZED LENSES - Flexible lenses, silicone cups that are ultra-light weight, sturdy, and easy to clip on and off. Lenses are made of highly scratch-resistant material. Consist of super strong and flexible lens material that makes it easy to clip and off.

High-Resolution OLED Display: Equipped with a 1920x1080 OLED HD display, goyojo night vision scope delivers crystal-clear images, ensuring you can observe details with precision both during the day and at night. Whether you're an avid hunter, wildlife enthusiast, or security professional, this advanced monocular offers unparalleled clarity and versatility.

Yellow night vision glasses. New design leg profile to fit both metal and plastic frames.
The Biggest Downsides of Thermal Clip-Ons You Should Know
The setup process for a thermal clip-on is more complicated than it appears, requiring careful alignment with your existing scope using an adapter. Compatibility issues can easily ruin the installation, and improper mounting can cause a shift in your point of impact. Swapping rifles often necessitates re-collimation, adding to the frustration. This complexity means you need to dedicate extra time and patience to ensure proper installation, which can be a hassle during quick or on-the-fly adjustments. For example, digital image enhancement often found in high-end units can add another layer of software calibration that must be synced with your optic, further complicating the initial pairing and any subsequent profile changes. Understanding how thermal imagers detect heat differences is crucial for diagnosing alignment errors, as any mismatch between the sensor and scope can degrade the image you rely on for target identification. For low-light scenarios, a similar device like a backup camera with night vision may offer simpler plug-and-play mounting but lacks the heat-detection capability needed for through-cover spotting.
Thermal Clip-On vs. Dedicated Thermal Scope: How to Choose
Choosing between a thermal clip-on and a dedicated thermal scope depends on your priorities for modularity versus full replacement. A thermal clip-on mounts in front of your existing day scope, allowing you to quickly switch between traditional and thermal imaging without re-zeroing your firearm. This preserves your current zero because the clip-on aligns with your day scope, saving time in the field. However, clip-ons may pass light through two lenses, which can slightly reduce image clarity and resolution. Users seeking the best models should consider top cooling performance as reviewed in the latest thermal camera comparisons. For those who need to troubleshoot potential issues, learning how to reset Stealth Cam settings can resolve common pairing or display problems. Additionally, many modern clip-ons now feature integrated recoil management to maintain alignment on high-caliber rifles.
Dedicated thermal scopes replace your existing optic entirely, requiring a re-zero but offering more onboard features such as multiple reticle options, ballistic calculators, and higher native resolution for sharper images. They tend to have larger batteries for longer operation times, making them ideal for extended hunting or surveillance sessions. The trade-off is that investing in a dedicated scope is a more significant commitment, both financially and logistically.
If you need versatility for both day and night use without swapping optics, a clip-on provides flexibility and faster transitions. But for superior thermal imaging, higher image quality, and advanced features tailored for thermal hunting or reconnaissance, a dedicated thermal scope is often the better choice. Consider your typical use cases and field duration to decide which option aligns best with your needs.

Transforms day scopes into thermal imaging devices for enhanced visibility in darkness.

TURN YOUR DAY SCOPE INTO A THERMAL OPTIC IN SECONDS — Clip-on design mounts in front of your existing scope without affecting zero, magnification, or reticle. Keep the optic you trust and add thermal only when you need it.

Converts day scopes into thermal imaging devices for enhanced visibility.
How the Sensor and Display Create a Thermal Image
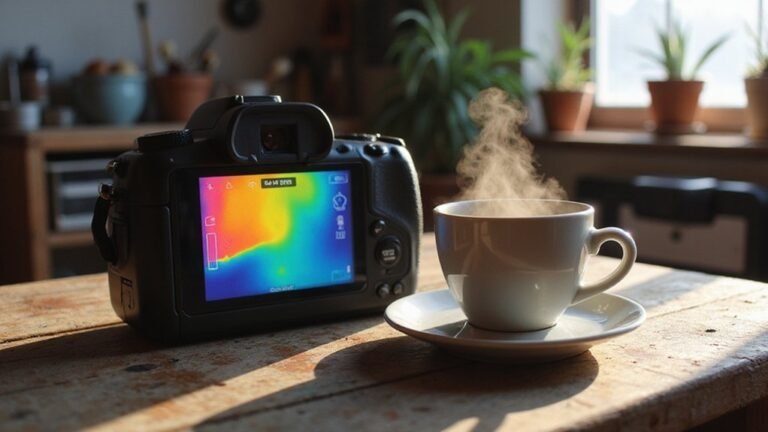
Once the sensor captures infrared signals from each pixel, the process of image processing begins. The processor gathers data from thousands of these pixels, applying filters to reduce noise and enhance clarity. It then mathematically translates temperature differences across the pixels into a thermal gradient, creating a real-time thermal map. This map visually represents variations in heat, highlighting hot and cold spots. The display then assigns specific colors or shades of gray to different temperature ranges, allowing you to easily interpret the scene at a glance. This process relies on microbolometer technology to detect infrared radiation without requiring cooling. Standard iPhones lack a built-in thermal sensor, so this entire process relies on an external device. This combination of data processing and visual mapping transforms raw infrared signals into an understandable thermal image. Unlike a night vision camera that amplifies visible light and can be disturbed by artificial light sources, thermal imagers detect only heat, making them immune to such interference.
Mounting and Aligning Without the Headache
To mount and align without frustration, start by matching the adapter precisely to your objective housing diameter. Even a deviation of 0.5 mm can cause play, so seat the adapter evenly across its surface. Lock the thermal unit in place carefully, ensuring there is no canting or movement. Proper coaxial alignment helps protect your battery life by preventing strain on the system. A thermal scope works by detecting heat signatures rather than visible light, which is critical for understanding its operational benefits. For DIY builders, understanding how to integrate thermal sensor payloads can further enhance customization. Use a quality quick-detach mount so you can remove the unit during transport and reattach it with minimal shift. After installing, fire a confirmation shot to verify repeatability. A tightly centered mount also increases user comfort by reducing awkward head positioning. Check that there is enough space for your daytime scope before tightening hardware crosswise to achieve a recoil-rated, play-free fit. A cantilever scope mount can help position the thermal unit forward for better eye relief and balance. For bolt-action users without flat top rails, an adapter for mounting is required and can be found in the accessories section of the website.

Made of Hardened Aluminum Alloy, increased durability with minimum impact on weight

Precision-Crafted Fit: Tailored for Mars MT1000LRF/Commander NV500/NV500 Eagle, ensuring perfect alignment, stability, and zero retention even in the harshest conditions.
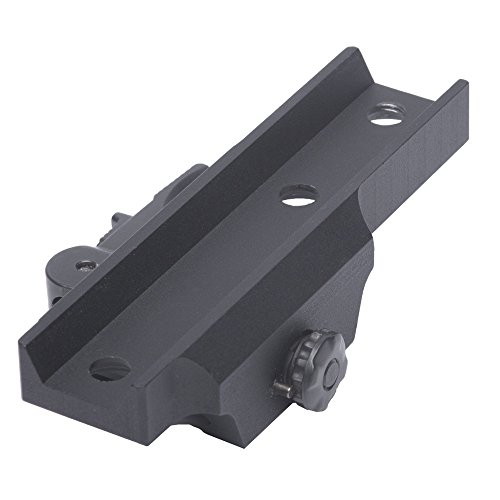
Locking Quick-Detach Picatinny Mount: Swiftly attaches optics or lights to Picatinny rails. Secure locking prevents accidental dislodging, ideal for fast, reliable equipment swaps without compromising accuracy or stability
How Mounting Affects Zero and Return-to-Zero
Mounting directly influences zero retention and return-to-zero reliability. Proper mounting ensures your thermal clip-on sits consistently in front of the riflescope, depending on repeatable alignment rather than needing separate adjustments each time. Even tiny misalignments during mounting can shift your point of impact, so a stable mount is essential for maintaining your zero. Adjustable mounts with quarter or eighth-turn increments allow for precise tension to prevent alignment issues. A similarly robust mounting system is critical to achieving the same repeatable alignment found in dedicated night vision devices like the PVS-31. Understanding why red night vision goggles were banned helps clarify the importance of avoiding unintended light signatures in the field.
Always verify zero after every mounting change. Remove and reinstall your clip-on, then fire a small confirmation group. Watch for any shift in group position or a looser lever feel, both signs of poor repeatability. Follow torque specifications precisely: too little torque allows movement, too much can damage hardware. A fit error as small as 0.5 mm can create unwanted play or cause hardware stress. Before blaming electronics for zero shifts, check your mounting hardware thoroughly. Secure mounting preserves zero—don’t forget to recheck after transport, handling, or storage. Similar to how a thermal device’s battery capacity and draw affect its runtime, mounting integrity directly affects your system’s reliability in the field.
Which Day Scopes Work Best With a Thermal Clip-On?
Day scopes generally work best with thermal clip-ons when used with compact, uniformly aligned objective lenses. These lenses should avoid oversized bells that can cause fit issues and compromise overall stability. Ensuring your day scope has a consistent mounting format, such as common tube diameters, is essential so that the clip-on maintains proper alignment during recoil. For reliable performance, check that your day scope features a parallax adjustment to ensure the reticle stays in focus with the thermal image. This setup helps deliver clear, steady thermal images without the need for frequent readjustments. Many modern thermal scopes now feature daylight-compatible sensor technology that allows for effective use even in bright conditions without image washout. Understanding the overall thermal drone costs can provide valuable context when budgeting for a clip-on system, as both often rely on similar sensor components and mounting standards to maximize performance.

Clip-On Night Vision for Rifle Scopes: Instantly convert your existing rifle scope into a powerful night vision system. This clip-on attachment mounts easily in front of your optic, allowing you to maintain your daytime scope while gaining clear nighttime visibility.

384×288 20mK Thermal Sensor: High-sensitivity 12μm VOx detector delivers sharp thermal images with excellent target recognition and image clarity.

640×512 20mK Thermal Sensor: Premium 12μm VOx detector delivers exceptional image quality with ultra-high thermal sensitivity and long-range target recognition.
What Exactly Is a Thermal Clip-On?
A thermal clip-on is a compact, self-contained thermal imaging device that attaches in front of your existing daytime riflescope. It allows you to add thermal capability without needing to replace or re-zero your current optic. The device mounts securely to the objective bell or rail using a front lens and adapter clamp, creating a light-proof connection. Inside, it uses uncooled microbolometer sensor technology to detect infrared radiation from heat sources and produce a heat map image. This image is displayed on an internal OLED screen that projects into your scope’s optical path, enabling you to view thermal images through your original eyepiece. Battery life varies depending on the model, making it important to carry enough power for the duration of your hunt. Because it relies on existing optics, a thermal clip-on offers a flexible and convenient way to incorporate thermal imaging into your setup without the need for a dedicated thermal sight. These devices are optimized for scope viewing and are not intended for naked eye observation, as they rely on the day optic’s magnification and eyepiece for clear image presentation.