How Does a Cellular Trail Camera Work?
Have you ever wondered how a cellular trail camera sends images from the woods straight to your phone? These devices detect movement, snap high-quality photos even at night, and then use a cellular data plan to send those images wirelessly.
By understanding how they work, you can better harness their full remote monitoring potential.
What Is a Cellular Trail Camera and Why Use One?
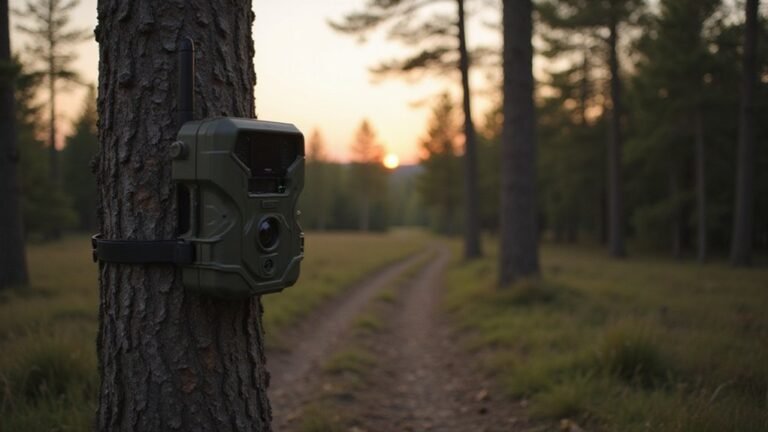
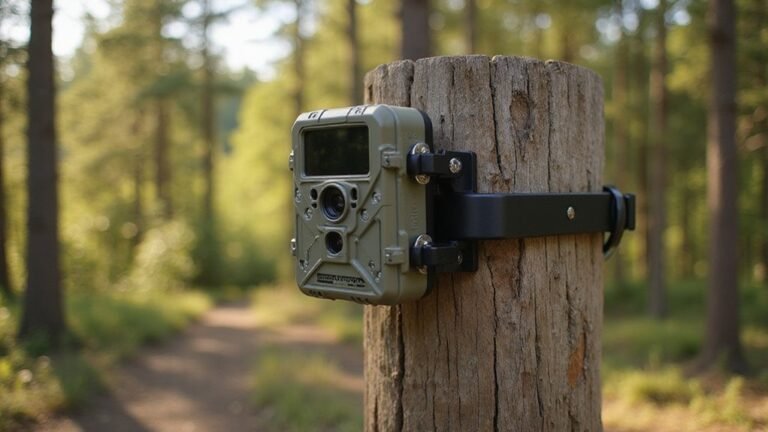
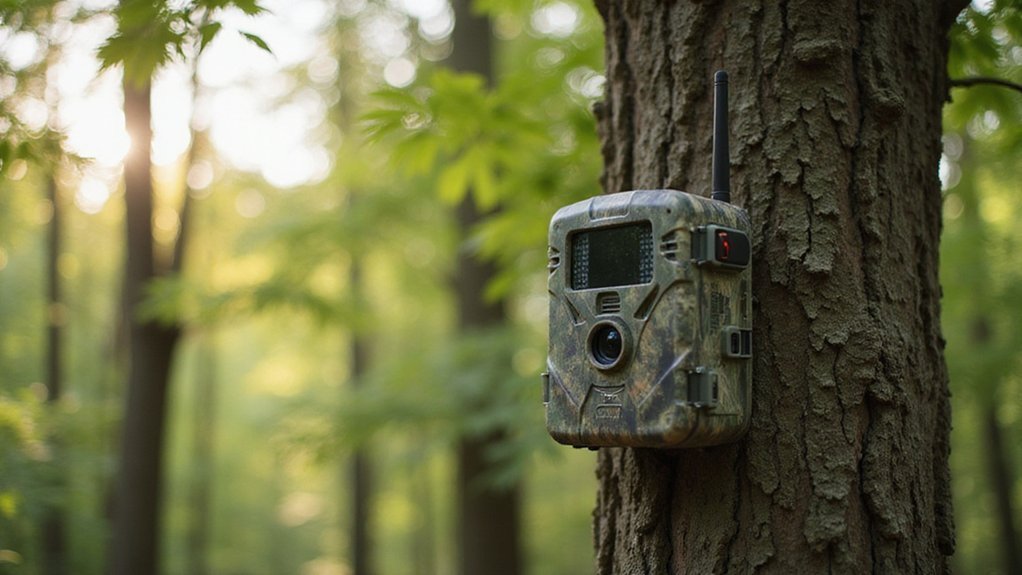
A cellular trail camera transmits images wirelessly using a built-in cellular modem and a micro SIM card. Unlike traditional game cameras that require you to manually remove SD cards, this type sends photos directly to your phone or email through mobile networks. It operates on battery power and is often equipped with motion sensors that detect heat and movement, triggering the camera to capture images instantly. For capturing clear images in complete darkness, this technology is distinct from thermal imaging, as it typically uses infrared illumination, a technique also employed in night vision goggles for low-light visibility.
This setup allows for real-time access to wildlife activity or property monitoring, reducing the need for frequent site visits. The decision between cellular and non-cellular models often hinges on factors like budget, network coverage, and how frequently you need image updates. It’s particularly useful in remote areas where regular trips are impractical, helping to minimize human disturbance to animals and habitats. The Flex S model includes a small solar panel that provides a trickle charge to extend battery life. Whether for scouting game, securing a property, or observing wildlife in their natural environment, a cellular trail camera offers a convenient, low-maintenance solution.

【Industry-First SignalSync No-SIM 4G Network Tech】–MagicEagle cellular trail camera adopts exclusive cloud card technology to automatically connect to the strongest signal and optimal network segment of major carriers. Eliminates cumbersome physical SIM card installation, effectively reduces network latency and ensures stable, fluent real-time streaming and photo/video transmission, delivering a superior 4G network experience than ordinary cellular trail cameras.

Two-Pack Solar Bundle For Outdoor Use: This bundle gives you two solar powered trail cameras, each with a dedicated trail camera solar panel, so you get a pair of deer cameras that run continuously without constant battery changes—a practical addition to your hunting accessories

SEASON-LONG SOLAR POWER, NO AA BATTERIES - Integrated solar panel and built-in rechargeable battery pack deliver continuous field operation without manual battery swaps. Adjustable panel angle maximizes sun exposure in any mounting position.
How a Cellular Trail Camera Works: The 3-Step Process
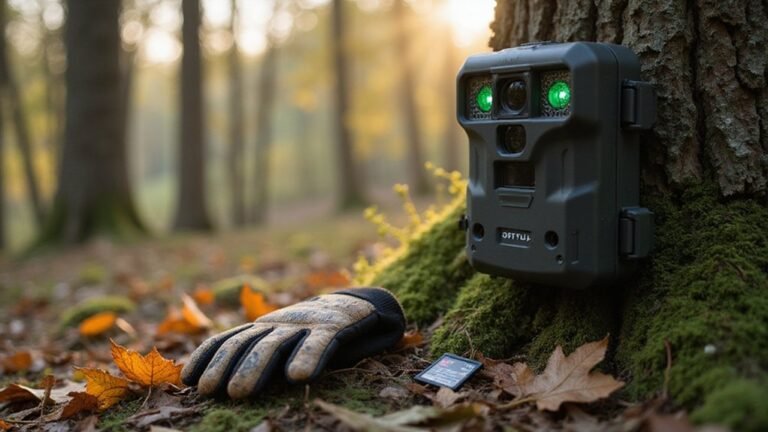
A cellular trail camera works through a three-step process: detection, transmission, and receiving. First, its PIR sensor detects heat from animals or wildlife, which triggers the camera to wake up instantly. It then captures an image, often using infrared flash to remain discreet at night, making it ideal for wildlife monitoring, and common features include instruction manuals for proper setup and optimization. The underlying technology functions by detecting infrared radiation, which is invisible to the human eye but represents the heat signature of objects. Modern trail cameras often employ digital night vision technology, which converts light into an electronic signal for a clearer image. The camera’s built-in modem compresses the photo and transmits it via a cellular network using your SIM card’s data plan, so it’s wise to understand the cost of a trail camera and its data plan implications to manage long-term expenses. This transmission can happen efficiently, especially with solar-powered setups, which help conserve battery life over long periods. Finally, the image uploads to a cloud server, and you receive a real-time alert on your phone, enabling remote viewing from anywhere.
What’s Inside: Key Components of a Cellular Camera
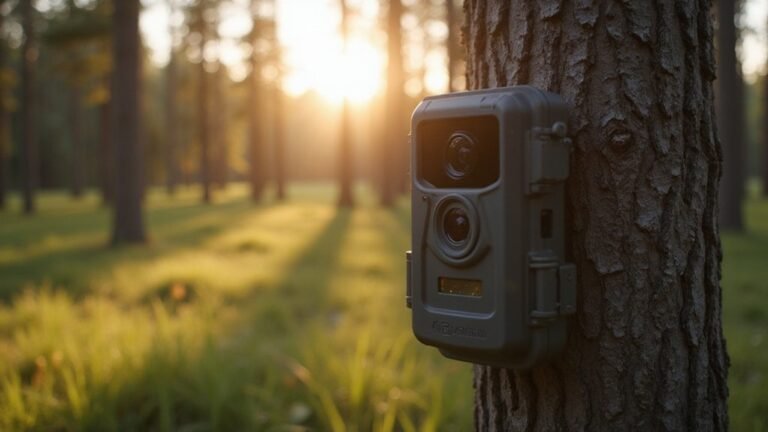
The core component of a cellular trail camera is the image capture unit, which consists of a lens and a high-resolution sensor. The sensor’s quality directly affects image clarity and detail, so investing in a camera with a good sensor ensures better results. The system is activated by a passive infrared (PIR) motion detector that employs a Fresnel lens to detect warm-blooded animals. When motion is detected, the sensor triggers the camera to capture an image or video.
A cellular module, powered by a micro SIM card, handles the wireless transmission of images straight to your phone or cloud storage. This allows real-time updates without physically retrieving the device. Powering the camera are either internal or external batteries, which vary in longevity depending on usage and environmental conditions. The onboard storage backup relies on an SD card, providing a secure place to save images locally in case transmission fails. To maximize performance, you should regularly perform lens calibration to ensure sharp focus and update the firmware provided by the manufacturer to benefit from improvements and new features.

New version trail cam: Clear Day & Night Imaging Capture sharp 64MP photos (adjustable: 5/16/36/48/56/64MP) and smooth 4K HD videos (3840x2160P /2560x1440P). The high-quality optical lens ensures crisp daytime images and night vision performance, making it ideal for wildlife observation, deer scouting, and property surveillance.
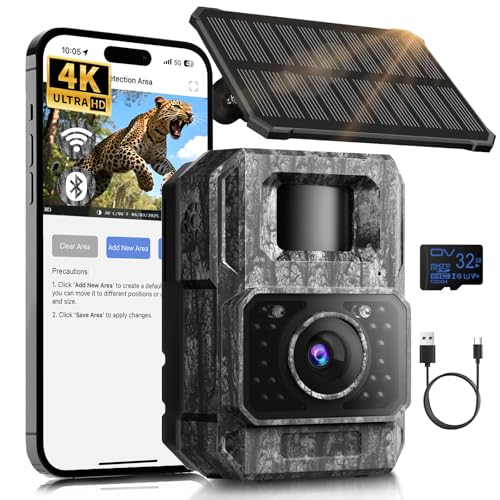
𝐍𝐎𝐓𝐄: 𝐢𝐭 𝐢𝐬 𝐍𝐎𝐓 𝐜𝐨𝐦𝐩𝐚𝐭𝐢𝐛𝐥𝐞 𝐰𝐢𝐭𝐡 𝐡𝐨𝐦𝐞 𝐖𝐢𝐅𝐢, 𝐝𝐨𝐞𝐬 𝐍𝐎𝐓 𝐬𝐮𝐩𝐩𝐨𝐫𝐭 𝐜𝐞𝐥𝐥𝐮𝐥𝐚𝐫/𝟒𝐆/𝟓𝐆 𝐧𝐞𝐭𝐰𝐨𝐫𝐤𝐬, and 𝐝𝐨𝐞𝐬 𝐍𝐎𝐓 capable of real-time motion alerts or push notifications. The camera creates its own short-range Wi-Fi hotspot (𝐍𝐨𝐧-𝐂𝐞𝐥𝐥𝐮𝐥𝐚𝐫) for setup, and downloading files only. Wi-Fi range is up to 33–50 ft in open areas. The camera records automatically even when your phone is not connected. No subscription or monthly fees

【Pinpoint Detail & Built for Observing Wildlife!】 Capture evidence-grade images, stunning 48MP HD resolution photos and 2k videos. Clearly view deer, wild boar, and other animals as they pass by, day or night. The trail cameras with night vision motion activated waterproof built to endure harsh outdoor conditions. And it's the ideal companion for wildlife observers, equipped with a 940nm no-glow infrared LED that does not disturb animals at night
How Your Camera Detects Motion and Captures Images
Because it’s designed to detect heat rather than visible movement, a cellular trail camera relies on a passive infrared (PIR) sensor to activate. This sensor uses infrared detection to notice temperature changes when a warm animal moves across its field of view. The heat sensors are effective both day and night, enabling operation in total darkness. The camera only activates when it detects this specific heat change, helping to reduce false triggers caused by moving branches or other background motion. Adding a DIY security box can further protect your camera from theft and environmental damage. The underlying thermal imaging technology is similar to the principles used in specialized thermal drone cameras.
For capturing images, the system features a fast trigger speed, often less than one second, ensuring you won’t miss quick movements. You can also adjust the sensor’s sensitivity to better suit your environment, which helps minimize false alarms in windy conditions or ensures distant, smaller animals are detected. This adaptability allows you to customize the camera’s motion detection to best fit the specific area and wildlife activity you’re monitoring. This is a key factor when comparing different types of game cameras for your specific needs.
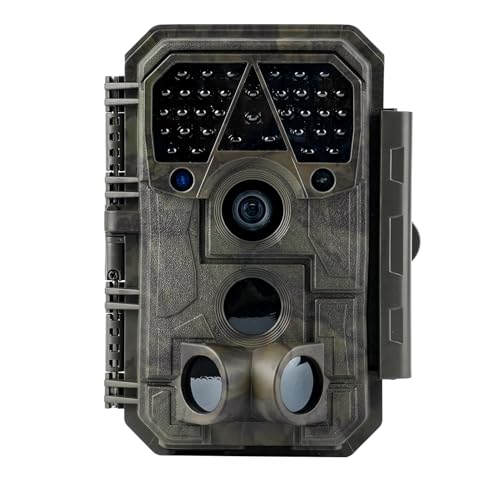
Crystal-Clear 64MP Photos & 1296p HD Video – Stunning detail day or night, thanks to advanced image tech and a high-performance f/1.6 aperture lens.

Trail cameras with night vision motion activated weather-resistant: Rohs Certified Wildlife Trail Camera Designed for Reliable, Durable Outdoor Use. IP66 Dustproof And Weather-Resistant Case Helps Protect The Trail Camera In Outdoor Environments

Solar Powered Trail Camera with Rechargeable Battery: No more climbing or wasting money on disposable batteries! This solar trail camera features a built-in 6000mAh rechargeable battery that works perfectly with solar charging power - truly energy saving, long-lasting, and maintenance-free. Ideal for outdoor wildlife monitoring, hunting essentials, and nature observation all year round.
How Your Photos Travel From the SD Card to Your Phone
After removing the SD card from your camera, connect it to your phone using an adapter or USB card reader. Your phone detects the SD card as external storage. Open your phone’s file manager or gallery app to browse the contents. You can view photos directly from the external card, and there’s no need for internet access for quick viewing. Selecting the right adapter is easier when you consult reviews of the best SD card readers for game cameras. Just like planning a drawing, good results come from selecting the right digital tools for the task. To transfer images, select the photos you want to move or copy, then choose the option to save them to your phone’s internal storage or main photo library. You can also reformat the SD card via your trail camera once the images are transferred to free up space. This process allows you to organize, view full-screen images, and do basic edits directly from the external SD card without relying on cloud services.
How Your Camera Sends Data Over Cellular Networks
Once your camera captures an image, its cellular modem begins converting that data into radio signals for transmission. It compresses the image and packages it using defined network protocols, preparing the data as packets for their wireless journey. These packets then travel via the modem’s radio to the nearest cell tower. This process requires a strong cellular signal; your camera won’t attempt an upload unless it meets a minimum threshold. Factors like terrain can cause signal interference, potentially disrupting the link. In such cases, your camera stores the data on its SD card and waits for the connection to be restored before trying to send the batch to the tower for onward routing. Considering value and performance is key, as affordable models balance these transmission capabilities with cost. Power consumption spikes significantly during these transmission events, which directly impacts the camera’s battery life. The camera’s radio emissions during this process can be detected using specific RF scanners, just as one might search for hidden surveillance in other environments.
Receiving Alerts and Viewing Your Photos Remotely
Once your images are transmitted through the cellular network, viewing them is straightforward. You receive alerts directly to your phone or email, ensuring prompt awareness of activity. For instant updates, real-time notifications send a thumbnail image immediately when motion is detected—just make sure your sensor is properly calibrated to minimize false alarms. You can also opt for scheduled digest reports that compile multiple images into a single summary, reducing data usage. Using your dedicated app or web portal, you can instantly access thumbnails, download high-resolution photos, and organize your archive efficiently. The process for this is similar to how you would connect an AGM thermal to your smartphone for viewing and control. Throughout this process, data encryption protects your images during transmission to cloud storage, maintaining your footage’s security. This level of remote access and security is comparable to the functionality of modern night vision devices. DIY projects often require understanding infrared illumination for effective low-light operation. Additionally, you can set up alerts for multiple contacts and access your photos from any device linked to your account, providing complete remote control.
Powering Your Cellular Trail Camera for the Long Haul
Using high-quality lithium or rechargeable lithium batteries is essential for long-lasting power in your cellular trail camera. These batteries provide better cold-weather performance and more consistent power output, helping your camera operate reliably over extended periods. To further conserve energy, customize your camera’s settings: switch from video to photo mode, increase detection delays, and lower upload frequency. These adjustments significantly reduce the power consumed by higher-energy functions. For a more cost-effective and powerful alternative to standard AAs, consider building packs using knockoff lithium-ion cells.
Pairing your camera with a solar panel oriented toward direct sunlight can ensure a continuous external power source, extending your operating periods without manual intervention. Just as important as power management is selecting the right camera resolution and lens for capturing clear images of fast-moving wildlife, and ensuring your device uses invisible infrared light to avoid startling animals. Regular maintenance, such as formatting your SD card and positioning the camera in areas with strong signal reception, also minimizes system strain. Managing your subscription settings efficiently is just as crucial for maintaining long-term control over your trail camera service. This not only conserves battery life but helps your camera maintain optimal performance over the long haul.

8 pack of Energizer Ultimate Lithium AA Batteries

2 pack of Energizer Ultimate Lithium AA Batteries

【Long-Lasting Power】1.5V high-capacity AA lithium batteries deliver stable performance for blink cameras, flashlights, gaming controllers and more
How to Set Up and Troubleshoot Your Camera
How to Set Up and Troubleshoot Your Camera
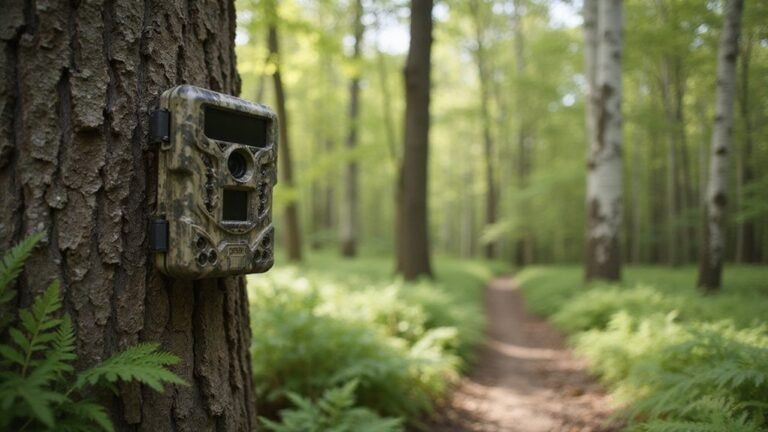
To set up your camera, start by downloading the specific app for your brand and creating your account. Register your camera using its serial number, then turn it on and insert a SIM card if needed. Mount the camera on a sturdy tree or fixed surface, ensuring it points toward the detection zone. Clear any obstructions and take a test photo to confirm proper setup. Keep an eye on your battery life within the app, especially since cellular data use drains power quickly. For troubleshooting, verify that your data plan is active and check the signal indicator. If your signal is weak, consider adding a signal booster to improve network transmission, particularly in remote locations. Finally, ensure the battery compartment is sealed tightly to prevent moisture and dust from entering. Configure detection zones through your app to focus the camera on specific areas and avoid false triggers.

DATA: Frequency Range: 698-960 MHz, 1710-2170 MHz, 2300-2700 MHz; Gain: 5dBi; Direction: Omni-directional; Waterproof: IP67; V.S.W.R: <1.8 ; Impendance: 50Ω; Cabel Type: 3M/10FT RG58 Cable;

WIDE COMPATIBILITY: Replacement SMA male antenna fits Spypoint LM2, Flex, Flex-S, Flex-M, Flex-Dark, G-36, Moultrie Edge, Spartan, Covert, and Muddy cellular trail cameras.

BOOST SIGNAL STRENGTH: SPYPOINT Antenna Booster CA-01 Long-Range signal booster can help improve signal strength in areas without the ideal cellular signal for your cellular trail cameras.