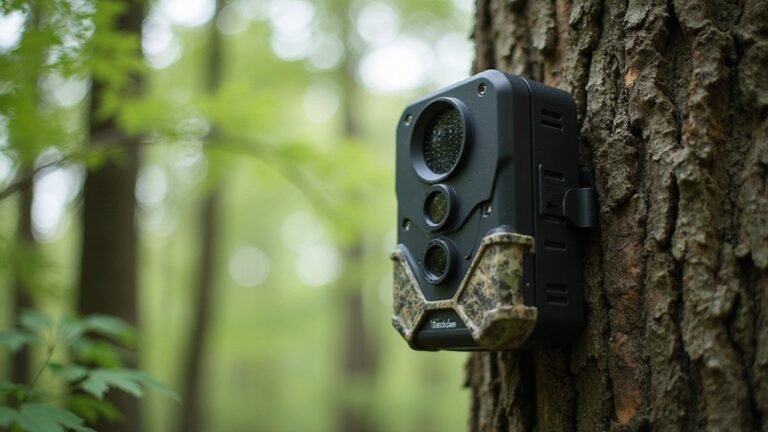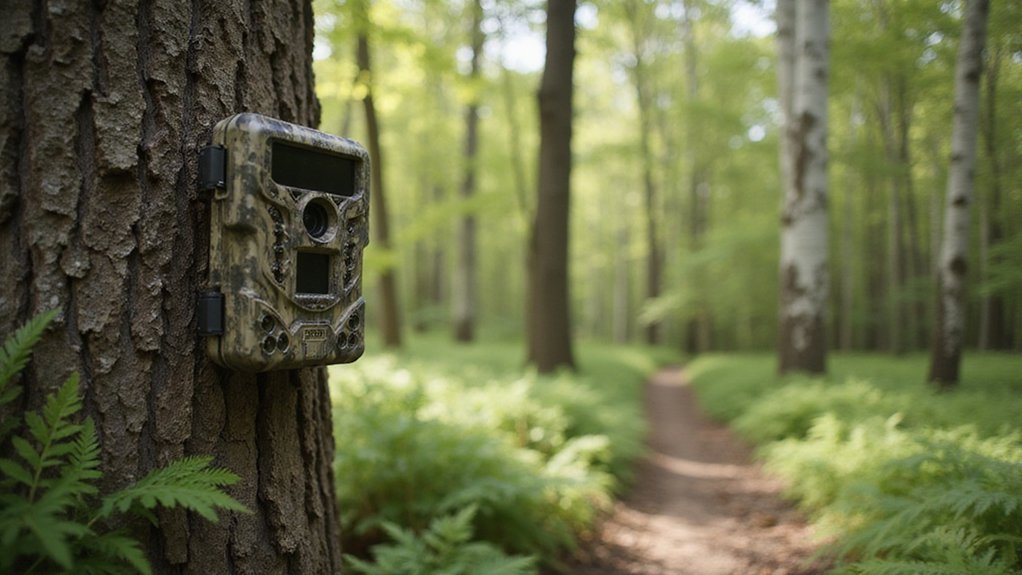
What Is DVR Mode on a Stealth Cam?
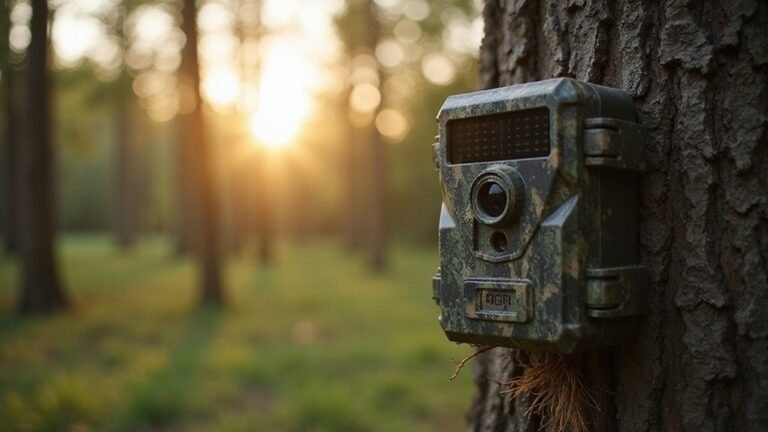
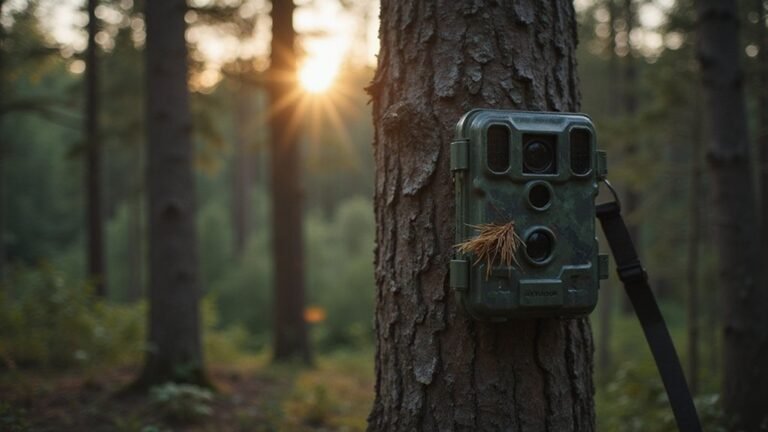
Ever wonder what DVR mode on a Stealth Cam really does? It transforms your trail camera from just taking still photos into a continuous video recorder.
Instead of gaps in footage, you get nonstop, looped videos that automatically replace the oldest clips when storage fills up. This feature is perfect for detailed, uninterrupted monitoring.
Keep reading to learn everything you need to know to set it up and use it effectively.
What Is Stealth Cam DVR Mode?
Stealth Cam’s DVR Mode records continuous, looped video footage rather than still images. In this mode, your camera captures nonstop video streams that overwrite the oldest clips when storage is full. This setup allows for extended surveillance periods without manual intervention, making it ideal for monitoring ongoing activity or security situations where missing critical moments could be costly, similar to how covert surveillance technology must adapt to regulations. Since the footage loops seamlessly, you can rely on uninterrupted monitoring even during long durations. This process is part of the camera’s automatic SD card management system and leverages a thermal imaging sensor for enhanced low-light detection. To get the most from this sensor in various conditions, learning proper thermal camera techniques is highly beneficial. Additionally, the mode is designed to conserve battery life and field durability, ensuring reliable operation in demanding outdoor conditions. Overall, DVR Mode offers a steady, real-time video feed that automatically manages storage, so you don’t have to worry about resetting or clearing files manually.
How to Activate DVR Mode on Your Trail Camera
To activate DVR Mode on your trail camera, start by opening the Command Pro app. On the home screen, tap the drop-down arrow on your camera’s card and select “DVR Mode.” Ensure your SD card is properly formatted to allow efficient data management. This formatting is crucial for maintaining the integrity of night vision footage. Then, switch the toggle to “On” and press the Sync button on your camera to push the update. During a new setup, you’ll be prompted to enable this feature. Once activated, the SD card icon appears instead of the storage percentage, indicating DVR mode is functioning. DVR Mode operates by continuously recording video and automatically deleting the oldest files when storage is full. This mode relies on infrared illuminators to capture clear video in total darkness, similar to how a thermal imaging camera detects heat signatures. Keep in mind that continuous recording can drain your battery faster, so double-check your power source before turning on this mode.

Compatible with iPhone 15 and later, MacBook series, and Android devices (OTG Required) with USB-C ports

HUNTER'S TABLET: Game surveillance is only part of the equation; Once your trail cameras capture the story, you need to be able to watch the story back; With the Wildgame Innovations Trail Pad Tablet, you can see the action you missed at your stand

Ample storage capacity: With 32GB of storage, the SD card provides sufficient space for storing a large number of high-resolution photos and videos from trail camera, This is particularly valuable for extended surveillance or continuous shooting in outdoor environments.
Adjusting DVR Interval, Resolution, and Loop Settings
After activating DVR Mode, you can adjust its interval, resolution, and loop settings to control recording length, video quality, and storage management. Set the interval from one to fifteen minutes; longer clips reduce the number of files stored but may miss short events. Balancing this with resolution impacts video clarity and footage compression. Higher resolutions produce larger files, filling your storage card faster. Always confirm that loop recording is enabled so the camera automatically deletes the oldest files when storage is full, ensuring continuous recording. This automatic overwrite prevents the SD card from becoming full and unusable, maintaining camera operation without manual deletions. The quality of these recordings depends on the camera’s ability to detect thermal radiation, which is the foundation of the imaging technology. For instance, managing your video storage effectively is similar to choosing between an infrared or thermal camera based on performance needs and cost. Your selection between these imaging modes should consider whether you need to see in total darkness or through obstructions like light fog, much like deciding on night vision or thermal. These choices directly affect battery efficiency; shorter, high-quality clips drain power more quickly. Optimize these settings based on your monitoring needs to maximize device performance and extend your storage capacity.

AMPLE STORAGE CAPACITY - With the capacity to store up to 12 full-size SD cards and 12 microSD cards for your hunting cameras and other devices, this trail camera SD card case ensures ample room to organize & secure your valuable data collection

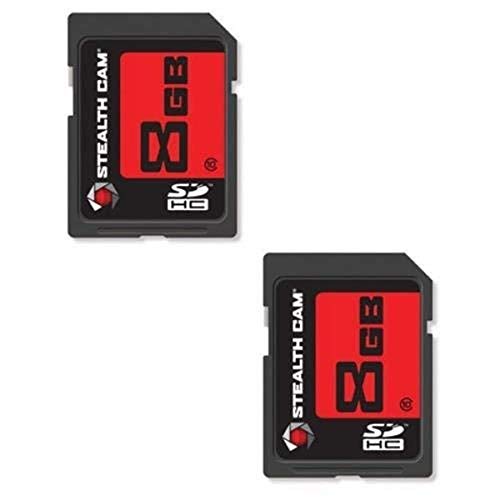
HIGH-SPEED DATA TRANSFERRING - The Stealth Cam SD Cards redefine efficiency with its high-speed data transfer capabilities; Offering a class 10 speed rating, this SD memory card ensures seamless recording of videos & capturing high-resolution pictures
Hunting Game & Trail Cameras Accessories
DVR Mode vs. Photo Mode: Key Differences
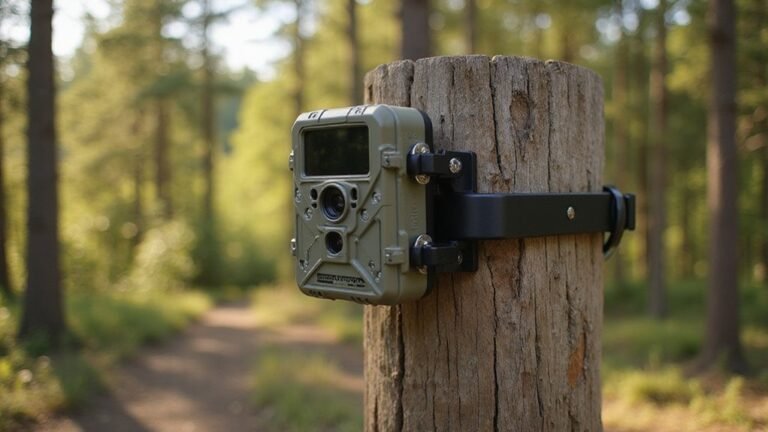
Choosing between DVR mode and photo mode depends on your monitoring needs. DVR mode offers continuous video recording, providing an uninterrupted, looping stream that automatically overwrites old clips to save space. Photo mode, on the other hand, captures high-resolution still images only when motion is detected, making it ideal for conserving storage and battery during long deployments. This approach aligns with a core function of a trail camera to monitor wildlife with minimal human intervention.
DVR mode uses more power because it constantly records and processes video, while photo mode conserves energy by only capturing images during motion events. In terms of image quality, photo mode typically produces higher-megapixel stills, making details sharper and clearer. Conversely, DVR mode often adjusts video resolution to find a balance between image quality and storage efficiency, especially given its loop recording feature. Each mode serves a different purpose: choose DVR for continuous coverage and photo mode for selective, high-quality snapshots.
【Powerful System Functionality】Venluna backup camera system boasts Bluetooth 5.0 (music playback/make a call) and USB 2.0 port (movie/music playback via USB drive). Monitor with built-in tweeter & microphone enables hands-free calling, boosting driving safety.

4K Screen & 4 1080P Backup Cameras: With the 10.36 inch 4K ultra HD 4-split touch screen & 4 pcs of 1080P Full HD camera, you can get sharper, cleaner and more vivid view on road to get the ultimate travel pleasure

【Insant DIY Installation】 The strong magnetic base ensures the camera snaps securely onto any metal surface—no drilling, no wiring. The 10.1-inch IPS monitor plugs into your car's Type-C port or cigarette lighter for true plug-and-play operation.
Who Benefits Most From Using DVR Mode?
DVR mode benefits those who need nonstop recording and comprehensive activity logs. It’s especially useful if you are monitoring wildlife behavior, as it captures every subtle movement and interaction continuously, regardless of day or night. Hunters and security personnel gain an advantage with constant surveillance that has no gaps, allowing for detailed analysis of game patterns or property protection. For remote monitoring, these cameras can often be connected to a mobile device, similar to how you connect AGM thermal to phone. This continuous recording function is a key feature evaluated when searching for the best trail camera.
Researchers and conservationists also find DVR mode invaluable because it automates long-term data collection. This enables accurate documentation of migratory routes or social behaviors without needing to manually start or stop recordings. A clear understanding of thermal imaging technology can help maximize the utility of this recorded footage. Additionally, strategic camera placement becomes more effective since you won’t miss any event within the frame. Ultimately, anyone needing borderless, real-time video information will find DVR mode a powerful tool for thorough surveillance and data collection.

【WiFi Connectivity & App Control】Connect this WiFi trail camera via Bluetooth and download app to check wildlife activity from your phone. Preview, download, and adjust settings remotely within the camera’s WiFi range.Includes 8 AA batteries for quick setup. Memory card not included. Supports microSD cards up to 128GB.
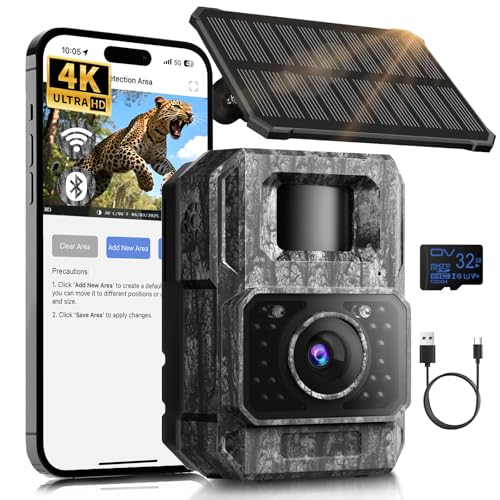
𝐍𝐎𝐓𝐄: 𝐢𝐭 𝐢𝐬 𝐍𝐎𝐓 𝐜𝐨𝐦𝐩𝐚𝐭𝐢𝐛𝐥𝐞 𝐰𝐢𝐭𝐡 𝐡𝐨𝐦𝐞 𝐖𝐢𝐅𝐢, 𝐝𝐨𝐞𝐬 𝐍𝐎𝐓 𝐬𝐮𝐩𝐩𝐨𝐫𝐭 𝐜𝐞𝐥𝐥𝐮𝐥𝐚𝐫/𝟒𝐆/𝟓𝐆 𝐧𝐞𝐭𝐰𝐨𝐫𝐤𝐬, and 𝐝𝐨𝐞𝐬 𝐍𝐎𝐓 capable of real-time motion alerts or push notifications. The camera creates its own short-range Wi-Fi hotspot (𝐍𝐨𝐧-𝐂𝐞𝐥𝐥𝐮𝐥𝐚𝐫) for setup, and downloading files only. Wi-Fi range is up to 33–50 ft in open areas. The camera records automatically even when your phone is not connected. No subscription or monthly fees

Fast trigger speed: The WOSODA trail cameras will be triggered instantly in 0.3s without delay, once detecting the movement, you will never miss any exciting moments even at night, and the trigger distance is up to 60ft.((Not included SD card,supports up to 256GB)
Troubleshooting Common DVR Mode Issues
To troubleshoot common DVR mode issues, start with the SD card. If you see a persistent “SD Card Full” error even with a new card, it’s likely that the card doesn’t have the correct file system. Formatting the card to FAT32 usually resolves this problem.
Ensure you have installed the correct firmware for your DVR model. Using the wrong firmware can cause complete malfunction, making the device unusable. Always verify compatibility before updating or replacing firmware.
Check your battery life before deployment to guarantee continuous loop recording. Insufficient battery power might cause recordings to stop unexpectedly during power failures or low voltage conditions.
Weather resistance on the camera body doesn’t prevent issues caused by a corrupted SD card. Humidity and moisture can corrupt the card, leading to recording interruptions. Use high-quality, dedicated SD cards designed for surveillance or outdoor use to prevent this.