How to Use a Thermal Camera: A Beginner’s Guide
Wondering how to spot hidden issues with a thermal camera? The key is understanding how to set it up correctly and interpret the heat signatures.
Knowing the basics will help you identify problems like leaks or electrical faults—often invisible to the naked eye.
Keep reading to learn the simple steps that make thermal imaging a powerful tool for revealing what’s normally hidden.
Understand What a Thermal Camera Actually Shows
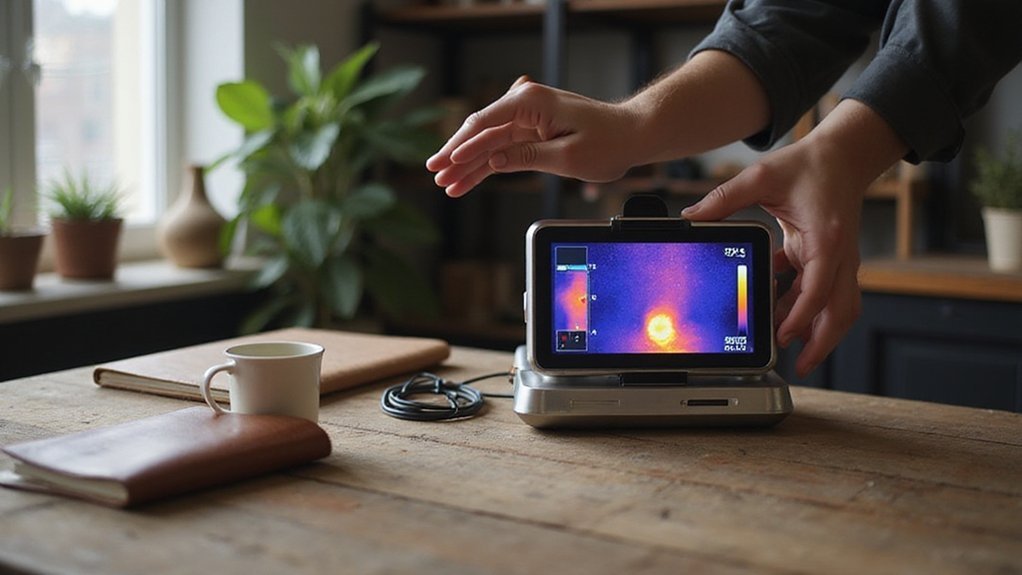
A thermal camera shows surface temperature, not visible light. It detects infrared radiation emitted by objects to create a thermogram, which maps temperature differences across surfaces. These images use colors to represent temperature variations—reds and whites for warmer areas, blues and blacks for cooler ones—but keep in mind that these colors are interpretive, not literal.
What you see on a thermal camera reflects surface conditions, not internal states. Reflective surfaces can distort readings because they reflect infrared emissions from other sources. While the camera works in complete darkness, it cannot see through walls. Instead, it highlights patterns like hotspots, drafts, or temperature leaks, detecting differences as small as 0.01°C. This sensitivity makes it possible to identify tiny temperature contrasts that are invisible to the naked eye. Unlike thermal imaging, night vision technology amplifies visible light rather than detecting infrared radiation. It also reveals faulty components, such as overheating motors or compressors, by detecting hotspots that signal inefficiencies or potential failures before they escalate. Understanding these surface temperature readings helps avoid misinterpretation of reflective materials like glass or metal.
Set Up Your Thermal Camera and Scan the Right Way
After powering on your thermal camera and allowing it about 10 seconds to boot up, you need to verify your setup settings before scanning. Check the battery level and calibration status icons immediately to ensure reliable operation. Proper calibration guarantees accurate temperature readings, while a fully charged battery prevents unexpected shutdowns during inspection. Set the correct date, time, temperature units, and initial range for your target to optimize your measurement accuracy. Additionally, ensure your Wi-Fi and camera are connected to the Ignite cloud system for automatic image syncing and enhanced data management. For larger survey areas, you may consider mounting the camera on a DIY drone to access difficult-to-reach spots from a safe distance. If you need to cancel a subscription to the cloud service, contact support directly to avoid unwanted charges. Understanding how thermal imagers detect infrared radiation is key to interpreting temperature differences accurately in your scans.
Inspect the lens for dirt, smudges, or damage, as clarity is essential for precise imaging. Focus the lens until thermal edges appear sharp and clear. Input the correct emissivity and reflected apparent temperature for your surface to ensure accurate temperature calculations. Adjust level and span controls to improve contrast and distinguish temperature differences effectively. When scanning, aim so the target fills multiple pixels for detail. Adjust your angle to minimize reflections and avoid glare. Keep your camera steady to prevent motion blur, which can undermine image clarity. If your camera supports it, capture a radiometric image for temperature analysis later, and verify that every image saves properly before moving on to the next scan.
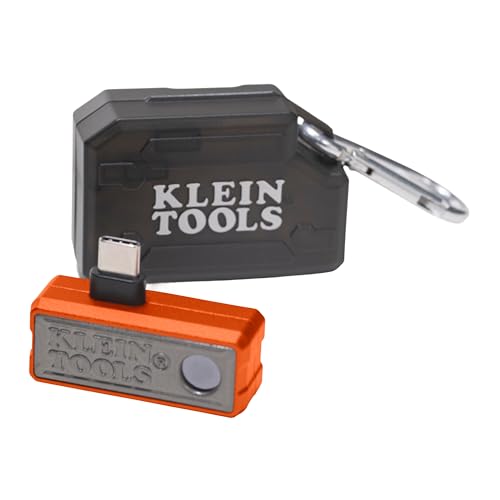
19,200-PIXEL RESOLUTION: High-quality thermal imaging camera delivers excellent resolution for troubleshooting hot and cold spots in electrical and HVAC applications

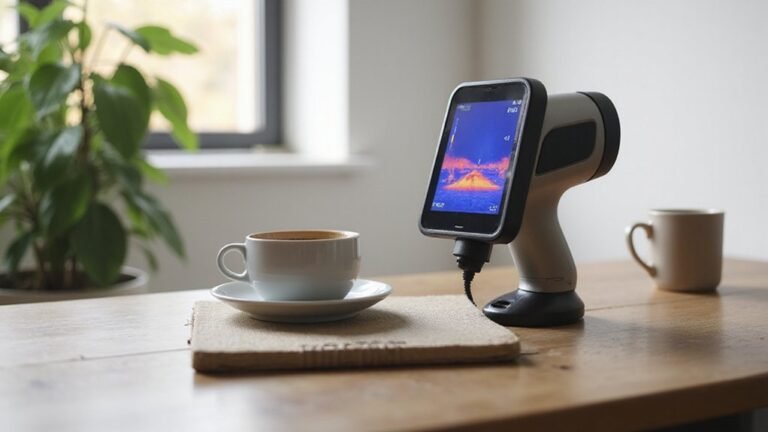
[320x320 IR Infrared Camera]: BSIDE SH7 thermal imaging camera has 320 x 320 ir resolution, which could help you detect potential problems early and diagnose problems reliably.

COMPATIBILITY: Infrared camera plugs directly into phone charging port and connects with iphones with USB-C (iphone 15 and newer)
Why Temperature Contrast Makes Defects Visible
Defects become visible on a thermal camera because they create temperature differences that stand out against the surrounding material. These differences, known as temperature contrast, occur because defects such as air gaps or delaminations disrupt heat flow. They act like insulators, preventing heat from passing through normally, which causes the surface temperature in those areas to differ from intact regions. Unlike trail cameras that detect motion, thermal cameras detect emitted infrared radiation, which correlates directly with surface temperature. It’s important to note that surface emissivity and reflectance can influence the readings, but the key factor for defect detection is the temperature difference between the defect and the sound material. Generally, a contrast of just 1 to 2 degrees Celsius is enough to make a defect visible, especially for shallow issues. The greater the temperature difference, the clearer the defect appears in the thermogram. For optimal results, the camera should be given time to stabilize its internal temperature, as this ensures consistent readings and reduces drift that could mask subtle thermal clues, a process that works independently of any quick connect accessory used for mounting or syncing the device. Unlike a cantilever scope mount, which offsets an optic forward for eye relief, thermal camera stability relies on internal temperature equilibrium rather than mechanical positioning.
Spotting Hot Spots, Cold Spots, and False Alarms
Not every hot or cold spot you detect with a thermal camera indicates a problem. You must differentiate between true anomalies and normal heat patterns. For instance, electrical equipment under load often runs warm, so a hot spot alone does not confirm a failure. Cold spots might be due to missing insulation or thermal bridging rather than moisture presence. Check the temperature contrast; low differential can hide defects. Examine the shape of the pattern: irregular blotches often suggest moisture, while geometric, ladder-like patterns indicate potential structural issues. Always verify suspicious areas by changing your angle to rule out reflections and emissivity artifacts, especially on shiny surfaces that can mislead readings. A beginner’s guide to thermal monoculars emphasizes that understanding false alarms comes from learning normal heat signatures in different environments. Thermal imaging ethics require you to treat anomalies as initial leads, not definitive diagnoses. Confirm suspected problems with secondary checks, such as moisture meters, before escalating. Errors in equipment calibration, including inaccurate emissivity or distance mismatch, can produce false readings. Use a known temperature source like ice water for calibration checks to confirm readings are within ±3-4°C of the reference. Confirm any suspected problems thoroughly to avoid unnecessary false alarms. For more reliable results, always review the step-by-step guide for setting up your specific camera model to ensure proper configuration and avoid common setup errors.

【Enhanced Thermal Clarity】Start with 128x128 thermal imaging and enhance to 240x240 resolution with TISR technology for greater details. The wide 40°x 30° field of view and a 25Hz refresh rate deliver accurate, smooth thermal images—ideal for detailed inspections in homes and on electrical systems and machinery

WATER LEAK DETECTOR detects relative moisture content from leaks and flooding

【Dual Mode Inspection】Combines conventional thermal imaging (Center/Hot/Cold spot modes) with thermometer mode for flexible temperature analysis. Use full-screen thermal imaging to monitor moving animals, machinery, automotive, or HVAC systems in real time, ensuring continuous observation with no detail loss. When you need exact numbers such as kitchen use, thermometer mode provides quick, point-and-shoot readings with a clear digital display.
Save Your Thermal Images and Avoid Beginner Mistakes
To ensure your thermal images are saved correctly, follow these key steps: First, always wait for the focus to stabilize before pressing save. Blurred images due to unstable focus waste your time and can lead to missed details. Check your storage destination—whether it’s the internal memory, SD card, or external flash drive—to prevent transfer issues later. Reviewing your images immediately in playback mode helps you catch problems before leaving the site, saving you from returning to retake shots. Keep your memory from overfilling by deleting any unnecessary files regularly. Use the appropriate save mode that preserves analysis data needed for your software, which ensures the images remain usable for detailed review. Be mindful of battery life—during long sessions, plan your power supply accordingly to avoid interruptions. Perform calibration procedures between shoots to maintain measurement accuracy. When capturing heat patterns, keep the camera steady from a few meters back to get full, clear images. For hunting applications, top thermal binoculars often include specialized image saving modes to preserve critical heat signatures. Some of the best free thermal camera apps can also provide basic image capture and analysis on a smartphone. Adopting these habits helps you build a reliable archive of high-quality thermal data.

[Enhanced Clarity with 512×384 TISR Resolution] - Start with 256×192 thermal imaging and enhance to 512×384 super resolution with TISR technology for providing clearer images and capturing more details. The wide 56° x 42° FOV, <40mk sensitivity and 25Hz high refresh rate deliver accurate and smooth thermal images, ideal for detailed inspections in homes and on electrical systems and machinery.

Great for Compact to midrange Point and Shoot digital Cameras and camcorders

Works with all SD Card compatible game cameras