DIY Thermal Scope: A Complete Beginner’s Guide
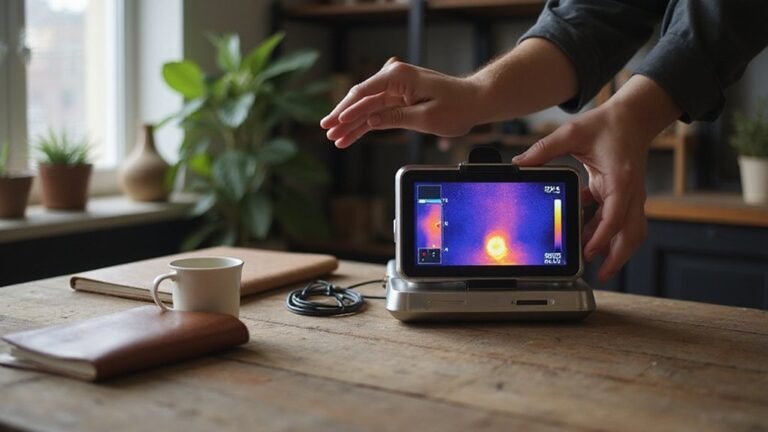
Wondering how you can build a thermal scope yourself? It’s more doable than you might think, especially with a few key components like a FLIR Lepton sensor, a microcontroller such as a Raspberry Pi, and some basic wiring skills.
This DIY project puts heat vision in your hands, giving you the ability to see heat signatures even in total darkness or fog. Keep reading, and you’ll find all the steps to make it happen.
What Exactly Is a DIY Thermal Scope: and Why Build One?
A DIY thermal scope is a homemade device that combines a microbolometer sensor, a processing unit, and a display to visualize temperature differences. Because thermal scopes detect heat signatures instead of reflected light, they can see through darkness, fog, and heavy brush without relying on ambient illumination. Building your own gives you full control over the components and allows you to learn applied electronics firsthand. Achieving a clear, usable image requires precise calibration of the sensor to ensure accurate temperature readings; otherwise, your heat maps may be off or useless. Thermal scopes excel in conditions where traditional optics fail, as they do not require any light to create an image. Understanding the cost of essential components is similar to evaluating Moultrie mobile plan pricing to avoid overspending on unnecessary features. Note that regulatory restrictions on certain imaging technologies, such as red night vision goggles, highlight the importance of checking local laws before assembling your own device.
Optical alignment is also critical. You need to carefully align the lens with the detector to prevent blurry or distorted images. Proper calibration and alignment are key to creating a thermal scope that effectively converts temperature variations into visible images. The result is a custom tool capable of operating in complete darkness, providing a tactical or observational advantage that standard optics can’t match.
How Thermal Imaging Works in Complete Darkness
Thermal imaging works by detecting infrared radiation emitted by objects, making it especially effective in complete darkness. Unlike visible light, which relies on photons bouncing off surfaces, thermal imaging senses heat energy emitted naturally by all objects above absolute zero. When there’s no light to reflect, your scope measures the heat differences between objects and their surroundings. Infrared lenses focus heat energy onto sensor arrays, ensuring accurate mapping of heat signatures in each frame. The process begins with the sensor capturing infrared radiation, which varies based on temperature. Warm objects like a person or engine emit more infrared energy and appear brighter, while cooler backgrounds emit less and appear darker. These variations create thermal contrast, which forms the basis for the image. The sensor converts these subtle heat differences into electrical signals that are processed into a visual display. Bright areas on the display indicate higher heat emission, not brightness in the traditional sense. Because heat signatures are always present regardless of lighting conditions, you can identify and track targets even in total darkness with clarity. This ability to function without any ambient light is why thermal imagers are often called passive detection devices. The technology relies on specialized infrared lenses that are transparent to long-wave infrared radiation, unlike standard glass lenses.
The 4 Essential Components for a DIY Thermal Scope
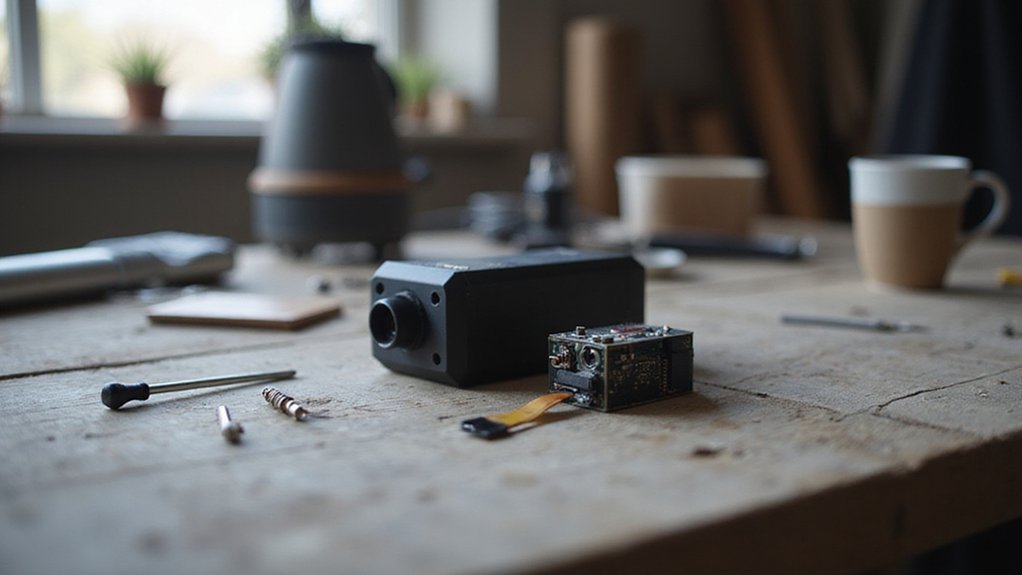
The four essential components for a DIY thermal scope are a thermal sensor, optics, a display, and a power supply. The thermal sensor is the core element that detects infrared radiation and transforms heat into electrical signals. Microbolometers like the FLIR Lepton are common choices due to their compact size and effectiveness. Calibration of the sensor is crucial; it ensures accurate temperature readings and consistent image quality. Higher resolution sensors, such as 384×288 or 640×512 pixels, enhance image clarity and allow for better digital zoom. Optics focus the infrared radiation onto the sensor. Germanium lenses are preferred because they transmit IR efficiently, improving detection range and detail, though inexpensive infrared lenses often prioritize laser focusing over image quality, imposing optical constraints. The lens size and field of view should match the sensor’s specifications to produce a usable and clear thermal image.
The display presents the thermal data in a visible format. LCD or OLED screens are suitable options, provided they are bright and easy to read in outdoor lighting conditions. The display quality directly affects how well you can interpret the thermal image.
Lastly, a reliable power supply keeps your scope operational. Rechargeable lithium-ion batteries like 18650 cells are ideal because they provide stable voltage and long-lasting power. To determine the right battery capacity, calculate your total power draw, ensuring your setup runs smoothly during extended use.

Utilizing the FLIR Lepton sensor, Infrared Guided Measurement (IGM) visually guides you to hidden temperature issues so you know precisely where to focus your troubleshooting

COMPATIBILITY: Infrared camera plugs directly into phone charging port and connects with iphones with USB-C (iphone 15 and newer)

INFRARED GUIDED MEASUREMENT: Pinpoint hidden issues instantly with the 80x60 Lepton thermal imager that visually guides you to the exact location of potential moisture. Stop guessing where the water is and start seeing temperature patterns that reveal leaks and insulation gaps behind walls and ceilings.
Raspberry Pi or Arduino: Which Controller?
Choosing between a Raspberry Pi and an Arduino depends on what your scope needs to do. Use an Arduino when you require direct, low-power hardware control for tasks like sensor reading and simple actuation. Its predictable timing and quick startup make it suitable for battery-powered, instant-on devices. An Arduino can run on AAA batteries or solar, making it highly resilient to power interruptions. This resilience is especially valuable in the field, where setting up a device can often be streamlined by using wireless configuration to adjust settings remotely without physical access. Understanding the cost of a trail camera can help you budget for comparable components or alternative enclosure solutions. For example, reviewing the typical pricing of trail cameras can guide your component selection for a more cost-effective build.
Opt for a Raspberry Pi if your scope needs to handle complex image processing, display output, or wireless features. It functions as a more powerful, software-capable computer that manages tasks like data analysis and user interface.
Start by considering your project’s core functions. An Arduino-only setup keeps things simple and affordable if you only need basic controls. A Raspberry Pi is better if your project involves heavy software processing or multimedia. You can also combine both for a hybrid design, but avoid overcomplicating your first build. Always choose the platform that best matches your project’s primary requirements.

433mhz RF Transmitter and Receiver Superheterodyne UHF ASK Remote Control Switch Module For Arduino Wireless Diy Kit.
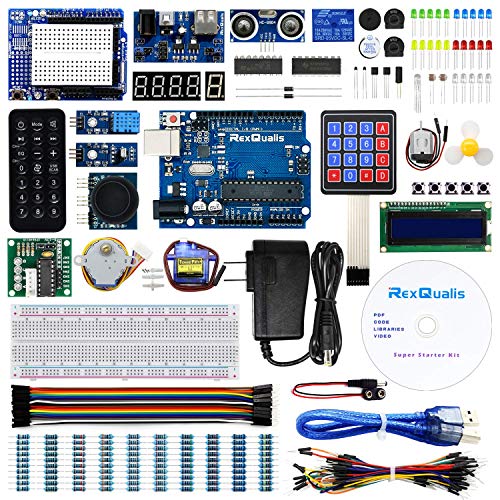
The most economical kit comes with everything compatible with Arduino to starting programming for beginners .

TURN CODE INTO REAL-WORLD RESULTS — Follow 22+ guided lessons to make LEDs blink, read temperature and distance, move servo and stepper motors, control an LCD and respond to joystick or IR input; ideal for a family weekend build, homeschool unit, coding club or STEM classroom
Wiring the FLIR Lepton: A Step-by-Step Hookup
To wire the FLIR Lepton breakout board to your controller, start by ensuring the thermal sensor is securely snapped into the breakout’s socket. For a Raspberry Pi, you’ll need female-to-female jumper wires. Connect the SCL pin to GPIO 3 and the SDA pin to GPIO 2 for I2C communication. For SPI, connect MISO to GPIO 9, CLK to GPIO 11, and CS to GPIO 8. Additionally, connect VSYNC to GPIO 17 to handle vertical synchronization. Power and ground are routed through the breakout’s J3 header, with P1 as ground and P2 as VIN. The breakout operates on 3 to 5.5 volts, simplifying power management. Remember that the I2C line manages camera control while SPI transmits the video stream. If you see a red square during operation, moving the CS pin from GPIO 26 to GPIO 24 often resolves the issue. Unlike standard visible-light cameras, thermal imaging relies on radiant heat detection rather than reflected light, so your DIY scope will function in total darkness as long as temperature differences exist. For a complete build, you will also need to select a compatible flight controller that supports the thermal camera’s data interface.

The Most Complete Kit ; This kit is the most complete Breadboard Jumper Wires set which contains high quality assorted U-Shape Jumper Wires, assorted solderless flexible jumper cables, tweezer, with which you can do all kinds of circuit experiments.

BOJACK high quality 14 Values 840 Pcs Breadboard Jumper Wires Kit

Parameters: U shape, 24 AWG, male to male, wire length 2 mm, 5 mm, 7 mm, 10 mm, 12 mm, 15 mm, 17 mm, 20 mm, 22 mm, 25 mm, 50 mm, 75 mm, 100 mm, 125 mm
Powering Your Build Safely With 18650 Batteries
18650 batteries are an excellent choice for powering your thermal scope because they offer long-lasting performance, typically providing 5 to 10 hours of runtime per charge. Carrying a spare cell can add over 7 hours, ensuring extended use in the field. Their high capacity outperforms alkaline or NiMH batteries commonly used in other gear, making them well-suited for demanding thermal applications.
To charge 18650 batteries safely, always use a charger designed specifically for this size. Modern chargers automatically stop charging when the battery is full, preventing overcharge. Always place batteries on a stable, dry surface during charging and allow them to reach room temperature after cold-weather exposure. Avoid using damaged cables or incorrect chargers, as they can reduce battery life.
Store spares in a protective case, kept in a cool, dry spot to prevent damage or deterioration. In cold environments, warm spare cells inside your pocket before use to maintain optimal performance. To preserve battery health during extended use, reduce display brightness and turn off Wi‑Fi when not needed. Before each use, inspect batteries for any signs of damage or swelling, and avoid letting them deeply discharge to extend their lifespan.

🔋UNIVERSAL CHARGER FOR: Li-ion LiFePO4 IMR INR ICR 25500 22650 𝟏𝟖𝟔𝟓𝟎 18490 18500 18350 16340 RCR123A 14500 10440 Batteries, Ni-MH Ni-Cd A AA AAA AAAA SC Batteries.

✔ Built with integrated safeguards including over-charge, over-voltage, short-circuit, and over-current protection. Our 3.7V 18650 21700 26650 battery charger automatically stops charging when the battery is full, preventing damage to your batteries and ensuring complete peace of mind during use.

Wide Application:2 Bay Intellicharge LCD Display Charger fit for 21700 20700 10440 14500 16340 16650 14650 18350 18500 18650 3.7V rechargeable battery,for 1.2V battery AA AAA AAAA SC C F6
Mounting and Testing Your DIY Thermal Scope at Home
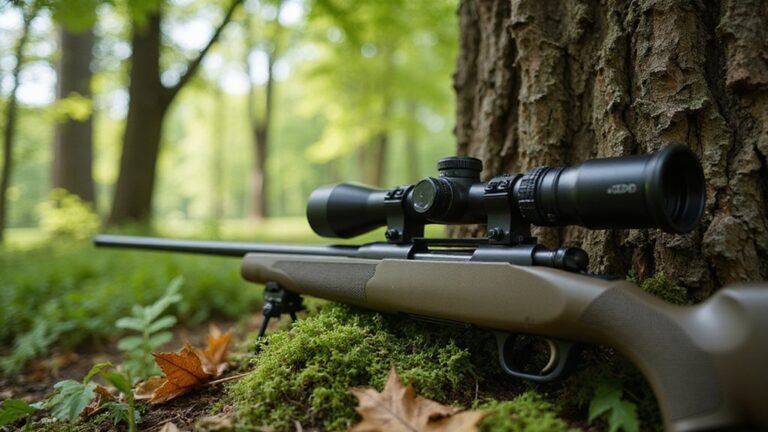
To mount and test your DIY thermal scope without alignment or reliability issues at home, start by confirming your rail type and mount interface. Use proper mounting techniques: clean all mounting surfaces thoroughly, match your tools to the fasteners, and tighten screws evenly following the recommended torque settings to avoid overtightening or uneven pressure. Proper mounting also includes checking that the thermal unit’s quick-change battery system, typically located on top, does not interfere with your cheek weld or rail clearance. For reliable performance in the field, it is important to consider market comparisons like the Stealth Cam vs. Tactacam comparison to understand which trail camera stands out in terms of battery life and detection range. Additionally, beginners should familiarize themselves with key thermal imaging fundamentals such as understanding how different heat signatures appear in the viewfinder to avoid misidentifying targets. Unlike heavier ballistic helmets, a bump helmet offers lighter weight but no bullet protection, which is a key trade-off when choosing headgear for carrying a thermal scope on long treks.
Position the scope so the optical axis remains level and ensure eye relief provides a natural, comfortable cheek weld. Check the ergonomics—make sure controls, the battery door, and bolt handle remain easily accessible during operation.
For testing, secure the scope on a stable rest and perform alignment procedures against a stationary warm source to verify proper sighting. If you’re using a clip-on system, confirm that the display and crosshair overlap correctly. After mounting, run a low-stress function check: power on the scope, navigate menus, adjust focus, and assess image clarity.
During your initial session, observe for any movement under recoil if applicable and reinspect all mounting screws afterward. If you notice inconsistent alignment or a shift in zero, stop and reinstall the scope carefully, repeating the alignment process. Always verify zero after transporting or removing the scope to ensure continued accuracy.

30mm Scope mount : 30 mm diameter scope rings with 1.43 inch ring center height are compatible scope mount for Picatinny rails and more scope rings and mounts Made from aircraft-grade 6061-T6 aluminum alloy and CNC machined ensures precision
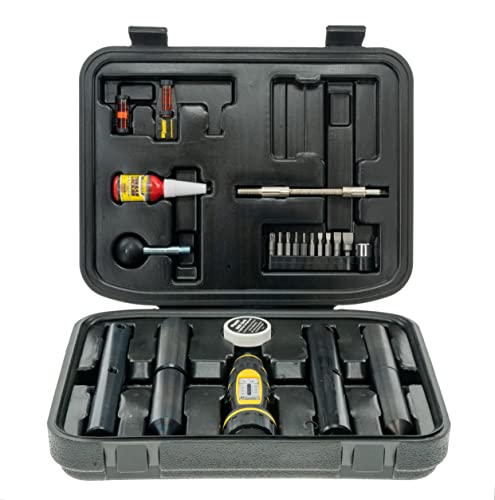
DIMENSIONS: 13.6 inches L x 10.3 inches W x 3.4 inches H

Solid Medium Scope Ring: 1 inch diameter scope rings with 1.20 inch ring center height are compatible with Picatinny rails and more. Made from aircraft-grade 6061-T6 aluminum alloy and CNC machined ensures precision
Building a Foil Tape Target for Testing Your Scope’s Accuracy
To build a simple and effective target for testing your scope’s accuracy, start with a flat cardboard backer. Apply smooth, wrinkle-free strips of HVAC foil tape, pressing them flat with a squeegee to prevent bubbles or distortions. The reflective surface of the tape creates a strong thermal contrast against the cardboard, serving as a clear aim point. Unlike thermal insulation, which retains heat, the tape reflects ambient heat and appears bright through your scope. When a bullet impacts, it creates a cold spot that is easily visible as a dark mark on the bright tape. Slightly tilting the backer can enhance contrast, making impacts stand out more clearly. Since your scope measures temperature differences rather than colors, avoid relying on color calibration. For best results, place the target in direct sunlight. One-inch squares are ideal for zeroing your scope at distances from 25 to 100 yards. This method is suitable for quick impact identification and zeroing adjustments because the tape reflects heat and holes reduce heat reflection. Understanding this principle is similar to why human eyes glow under night vision cameras, as both rely on reflected ambient light rather than emitted heat. If you are on a tight budget, consider tips to save money when purchasing the scope itself, as understanding price drivers can help you choose a cost-effective model. For improved precision, confirm your zero by shooting multiple three-shot groups and adjusting the reticle in small increments.
5 Wiring Mistakes That Ruin DIY Thermal Scope Accuracy
Never substitute regular copper wire for thermocouple extension wire because it creates false junctions that permanently skew temperature readings. Copper is not suitable for thermocouple extensions since it alters the thermoelectric voltage, resulting in inaccurate measurements. Always use the correct extension wire specified for your thermocouple type, such as copper-nickel alloys for Type T thermocouples or constantan for Type E. For reliable field performance, select a trail camera with wireless connectivity to compare scope readings against known reference points.
Additionally, avoid ground loops by grounding only one end of the wiring. Multiple grounding points can generate electromagnetic interference, which distorts temperature data and impairs scope accuracy. To prevent this, select a single grounding point and ensure all wiring is properly insulated from other metal components. For nighttime use, consider a dedicated predator hunting light to avoid introducing electrical noise from multipurpose circuits.
Finally, keep junctions well insulated to prevent environmental airflow from affecting measurements. Uninsulated connections allow air currents to cool or heat the junctions unevenly, leading to erroneous readings. Use appropriate insulation materials such as heat shrink tubing or ceramic insulators. Before performing non-uniform calibration checks (NUC), stabilize the environmental conditions—temperature, airflow, and electrical noise—to maintain the integrity of your scope’s accuracy. Using a thermal imaging camera provides an inexpensive form of fire insurance by quickly detecting overheating connections.