What Is Digital Night Vision Technology?
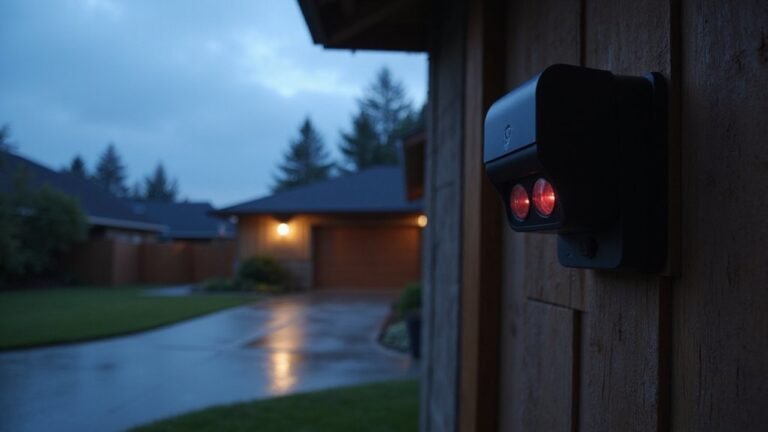
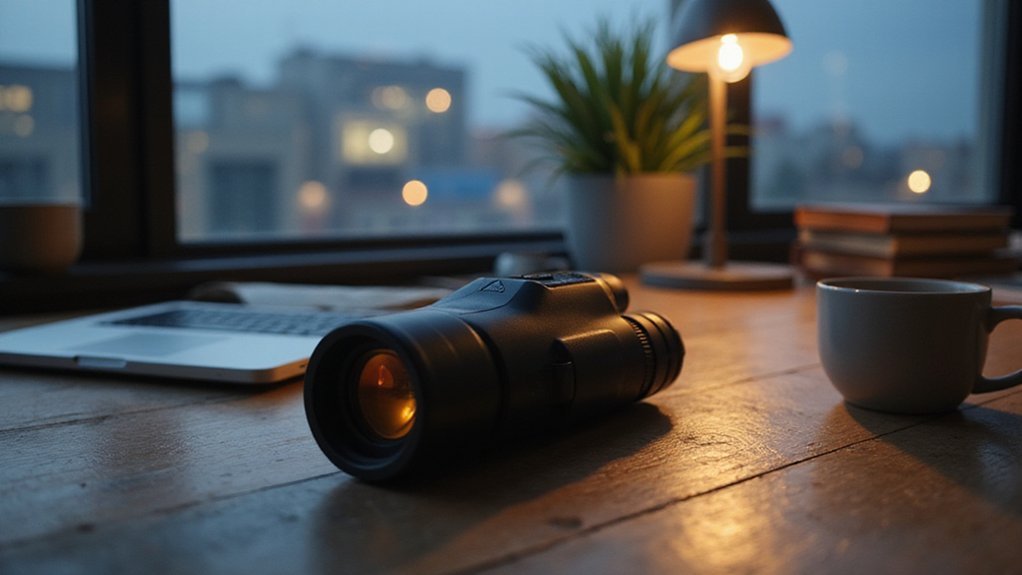
Wondering how night vision gadgets work without bulky glass tubes? Digital night vision uses tiny electronic sensors, like CMOS or CCD, to pick up faint light in the dark.
It turns that light into digital signals, which a processor clarifies to give you a clear view on a screen. Most models also include infrared lights to see in complete darkness.
Looking to understand its strengths and limitations? Keep reading.
What Is Digital Night Vision and How Does It Work?
Digital night vision works by capturing low-light scenes with an electronic image sensor, such as a CCD or CMOS. The sensor converts light that passes through the device’s objective lens into an electrical signal, which is then processed to create a visible image on a screen. If natural light is insufficient, an infrared illuminator emits invisible infrared light, enabling the sensor to detect scenes in complete darkness. The infrared illuminator power determines the maximum visibility range, typically from 75 yards to 300 yards. These devices use image intensifier tubes to amplify ambient light, though digital models rely on digital processing instead. However, unlike thermal cameras, digital night vision cannot detect heat signatures or see through solid obstacles such as walls, since it only captures reflected light rather than thermal radiation emitted by objects. Understanding prices and savings tips can help you choose a cost-effective digital model without sacrificing essential features.
You can adjust the image’s brightness, contrast, and display color—either green or grayscale—through a user interface. These adjustments help optimize visibility and detail based on your environment. However, all this processing and screen use consume battery power rapidly, so shorter sessions or extra batteries are often necessary. The technology delivers real-time, adaptable images, but you trade longer operation times for digital flexibility.
The Digital Night Vision Pipeline: Sensor, Processor, and Display
The display stage presents the processed night vision image on an LCD, OLED, or micro-OLED screen. You view this through an eyepiece, which sometimes includes automatic brightness adjustments that optimize visibility based on ambient lighting conditions. Because the entire system operates digitally, you can easily store the scene for later analysis or transmit it to other devices without hassle. This digital architecture also supports multi-input overlays like GPS and maps, further enhancing situational awareness. Unlike traditional systems, thermal scopes detect heat signatures rather than light, making them highly effective in total darkness through thermal radiation detection. This method of detecting temperature differences allows users to see through smoke, fog, and foliage where conventional night vision fails, thanks to infrared sensor technology that converts heat into a visible image. Understanding how these game cameras work reveals that many modern models integrate similar digital night vision pipelines for capturing clear footage in low-light environments.
Digital Night Vision vs. Traditional Night Vision vs. Thermal Imaging
Digital night vision stands out for its versatility and affordability. It provides a detailed view of the scene, allowing you to recognize layout and fine details despite low light. This makes it ideal for situations where identifying objects or navigating unfamiliar terrain is essential. Additionally, modern digital models often include built-in recording capabilities that traditional analog tubes lack. When housing your device for outdoor use, consider constructing a secure enclosure to protect it from weather and theft.
In contrast, thermal imaging detects heat signatures and excels at revealing hidden sources of heat, such as animals, humans, or warm machinery. It’s particularly effective for spotting movement or identifying living beings in complete darkness or obscured conditions. Thermal devices are often more expensive and rely on detecting temperature contrasts rather than visual information. For those interested in building their own, DIY thermal camera guides offer a cost-effective way to explore this technology. Understanding how thermal sensors convert temperature data into viewable images helps buyers evaluate resolution and range specifications before purchasing.
Traditional night vision, with its rugged and classic design, offers durability and a straightforward, tactile experience. It amplifies ambient light, making it suitable for longer use without complex electronics. However, it provides less detail and can struggle in very dark environments lacking sufficient ambient light.
You will choose based on your primary need: if you require detailed scene recognition and a cost-effective option, digital night vision is your best bet. If detecting hidden heat sources or searching in complete darkness is key, thermal imaging will serve you better.
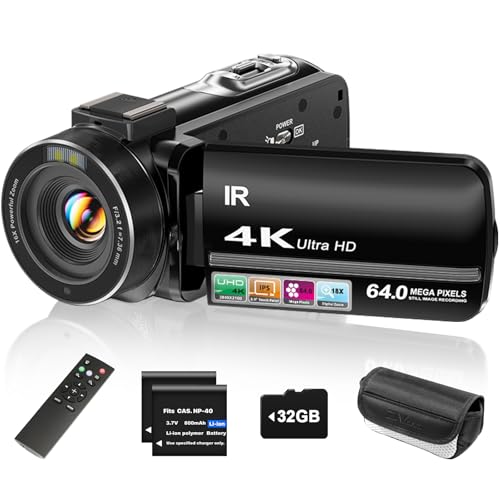
4K & 64MP Video Camera Camcorder: Capture life in breathtaking detail with 4K Ultra HD recording and vibrant 64MP photos, powered by an advanced high-sensitivity CMOS sensor. Equipped for exploring the beautiful world, this video camera is your perfect companion! Ideal for video recording, travel vlogs, family activities, interviews, studying, and cherishing precious moments

【5K Cinematic Clarity & Versatility】 This digital camera captures stunning 5K/20fps videos (also 4K/60fps) and 64MP photos with a high-sensitivity CMOS sensor. Perfect for vlogging, travel films, podcast recording, family events, and interviews, delivering cinema-grade detail even in motion.
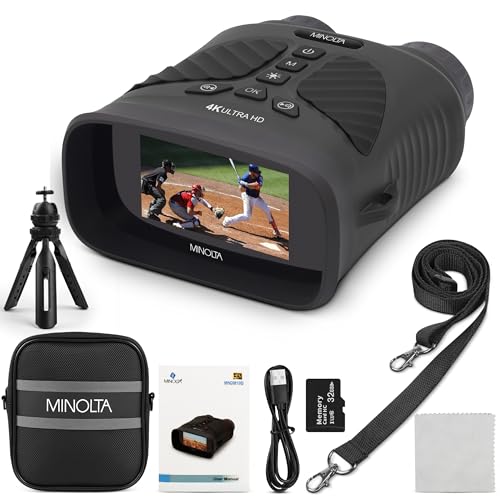
Minolta 10x25 Digital Night Vision Monocular w/ Built-in 4K HD Video Camera (Black)
When Do You Actually Need Infrared Illumination?
Infrared illumination becomes necessary when ambient light drops below the sensor’s threshold for producing a clear image. This is especially true in near-zero-light situations such as dark interiors, dense tree cover, or deep shadows where natural light is minimal or absent. Without added infrared light, your night vision device struggles to detect fine details, making it difficult to distinguish animals, people, or gear in complex environments like wooded lines or open pastures. However, this IR illumination optimizes night vision use because it amplifies visible light and some IR spectrums, not solely infrared light. For a DIY builder, integrating an IR module requires careful selection of compatible thermal sensors to avoid overheating and ensure seamless operation. For those using cellular trail cameras, reactivating them after a battery replacement ensures the IR system remains calibrated and ready for low-light conditions. Digital night vision sensors primarily rely on near-infrared light to capture images in low-light environments, distinguishing them from thermal imaging devices.
The need for infrared illumination increases with distance. At around 150 yards or more, the IR beam must be sufficiently powerful to restore detail and recognition. If moonlight, starlight, or reflective surfaces are unavailable due to heavy cloud cover or window shadows, activating your infrared light is crucial. It transforms vague outlines into clear, identifiable images, allowing you to see clearly in conditions where natural light cannot support your needs.
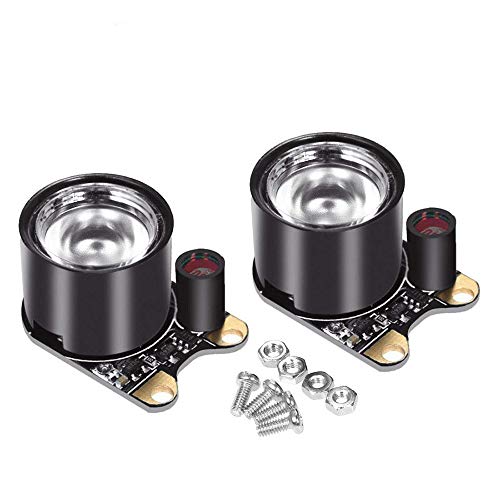
3W high-power 850 infrared LED,designed to work for Raspberry Pi camera
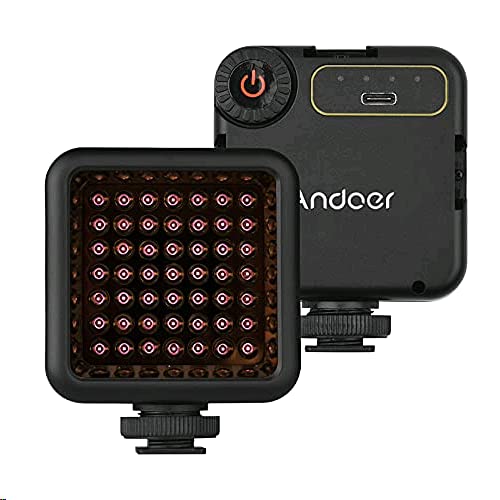
Versatile Lighting: Ideal for vlogging, video recording, and photography, this compact IR light ensures you're always ready to capture stunning footage in low-light conditions
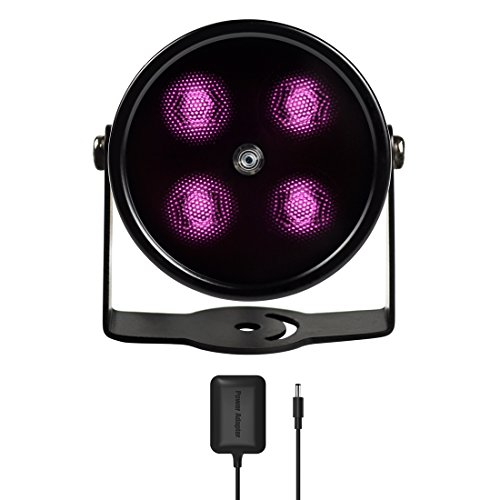
SPECIAL - Upgraded from the most classic mini 4 LEDs IR illuminator with all-around better materials and first ever in black coating
Why Digital Night Vision Costs Less and Records Video
Video recording is a standard feature because the image sensor naturally converts light into electronic signals, allowing instant capture. Onboard processing enables you to store, compress, or stream footage internally, so there’s no need for external conversion hardware. Adding recording capability generally increases the cost only slightly, which is why many entry-level models around $150 already include it. Software improvements enhance functionality without requiring costly hardware upgrades, keeping your overall investment low while providing complete video documentation. Unlike analog systems, digital night vision does not require an IR illuminator for basic operation, as the sensor is sensitive to available light.

【Full HD 1080P 24MP Video Camcorder】This video camera supports up to 1080P video resolution and 24.0MP image resolution. The 18X digital zoom can enlarge the picture to capture all the important details.This vlog camera is the perfect companion when exploring this beautiful world! A plethora of features including Infrared Night Vision, continuous shooting, webcam function, remote control, pause function, loop recording

4K & 96MP Video Camera Camcorder: This 4K video camera is capable of capturing precious moments with 4K Ultra HD video and 96MP still photos. Equipped with a high-sensitivity CMOS sensor, this camcorder ensures vivid colour reproduction and crisp, sharp image detail. Suitable for a wide range of scenarios—from capturing travel scenery and family gatherings to everyday snapshots—this vlogging camera meets all your filming needs.

Ultra 4K 80MP Video Camera: This 4K video camera offers an HD resolution of 4K (30 FPS) and an 80MP high pixel lens. Whether you're filming a happy family reunion or your children's childhood moments with this HD camcorder, you can capture everything precisely. Thanks to the 18X digital zoom, you can zoom in on distant subjects effortlessly. This video camera is suitable for videography beginners. Its compact design and weight of less than 500g make it easy to handle
Where Digital Night Vision Is Used: Military, Hunting, and Security
Digital night vision is widely used in military, hunting, and security applications because all these fields share a need to see clearly in low-light conditions. In military operations, it is often helmet-mounted to enable night combat, helping soldiers maintain situational awareness and accurately identify targets. This technology evolved from WWII-era image intensifiers to advanced fused systems that provide clearer, longer-range vision. The ENVGB system combines traditional night vision with augmented reality overlays to enhance combat effectiveness. For buyers of equipment like a Stealth Cam, understanding the difference between this advanced technology and a DVR mode helps clarify which device best suits their recording and visibility needs. Understanding the costs and how to save on such equipment can guide more economical purchasing decisions.
In hunting, digital night vision assists in spotting game during dawn, dusk, or in dense cover, allowing for more successful and humane pursuits. However, it has technical limitations, such as reliance on ambient light levels, which can reduce detection range in total darkness. For security purposes, digital night vision facilitates covert perimeter surveillance without visible illumination, making it harder for intruders to detect security measures.
Its versatility extends beyond these fields into aviation, driving, and search-and-rescue operations. Wherever darkness creates a challenge, digital night vision becomes an essential tool, providing real-time visibility and enhancing safety and operational effectiveness.

【RECORD VIDEO AND TAKE PHOTO WHILE HUNTING】 Megaorei2 DIY Hunting Night Vision Scope Camera VCR allows you record video and take picture to share your hunting experience with your friends. Please ask us to send you operation manual and troubleshooting list any problem using our product.

Enhanced Fixed Magnifier with Expanded Field of View: The Gen II features an upgraded fixed magnifier boasting a wider objective lens. This delivers a significantly enhanced field of view for superior situational awareness and target acquisition, surpassing the limitations of a removable 2x magnifier.

ultra hd sensor - ultra hd 4k sensor with our obsidian 4 dual core processor brings you cutting edge technology with higher resolution, faster optics, and millions of vivid colors
How to Choose a Digital Night Vision Device: Key Specs to Compare
To choose the right digital night vision device, focus on key specifications that impact your performance. Resolution is crucial—look for a device with high sensor and display resolution. This allows you to identify targets at greater distances and reveals more detail in the images. Pair it with the right magnification: lower base power offers a wider field of view suited for scanning, while higher zoom levels provide greater detail of distant subjects. For scanning large areas, a wide field of view helps you maintain situational awareness without constant adjustment.
The infrared illuminator‘s strength directly affects your visibility in total darkness. A more powerful illuminator will let you see farther in complete darkness, especially when paired with a sensitive CMOS sensor that captures near-infrared light for clearer images. Consider the field of view—wider views enhance situational awareness and ease tracking moving targets. Ergonomics also matter; choose a design that feels comfortable and balanced in your hand during extended use. Lastly, assess the display’s color balance to prevent washed-out images and help you spot subtle details more easily. Check power options to ensure your device can operate for your intended activity duration without interruption. For those on a budget, comparing the thermal drone cost against these specs can help you save money by prioritizing the most critical features.
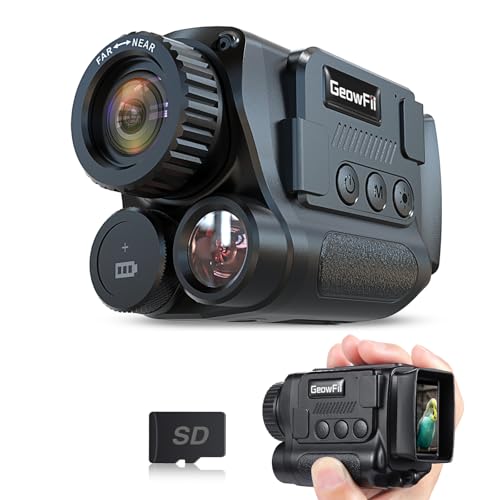
4K Upgraded & Practical—— GeowFiiTech Night Vision Monocular features a 4K version with a 25mm multi-coated lens, enhancing imaging for day and night use. With 4K video, 40MP photos, and essential functions, this monocular night vision meets outdoor needs effectively

Advanced Night Vision Technology: The night vision scope delivers ultra-crisp imaging with a 850nm IR Illuminator and a 1920x1080 CMOS sensor, Detects objects up to 400 yards at night. this scope allows you to see in complete darkness, enabling you to spot and track game or threats with ease and confidence.

MiniAura is Completely Digital With Images That Will Appear in Black and White