DIY Trail Camera Mount: A Complete Guide
Ever wonder how to keep your trail camera steady in the wild? A good mount makes all the difference, preventing false triggers and delivering clearer footage.
By building a simple but sturdy DIY setup, you’ll get better results and more reliable wildlife shots.
Keep reading to learn the easy steps to creating your own stable trail camera mount.
Why Build a Custom Trail Camera Mount?
Building a custom trail camera mount offers several key advantages over store-bought options. First, it provides superior stability and precision. Unlike commercial mounts that can wobble in wind or on uneven surfaces, a custom build ensures your camera remains steady, keeping the sensor locked onto a specific zone. This stability minimizes false triggers and helps you capture clearer, more consistent images. This careful positioning of the sensor is as critical as understanding thermal detection zones when using other monitoring equipment.
Second, a custom mount allows for exact height and angle adjustments tailored to your wildlife pathways. This precision enhances your ability to observe animals at their natural level and reduces the chances of images being washed out or shadowed by direct sunlight or objects. The rigidity of a self-made mount also prevents damage from storms or theft, offering a more secure and durable observation post. Choosing the right components and tools is just as important for a stable camera mount as it is for any DIY electronics project.
Finally, building your own mount gives you full control over customization. You can select materials and design features that fit your environment and observation needs — whether that means adjusting angles for optimal lighting or incorporating concealment. For instance, understanding how objects emit infrared radiation can help you position your camera to avoid thermal interference from backgrounds like sun-heated rocks. Furthermore, constructing a DIY camera post from a wooden dowel and simple hardware is a cost-effective alternative to expensive manufactured mounts, costing only a fraction of the price. Overall, a homemade trail camera mount not only outperforms generic stands but also turns into a reliable, tailored tool for wildlife monitoring.
Gather Your DIY Camera Mount Materials and Hardware
To construct a stable mount, you need to gather specific materials and hardware. For the base, choose a piece of plywood, MDF, or treated lumber measuring approximately 12 inches by 4 inches with a thickness of around116 inch. These options offer durability and stability, with plywood or treated lumber being highly sturdy. The main post can be a pressure-treated 4×4 or a lightweight section of PVC pipe, depending on your portability needs. It’s worth noting that a smartphone like an iPhone lacks thermal imaging, so pairing one with this mount won’t provide that capability.
Hardware options include screws or bolts suitable for securing your camera and supporting structure. Use hex bolts, wing nuts, and lock nuts to create adjustable fittings that stay secure over time. For a durable and inexpensive DIY trail camera mount, you can purchase all necessary stainless steel components like bolts, screw eyes, washers, and wing nuts for under five dollars. For anchoring your setup, gather straps, bungee cords, or rebar to attach your mount to the ground or other stable surfaces.
Lastly, ensure you have the necessary tools: a saw for cutting materials, a drill with a variety of bits, a wrench for tightening bolts, and a level to guarantee proper alignment during installation. Understanding the capabilities of your equipment, such as thermal imaging technology, can influence your mount’s design for optimal detection. It’s helpful to know that insects near the camera can sometimes appear as unusual bright orbs in night vision footage, which is useful for positioning. Having all these materials and hardware on hand will make your DIY camera mount project smoother and more successful.

STRONG, DURABLE, HEAVY-DUTY - These unfinished wood panels of multi-coated Baltic Birch plywood offer exceptional durability, rigidity, and stability for all your woodworking needs. The surfaces provide excellent holding power for glue and screws and the birch edges create cleaner joinery.

[Good Quality]: Wood performance is stable, not easy to crack and deform, compact structure, high hardness, strong toughness, and good stability

Package Included: 5 wood panels, each panel is 4 x 12 inches in size, 0.79 inch in thickness. Sufficient quantity can meet your daily needs.
Assemble Your DIY Camera Mount Post
Once you’ve gathered your materials, you can start assembling the main support post for your camera mount. Begin by cutting your dowel to the desired height; if you want a different profile, consider using material alternatives like metal conduit. Drill a hole in the bottom end of the dowel for the landscape spike. Fill this hole with epoxy and insert the non-pointed end of the spike to secure it.
Next, drill another hole at the top of the dowel to match the required depth for your bolt or T-nut. Fill this hole with epoxy and insert the cut-head bolt, leaving approximately an inch exposed. This bolt will serve as your mounting point for the camera or mount brackets. A budget-friendly option for this post is a lightweight steel fence post, costing only a few dollars. Although this post design offers inherent stability, you can add post stabilizers such as angled guy wires in high-wind areas. Ensure all epoxy has fully cured before proceeding to attach any additional components or adjustments.
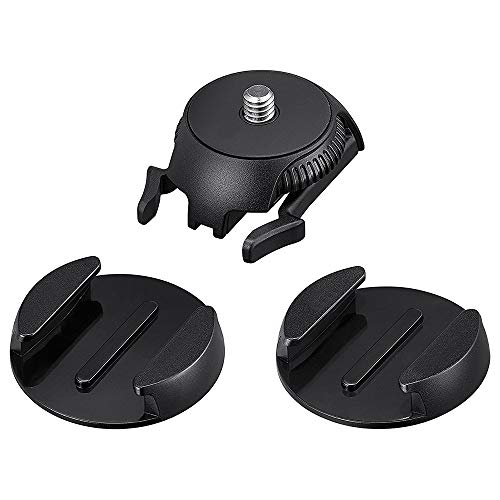
Features flat and curved mounts for easy adjustability and maximum versatility
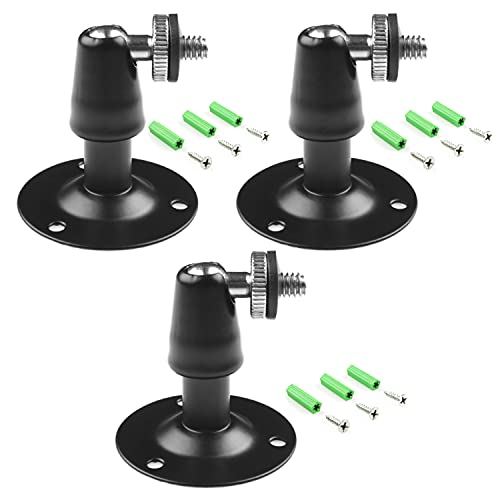
Metal Housing Mount is ideal For Especially designed for Arlo and Arlo Pro Smart Home Security Camera System as well as other compatible cameras.Such as CCTV,CCD,Oculus rift compatible.Worked great for the oculus sensors,HTC Vive Base Station,less 3 lbs camera will be preferable for installation;

Works for pole/pipe between 1.77in~3.35mmProduct Size: mount 4.41in*4.64in, Loops Φ1.77in~Φ3.93in,
Mount Your Camera Post Securely
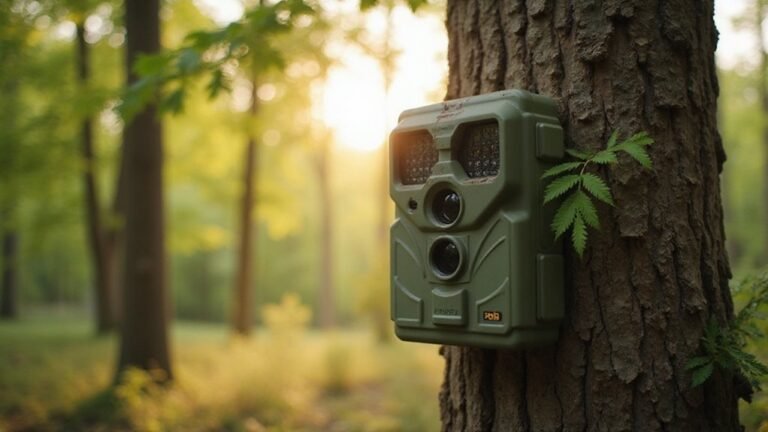
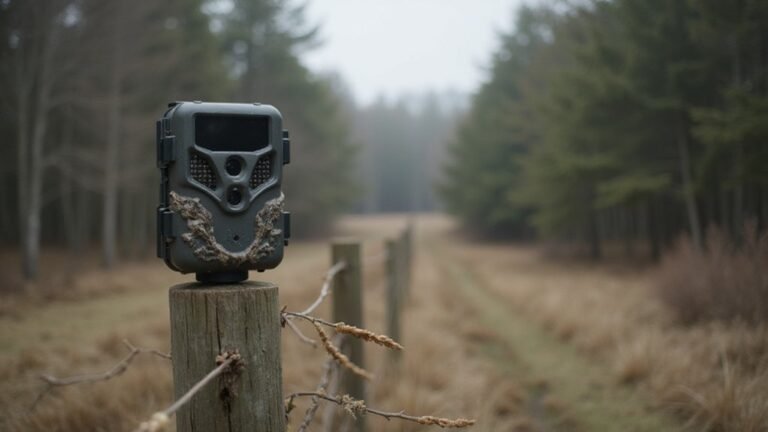
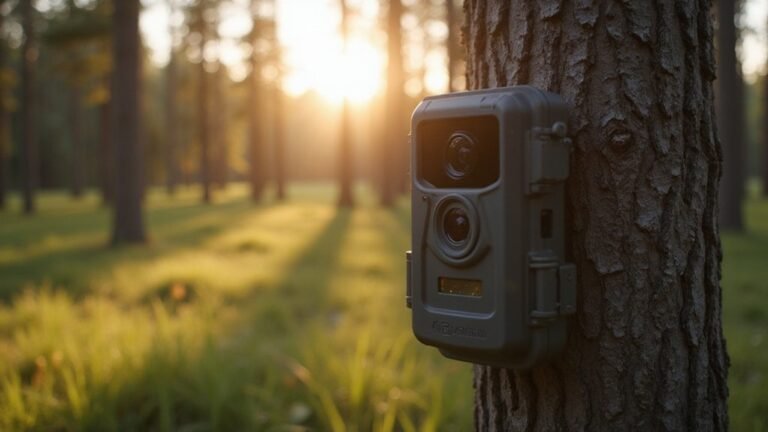
After assembling your post, choose a secure mounting location such as creek beds or fence crossings where wildlife naturally passes. Face the post north or south to minimize sun glare on your camera lens. The mounting height should be three to four feet above ground to provide a clear view of the game. Secure the post tightly to a solid tree or driven metal stake using straps, bolts, or ground anchors to ensure stability. Make sure the post is level and doesn’t shift when bumped. For a versatile and sturdy mounting option, consider using an all-steel T-post mount designed for areas without trees. Adjust your camera angle by pointing it slightly down the trail, and clear any nearby brush that could trigger false alarms. For better detection in low-light conditions or dense foliage, understanding the difference between a thermal imaging camera and a standard trail camera can be crucial, as their underlying image intensifier tube technology differs greatly, and you can even explore DIY thermal imaging to build your own specialized sensor. Test the stability by giving the post a firm shake before attaching your camera.

HEAVY-DUTY STEEL CONSTRUCTION — Made from premium carbon steel with a black powder-coated finish, this T-post cap mount resists rust, bending, and corrosion far better than plastic or 3D-printed alternatives. The solid metal build ensures your bird feeder, trail camera, or outdoor light stays firmly in place through heavy wind and harsh weather.

▶ Designed to fit snugly on a standard T-post, the target hanger will allow an approx 15 degree forward cant of the target.

▶ Designed to fit snugly on a standard T-post, the target hanger will allow an approx 15 degree forward cant of the target.
Attach and Adjust Your Trail Camera
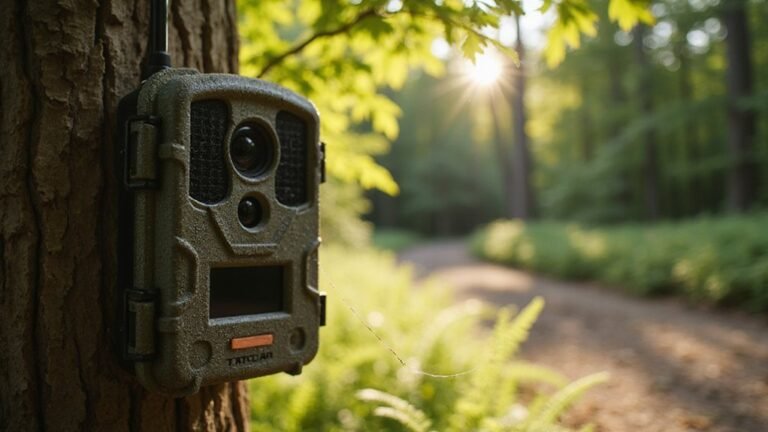
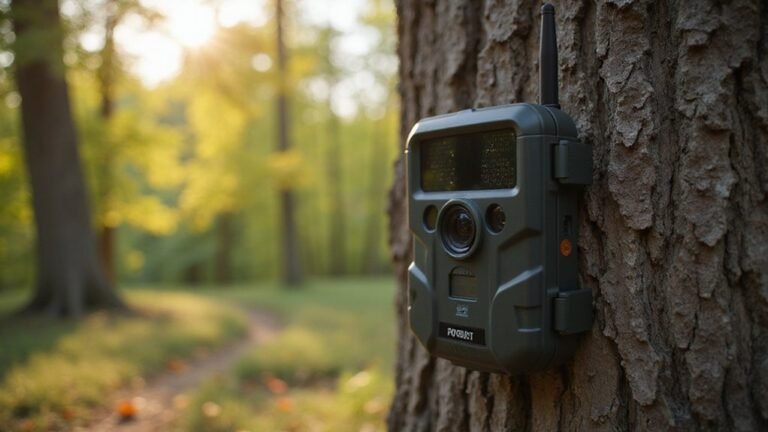
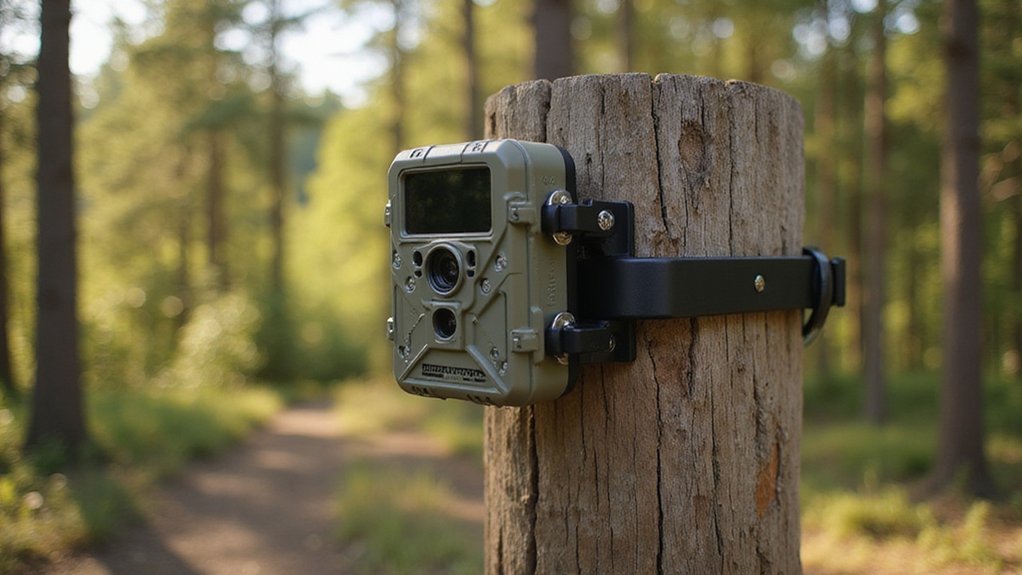
To attach and adjust your trail camera for optimal results, start by securely fastening it using a strap or bracket. Wrap the strap tightly around a sturdy tree trunk, making sure there are no gaps for movement. If you’re using a mount, screw the bracket into a solid surface with at least two anchors to ensure stability, and consider using metal straps or brackets for improved stability and adjustability over time. Choosing the right detection zone for your camera’s location is crucial for capturing the animals you’re targeting.
Next, position the camera correctly. Mount it at a height of three to four feet, about ninety degrees offset from the trail. Place it twenty to thirty feet back from the trail for a clear view without too much distance. Angle the lens slightly upward to chest height of animals, but avoid pointing it directly at the sun to prevent glare. Tilt the camera so the trigger is perpendicular to the ground to ensure consistent sensitivity and accurate detection. Understanding the different types of camera sensors can help you select the best model for your specific needs. It’s also wise to avoid common mistakes like placing the camera too low or facing it north where direct sunlight can cause exposure issues.

Multi-Angle Outdoor Shooting: Comes with 4 trail camera mounts to fulfill your multi-angle shooting demands. Fully assembled camera stand measures only 5.1 inches long, compact and lightweight, easy to carry and suitable for outdoor shooting.

Metal Housing Mount is ideal for your Oculus Rift camera, for Arlo & Arlo Pro, for Wyze Cam and other small mount cameras,less 3 lbs camera will be preferable for installation;
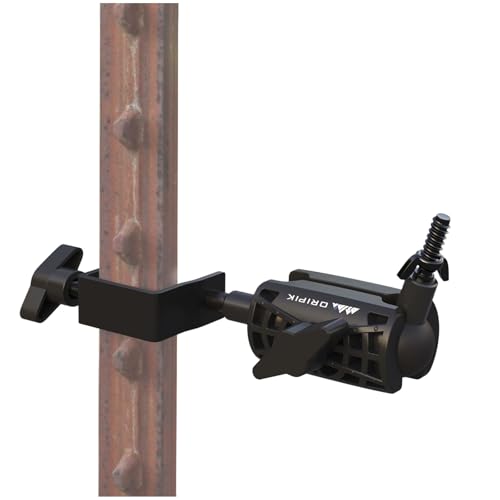
T-POST TRAIL CAMERA HOLDER - Reinforced ABS body and metal clamp fit T posts up to 1.44 in wide, creating a stable t-post trail camera mount for wind, rain, and year-round outdoor use.
Test Your Camera Mount Before Final Installation
Before securing your camera permanently, test its placement thoroughly. Switch the camera to its “Test” mode and walk through the target area, checking that motion detection triggers consistently. Use the app’s live-view feature to ensure the camera’s field of view is well framed and covers the intended area. Physically shake the entire setup to verify the mount’s stability; all brackets and straps should stay tight and secure. Consider using a quality handheld light to simulate the reflective eye-shine of animals during this nighttime assessment, or use night vision goggles to observe wildlife activity without disturbing them. For cellular models, confirm that signal strength is strong enough for reliable remote data transfer. Finally, manually trigger the camera several times and review the saved images to verify the scene, trigger distance, and focus are correct. Many hunters find that a thermal imaging drone provides the ultimate situational awareness by quickly scouting large areas for heat signatures from game or potential threats. This step helps prevent frustrations later by ensuring everything functions as intended before final installation. When reviewing the saved images, also ensure the camera’s PIR sensor is properly angled for optimal performance and to avoid false triggers.
Fix a Wobbly Post or Loose Camera
To fix a wobbly post or loose camera, start by inspecting the mounting hardware and support structure. Reinforce a wobbly post by driving a metal stabilizer bracket into the ground, making sure it’s snug and secure, then securing it with galvanized fasteners to prevent rust and ensure longevity. This approach shares a principle of achieving a rigid connection with the cantilever scope mount system used in precision shooting. For a loose camera on the mount, insert anti-friction spacers between the camera and the mount to eliminate gaps and reduce lateral movement. Tighten all turn wheels and slotted nuts until they are flush, applying enough tension to prevent movement but not so much that you damage the hardware. Test the stability with your finger pressure— the camera should stay flush against the post’s interior without excess play. Confirming the mount’s stability is essential; a shaky setup can cause False triggers, drain power, and impair battery management. This clarity and stability is as crucial for a trail camera as the enhanced visual contrast provided by green phosphor screens is for nighttime observation. While checking for stability, also verify your wireless connectivity is strong, as a secure mount ensures a reliable signal. You can use a simple infrared detector to scan for any covert surveillance devices near your setup.

Post Anchor Material: Low Carbon Steel, Surface Treatment: hot dip Al-Zn
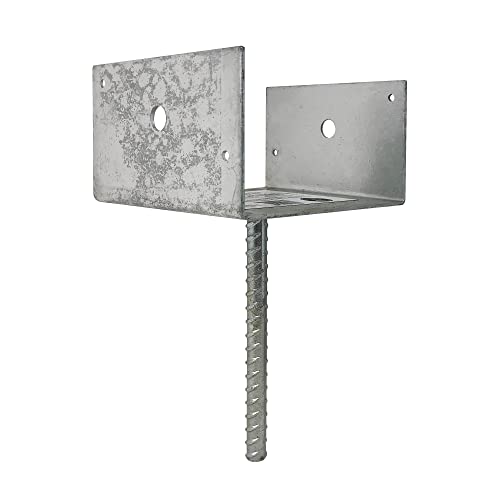
Designed for anchors 6” x 6” nominal wooden posts to concrete footings for deck supports

{SAVE TIME} Just Install The Screws Correctly In Few Seconds, Saving You a Lot Of Time. And Can Be Operated By One Person Without The Help Of Others
Weatherproof and Maintain Your Camera Mount
Weatherproof your camera mount is crucial for reliable, long-term operation in outdoor conditions. Use marine-grade stainless steel or powder-coated aluminum for the main structure, as these materials offer maximum resistance to corrosion caused by moisture, salt, and extreme weather. Seal all joints with silicone to prevent rain, snow, and condensation from seeping inside and causing damage. To improve its camouflage, choose a finish that blends seamlessly with the surrounding bark, leaves, or natural terrain, helping the camera stay hidden from wildlife or curious onlookers. For the best results, ensure your camera’s own night vision capabilities are not obstructed by the mount or its positioning. When selecting cellular models for monitoring, this protection is even more vital for maintaining consistent SIM card game camera performance.
Regular maintenance is essential to keep the mount functioning properly. Clean the surface with mild soap and rinse off dirt and debris that can trap moisture. For mounts with a pointed base design, ensure the spade is clean and free of obstructions to maintain easy insertion and stability. Inspect screws, bolts, and fasteners every three months to check for rust, corrosion, or loosening. Applying a corrosion-resistant lubricant on moving parts ensures smooth adjustment and reduces wear over time. For solar-powered accessories, regularly check gaskets for any signs of deterioration and replace worn or damaged seals immediately. Proper weatherproofing combined with consistent upkeep will extend your camera mount’s lifespan and maintain optimal performance in outdoor environments.
Pro Tips for Perfect Trail Camera Footage
To capture clear, consistent trail camera footage, position your camera between 24 and 48 inches high, angling the lens slightly downward toward the trail. This height helps target animal movement at eye level without spooking them. Point the camera north or south to avoid sun glare that can wash out images, especially during peak daylight hours. For more consistent exposures throughout the day, avoid east or west orientations that point the lens directly at the rising or setting sun. Keep the camera 10 to 20 feet from your target area to balance immediate detail with a broad enough view for movement.
For optimal wildlife footage, clear all brush and limbs within a 30-foot radius to prevent false triggers caused by moving objects. Use burst mode to take multiple shots in quick succession, increasing the chances of capturing sharp, detailed images. Combining photo and video modes allows you to see movement smoothly, making it ideal for bird watching or tracking faster animals.
Before deploying your camera, always test the angle and positioning. Visualize the animal’s typical path—near water sources, field edges, or trails—and aim the camera to face quartering down the route. This orientation produces the best profile shots and ensures animals stay visible for longer periods, increasing your chances of capturing high-quality footage.