How to Set Up Your Spypoint Flex M Trail Camera
Getting your Spypoint Flex M trail camera up and running might seem tricky at first, but it’s pretty straightforward once you know the steps.
The key is installing fresh batteries, adding a high-quality microSD card, and linking the camera to your account via the app.
By the end, you’ll be able to mount your camera correctly, connect it smoothly, and start capturing wildlife or whatever’s in your trail.
Keep reading for all the simple steps to set it up efficiently.
Unbox Your Flex M: Check Batteries, SD Card, and Antenna
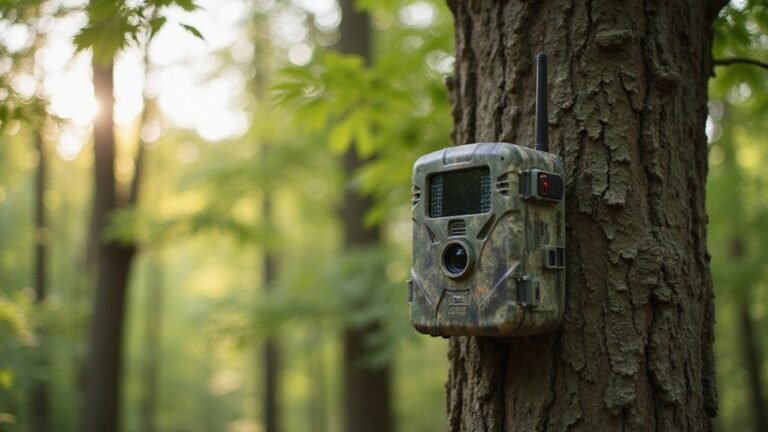
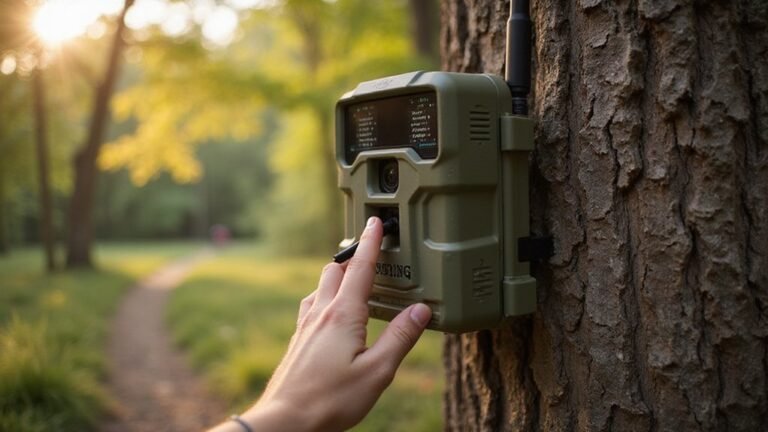
To prepare your Flex M for use, start by checking three essential physical components: batteries, SD card, and antenna. First, ensure the batteries are compatible; it needs eight AA batteries for operation. High-quality or lithium AA cells will provide the best performance and longer life. External power options, like the LIT-22 pack, are also available if preferred. Next, insert a Class 10 microSD card, with a capacity ranging from 2 GB to 512 GB, into the designated slot in the correct orientation. Remember to format the card in-camera later for reliability and optimal performance. Unlike image intensifier tubes in night vision devices, this camera relies on flash illumination for nighttime capture. Finally, handle antenna positioning by removing any protective cover from the threaded port, then screwing on the antenna by hand. Do not over-tighten, as a secure fit is crucial for a solid cellular signal. Perform these steps with the camera turned off to avoid setup errors during activation. The camera’s plastic shell has proven highly durable, resisting damage even from bear bites and scratches. Before mounting, consider the detection zone and optimal placement height to maximize trigger speed and field of view. For low-light detection without flash, you might prefer a thermal imaging device that senses heat signatures rather than relying on visible light.

8 pack of Energizer Ultimate Lithium AA Batteries

2 pack of Energizer Ultimate Lithium AA Batteries

【Long-Lasting Power】1.5V high-capacity AA lithium batteries deliver stable performance for blink cameras, flashlights, gaming controllers and more
Insert Flex M Batteries and SD Card (Camera Must Stay Off)
With the camera still off, open the Flex M’s door by releasing the latch, then load the battery tray with the arrows facing up. Insert eight AA alkaline or lithium batteries, making sure to match each with the correct polarity marks. Do not use rechargeable AAs, as they can damage the device. For safety, clean the battery contacts before insertion and avoid mixing old and new batteries to prevent performance issues. Ensuring correct polarity prevents malfunction or damage to the camera. Understanding thermal imaging principles can help you appreciate how infrared heat detection works in similar devices. Familiarizing yourself with the basic drawing techniques for night vision goggles can improve your visualization of optical components. For optimal nighttime performance, consider that predator hunters often require a highly focused beam to scan large fields effectively.
Next, take a microSD card ranging from 2GB to 512GB, compatible with Class 10 speed classes. Insert the microSD card with the metal contacts facing up until you hear a click, ensuring it is securely seated. It’s important that the camera remains powered off during this step to prevent false triggers and unnecessary power drain. When you turn the camera on later, you’ll format the SD card within the device to ensure optimal operation. Once the batteries and SD card are in place, securely seal the door before proceeding.
Create Your SPYPOINT Account Before Activation
You need to set up your SPYPOINT account before activating your device. This involves registering on the website, which is a necessary step to use the Flex M camera effectively.
Visit spypoint.com and click on “Activate a device” at the top-left corner. You will be prompted to fill out a registration form. Enter a valid email address, create a password with at least 10 characters, select your country, and provide your phone number. Use the eye icon next to the password field to verify your password’s accuracy, helping to secure your account. Unlike building a thermal drone where you must source individual components like cameras and sensors, this process only requires standard personal details.
After completing the form, click “Sign In”. Remember, these same login credentials will be used later to access the SPYPOINT app for camera activation, managing settings, and viewing photos. Make sure you finish this registration step fully before proceeding to activate the device itself. The password you set must include a minimum of 10 characters for security compliance.

VALUE WITHOUT COMPROMISE – The FLEX-M2 cellular trail camera proves you don’t have to pay top dollar to get top performance. It’s easy to use, customizable, reliable and comes with features that punch well above its price tag.

UNBEATABLE VALUE: Get premium cellular capabilities at an unbeatable price with the SPYPOINT FLEX-M Cellular Trail Camera, offering you the best value in cellular trail cameras and hunting equipment. Setup is a breeze with mobile activation and on-camera buttons for easy formatting of the 𝗺𝗶𝗰𝗿𝗼𝗦𝗗 𝗰𝗮𝗿𝗱 (𝗡𝗢𝗧 𝗜𝗡𝗖𝗟𝗨𝗗𝗘𝗗) and test photo capture. Plus, ensure continuous operation with extended autonomy by pairing with our compatible solar panels (sold separately).
VALUE WITHOUT COMPROMISE – The FLEX-M2 cellular trail camera proves you don’t have to pay top dollar to get top performance. It’s easy to use, customizable, reliable and comes with features that punch well above its price tag.
Activate Using the QR Code or Manual Code
Once your SPYPOINT account is set up, open the app and navigate to the Cameras tab. Tap the orange + icon or select Add Camera. From the list, choose Flex M to access activation options. You can either scan the QR code or data matrix code inside the battery compartment or manually enter the activation code. To scan, hold your phone over the code until you see a check mark confirming successful recognition. For manual entry, type the code printed beneath the protective sticker. Before activating, ensure the battery tray contains eight fresh batteries and a class 10 microSD card, as this impacts battery life and initial connection quality. It is also wise to verify the card reader speed using a reliable SD card reader for game cameras to avoid data transfer issues during field checks. After code verification, fill out any referral field if applicable, tap Activate Device, and then power the camera on. Remember, proper placement is important down the line, but for now, activation is what connects your camera to the network. Wait a few minutes for the camera to appear in your dashboard. During this time, the camera establishes a connection to a cellular network, which typically takes about five minutes. For a similar setup process, you can refer to tips for Tactacam Reveal X to ensure your camera is placed for optimal video capture. Unlike home security models, this trail camera relies on invisible infrared LEDs for night vision to avoid spooking wildlife.

【High-Capacity 7000mAh Power Cell】 This upgraded 7.7V/7000mAh LIT 22 rechargeable lithium battery pack delivers extended runtime for your outdoor monitoring gear. It provides 30% longer life than standard batteries, reducing recharge cycles and offering reliable power for compatible devices, including various spypoint cellular trail cameras

【7000mAh High-Capacity Battery】Upgraded 7.7V/7000mAh LIT 22 rechargeable lithium battery pack provides extended power for your SPYPOINT cellular trail cameras. Lasts 30% longer than standard batteries, reducing charging frequency and ensuring uninterrupted wildlife monitoring.

Extended Wildlife Tracking: Upgrade your cellular trail cameras with this premium 8000mAh LIT-22 rechargeable lithium battery pack. It delivers significantly longer operational time compared to standard AA cells, minimizing the need for frequent trips to the woods and ensuring you never miss critical wildlife activity in the field.
Mount Your Flex M for Best Animal Detection
Mount your Flex M at 3–4 feet off the ground, roughly waist to hip height. This position aligns the animal’s mid-body with the camera’s detection zone, which is crucial for accurate identification of animals like deer. Mounting it higher, such as shoulder height, reduces your effective range and increases false alarms. Given that North Dakota’s spring weather was delayed by persistent winter conditions, you should adjust your deployment to account for seasonal patterns being shifted 3–4 weeks behind the typical timeline. For optimal setup, follow a step-by-step guide similar to configuring other trail cameras. Ensure you check battery life before final installation to avoid premature failure. This precise positioning is more critical than the advanced optics found in military-grade devices for capturing clear trail images.
Place the camera 15 to 25 feet from the trail to optimize detection without triggering false positives. Position it at a 45-degree angle toward the approach path. Mount it parallel to the ground and avoid facing east or west to prevent glare. Clear all foreground brush so animals can move naturally through the scene. Attach the camera securely to a sturdy tree that won’t sway in the wind, ensuring consistent framing. Including a rock or tree trunk in the background helps bounce IR light for brighter night images. Finally, cut out the sky from the frame to keep your focus on the animals and minimize distraction.
Turn On, Take a Test Photo, and Confirm in the App
Power on the FLEX-M camera and use your phone to start the setup process. Once powered, status indicators will light up, confirming the camera’s startup. This step is essential to verify signal strength at the camera’s placement spot, ensuring reliable communication. You can also check battery power status directly from these indicators. Understanding Pulsar Thermal technology is not relevant to this camera setup, as the FLEX-M uses standard trail camera infrared sensors. For those interested in wildlife monitoring accessories, clip-on thermal devices offer alternative night vision capabilities for different scenarios. Ensure your camera’s firmware is up to date by following the Tactacam Reveal activation guide for similar cellular camera best practices.
Open the SPYPOINT app, select Add Device, and choose the FLEX-M model. Scan the QR code or manually enter the device ID. Allow a few minutes for the camera to establish a connection and communicate properly; a green countdown might appear during this process. Avoid testing the camera until it indicates readiness, as this prevents wasting battery life on failed transmissions.
To test the setup, press the TEST button on the camera and position yourself in front of it. The status light will change color during image capture. Then, open the app and check if the test photo appears. If it does, your camera is correctly configured. If not, wait a few more minutes and try again. A successful test confirms the camera is powered on, connected successfully, and capable of sending images.
On-Site Troubleshooting: Activation, Signal, and Card Errors
Activate the FLEX-M before troubleshooting any issues. Check the code inside the battery compartment and run through the app’s activation process first. A camera that isn’t activated won’t appear in your account at all. If it’s already assigned, verify that it’s linked to the correct account. For comparison, while thermal imaging technology can detect heat signatures through dense smoke, a trail camera relies on visible light and cellular signal rather than infrared heat detection. Understanding how digital night vision works can help you choose the right camera for low-light conditions. This distinction matters because thermal cameras are typically more expensive and used for specialized applications like surveillance or industrial inspection.
Decode the status LED to identify issues. A solid red means no signal—try moving the camera to reduce interference from dense foliage or nearby metal objects. A slow-flashing red indicates a SIM or hardware problem; power the device off and back on. Make sure the antenna is secured tightly, as a loose connection can cause signal problems.
For card errors, first verify that your microSD card is compatible with the device. Use only supported cards and format them by pressing the FORMAT button for five seconds until the green light blinks. Most communication failures stem from an unformatted or incompatible card. If reception remains poor, reposition the camera for better signal. Persistent issues may require contacting support for further assistance.