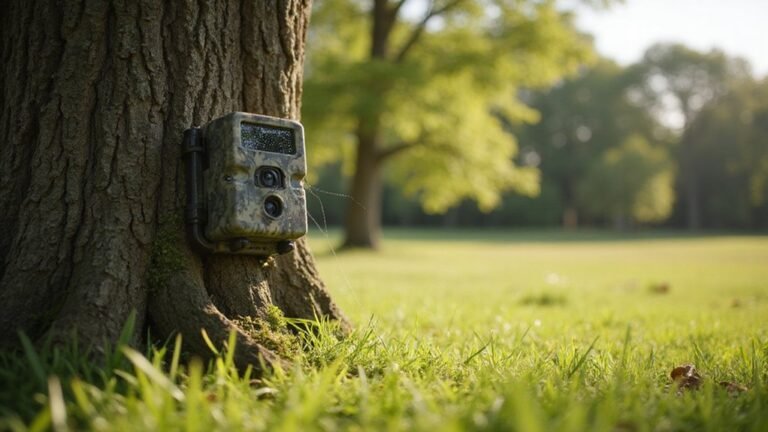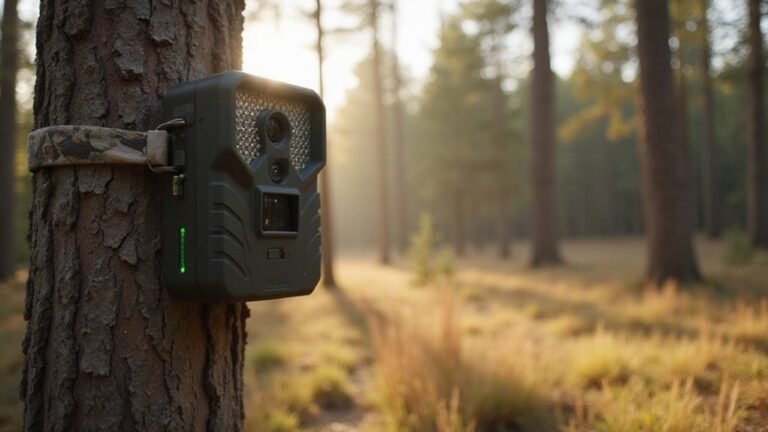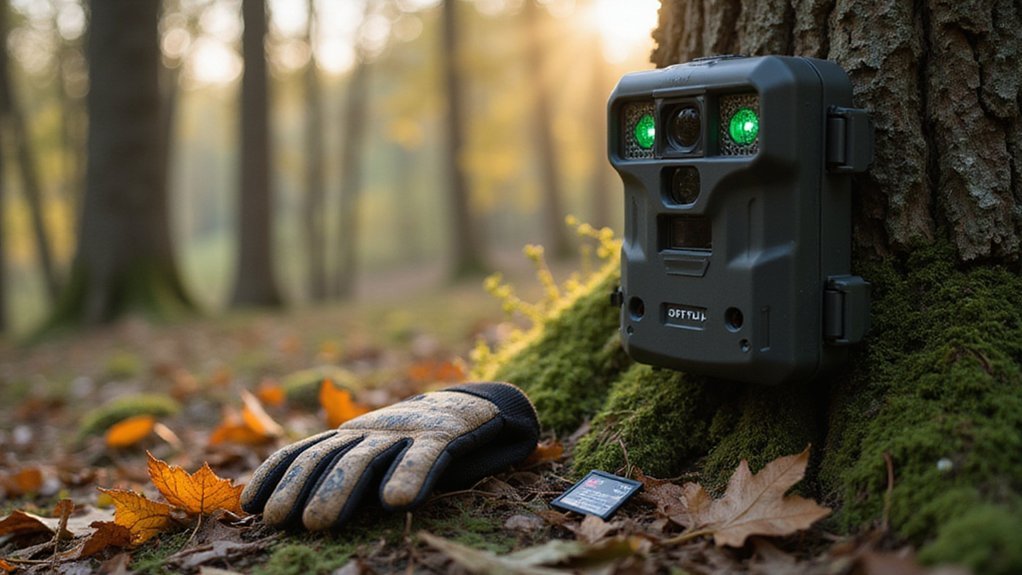
DIY Game Camera: A Complete Guide for Hunters
Trying to keep costs down but still get reliable game footage? Building your own camera can save hundreds and give you full control over its features.
With some common parts and a little tinkering, you can create a weatherproof, efficient camera perfect for monitoring trails.
Keep reading to learn how to set it all up.
Why Build Your Own Game Camera Instead of Buying One?
Building your own game camera can save you hundreds of dollars compared to buying one off the shelf. By repurposing a point-and-shoot camera, controller, and case you already own, you drastically reduce upfront costs—especially when deploying multiple units across your hunting property. Sourcing materials becomes simple—you can raid your junk drawer for batteries and wiring instead of paying retail prices for a commercial unit.
You also gain exact control over the camera’s size and layout. This flexibility lets you add features like infrared imaging or extend battery life for longer time-lapse operation. For example, you could integrate a thermal camera module to detect heat signatures from animals at night. Unlike thermal imaging, night vision relies on ambient light amplification, so night vision scopes work better in moonlit conditions but struggle in complete darkness. When building your own system, you can carefully choose thermal imaging components to achieve reliable detection even in total darkness. Repairing or swapping components is straightforward—you can replace a sensor or camera module without redesigning the entire system. Plus, building your own makes wiring and trigger logic fully transparent, so future modifications only take a few minutes instead of hours.
While image quality won’t rival that of high-end smartphones, your focus is on functional performance. Using a Raspberry Pi, the setup can capture 12.33 MP JPEG images and video at 1080p 50fps H.264, matching typical game camera needs. Building your own game camera gives you the advantage of customization, cost savings, and increased understanding of how the system works underneath.
What Parts and Materials Do You Need for a DIY Game Camera Build?
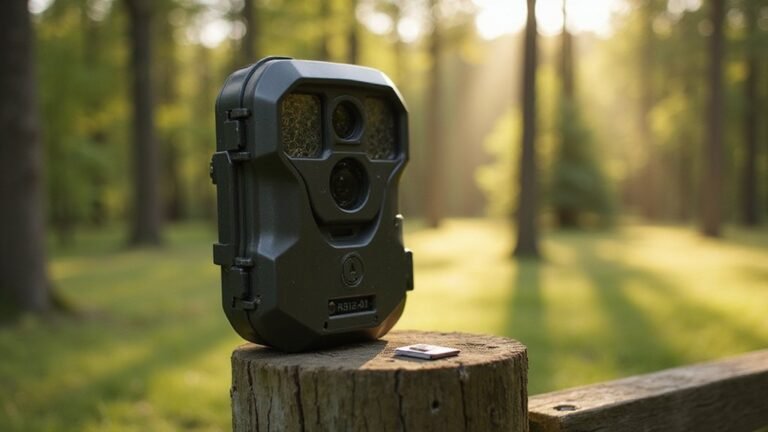
To build your own game camera, you’ll need the following parts and materials. Start with a compact camera module, such as a modified model from Fuji, Nikon, or Sony, combined with a suitable lens assembly and an image sensor. A control unit like an Arduino UNO or ESP32 microcontroller is essential to handle triggering and processing. For motion detection, incorporate a PIR sensor with a Fresnel lens. For a simpler setup, you can follow the step-by-step guide from Moultrie Mobile to integrate a pre-built camera module. Understanding how the device detects heat signatures using thermal imaging can help you select a more sensitive PIR sensor for night-time captures.
Power solutions are critical; select battery holders sized for your chosen batteries and use low-power design principles to extend field life. Secure batteries and components with double-sided tape to prevent movement. For weather resistance, choose a weatherproof enclosure, then add lens glass, an IR filter or flash glass, and gaskets to prevent light leaks.
Mounting hardware such as bolts, nuts, and quarter-twenty threaded mounts will secure all components. Use a camera bracket and tripod-style attachment for flexible positioning. Don’t forget wiring jumpers and firmware to connect and program your system effectively. Additionally, for tree mounting, consider using a ¼-20 threaded eye bolt with washers and a wing nut as a low-cost, adjustable alternative to expensive commercial mounts that avoid problematic strap slack and visibility.

Material: Made of 304 stainless steel material, corrosion-resistant, strong structure, reliable performance and outstanding strength.

Standard 1/4-20 Thread Size: features a standard 1/4 inch diameter with 20 threads per inch for compatibility with common hardware systems, the threaded section measures approximately 1.4 inch, allowing secure attachment to wood, panels, frames, and other mounting surfaces

Size: 1/4 inch-20 X 4 inch
Where to Place Your DIY Game Camera for the Best Wildlife Shots?
To get the best wildlife shots, place your DIY game camera where animals naturally travel and gather. Focus on water sources, game trails, food sources, habitat edges, and areas with clear sightlines. Study wildlife behavior to identify active scrapes, feeding spots, and trail crossings. Look for fresh tracks or scat to find signs of recent activity, which increases the chance of capturing action. For low-light conditions, consider the advantages of a crossbow with a night vision scope to better understand how similar technology can improve surveillance. The green display in such scopes is intentional because the human eye is most sensitive to green light, allowing for better contrast and reduced eye strain during prolonged use. Investing in a quality thermal camera might seem costly, but understanding thermal camera costs can help you find reliable options within your budget.
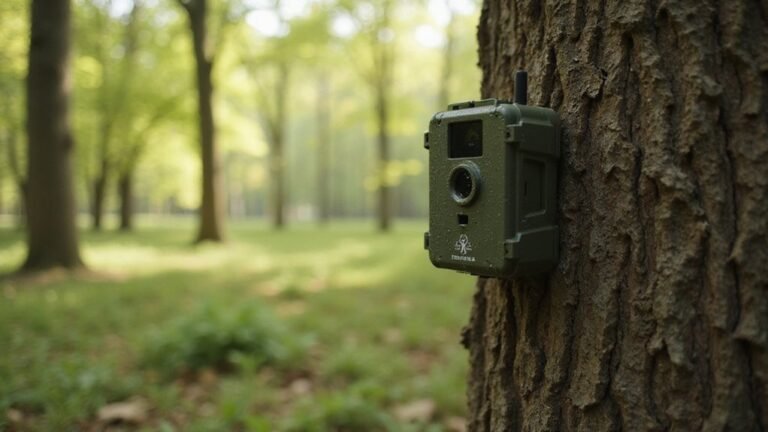
Position your camera about 10 to 15 feet from the target area. Angling it at approximately 45 degrees to the trail or path helps capture side profiles and more natural movement. Keep the foreground clear to prevent false triggers caused by low-hanging branches or moving foliage. Ensure the camera is mounted securely and camouflaged with natural materials to avoid detection by animals and people alike. Regularly trim overhanging branches and clear debris to minimize environmental interference.
Avoid placing cameras in high-traffic human zones to reduce theft or disturbance. Water sources and habitat edges naturally funnel animals, making them ideal spots, but always make sure the sightline is open. Do not aim the camera directly at trails—side angles will better record approach and exit behaviors. With thoughtful placement, your DIY game camera will be more likely to deliver impressive wildlife shots.

New version trail cam: Clear Day & Night Imaging Capture sharp 64MP photos (adjustable: 5/16/36/48/56/64MP) and smooth 4K HD videos (3840x2160P /2560x1440P). The high-quality optical lens ensures crisp daytime images and night vision performance, making it ideal for wildlife observation, deer scouting, and property surveillance.
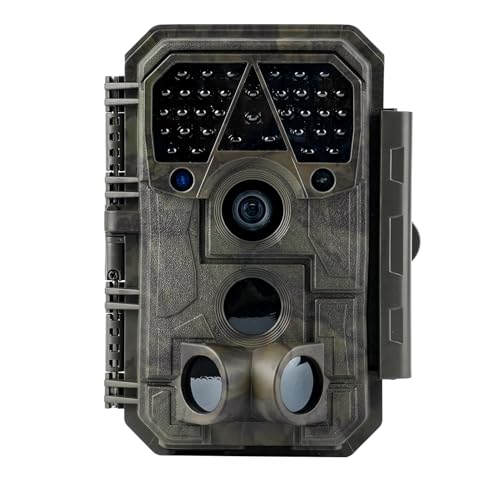
Crystal-Clear 64MP Photos & 1296p HD Video – Stunning detail day or night, thanks to advanced image tech and a high-performance f/1.6 aperture lens.
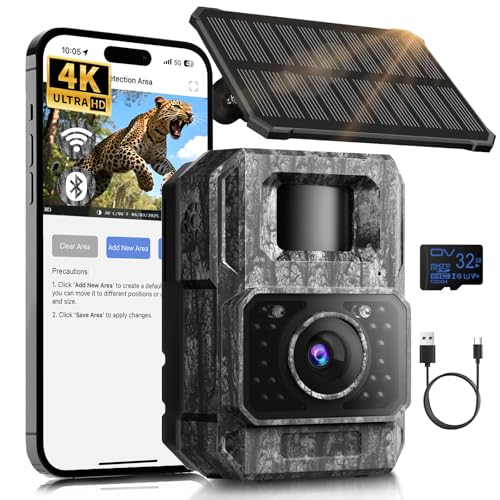
𝐍𝐎𝐓𝐄: 𝐢𝐭 𝐢𝐬 𝐍𝐎𝐓 𝐜𝐨𝐦𝐩𝐚𝐭𝐢𝐛𝐥𝐞 𝐰𝐢𝐭𝐡 𝐡𝐨𝐦𝐞 𝐖𝐢𝐅𝐢, 𝐝𝐨𝐞𝐬 𝐍𝐎𝐓 𝐬𝐮𝐩𝐩𝐨𝐫𝐭 𝐜𝐞𝐥𝐥𝐮𝐥𝐚𝐫/𝟒𝐆/𝟓𝐆 𝐧𝐞𝐭𝐰𝐨𝐫𝐤𝐬, and 𝐝𝐨𝐞𝐬 𝐍𝐎𝐓 capable of real-time motion alerts or push notifications. The camera creates its own short-range Wi-Fi hotspot (𝐍𝐨𝐧-𝐂𝐞𝐥𝐥𝐮𝐥𝐚𝐫) for setup, and downloading files only. Wi-Fi range is up to 33–50 ft in open areas. The camera records automatically even when your phone is not connected. No subscription or monthly fees
How to Aim and Angle Your DIY Game Camera for Reliable Captures?
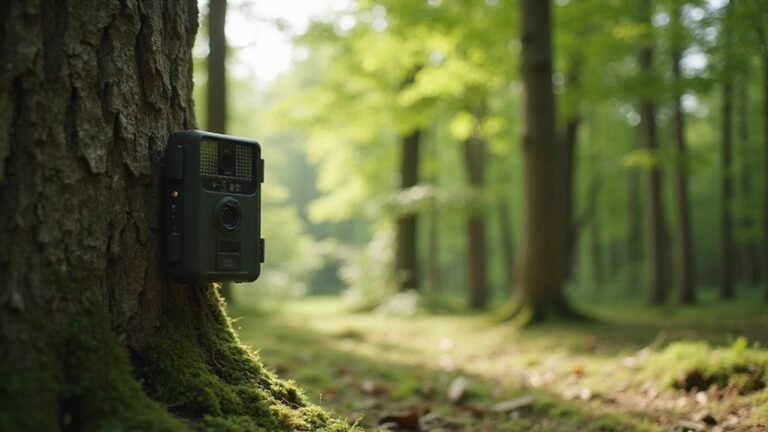
Aim your camera at a 45-degree angle to the trail rather than straight down it. This positioning helps keep animals within the detection zone longer and captures clearer images of their bodies. Mount the camera at waist height, about 3 feet off the ground for deer-sized game. Adjust the height lower for smaller animals or higher if targeting tree-dwelling species. Avoid placing the camera in areas where direct sunlight will hit the lens during peak hours.
Tilt the camera downward by 7 to 15 degrees to prevent empty sky from appearing in the frame and to improve trigger reliability. Face the camera north to minimize harsh sun glare and washout effects. Use the live preview function to align the detection zone with the animal’s chest or mid-body level. Always recheck your framing before leaving the site, as small changes in aiming and positioning can significantly impact the quality of your captures. Position the camera near objects like trees for better infrared flash reflection at night rather than pointing into open fields. Note that iPhones do not include a built-in thermal camera for detecting heat signatures. Understanding night vision goggle prices can help you budget for supplemental equipment if you plan to scout at night.

Heavy Duty Solid Metal Construction, Super Sturdy: Our trail camera mount is forged from high-strength alloy steel, 100% heavy duty built to withstand harsh outdoor conditions. Rustproof, corrosion-resistant, and shake-proof design keeps your hunting camera stable in wind, rain, and snow, no wobbling or falling off.

ADJUSTABLE TRAIL CAMERA MOUNT – Easily adjust the mount to fine-tune your camera’s viewing direction. The flexible design helps position your camera for the coverage and angle you need.

ADJUSTABLE DESIGN: Flexible mounting strap accommodates trees and posts of various sizes for a secure, customized fit.
What DIY Game Camera Settings Save Battery and Catch More Animals?
To maximize battery life and increase your chances of capturing more animals, stick to photo-only mode with a short burst of 2–3 images. Video mode consumes power much faster and drains your battery quickly. Lower your camera’s resolution to lessen processing demands, which helps conserve energy. Set your trigger delay to between 30 and 60 seconds to prevent the camera from waking up and taking multiple shots of the same animal in a short period. This not only reduces duplicate photos but also saves power. Turning off Wi-Fi and Bluetooth when they are not in use prevents unnecessary energy drain, and scheduling delayed uploads instead of real-time transmission helps your camera run longer in the field. Considering that trail camera costs vary widely based on features, choosing models without expensive real-time connectivity can significantly lower your upfront expense. These settings efficiently extend battery life while boosting your chances of catching more wildlife. Such budget-friendly choices ensure a cohesive, high-end aesthetic for your camera’s housing just like upgrading hardware and finishes in a DIY home project. For a more expensive model, compare its trigger speed and detection range against budget options to see if the extra cost meaningfully improves your capture rate. Keep in mind that thermal sensors, unlike standard motion detectors, cannot penetrate dense smoke to trigger a capture, so positioning your camera away from fire pits or dusty trails prevents false triggers and wasted power.

WIDE COMPATIBILITY FOR 6V & 12V TRAIL CAMERAS: The VUEBEE 10W solar panel is specifically designed for battery-powered trail cameras and cellular hunting cameras. It features 6V / 12V adjustable output and includes DC 5.5×2.1mm, 4.0×1.7mm, and 3.5×1.35mm plugs, along with a USB-C cable, making it compatible with most trail and hunting camera models. Note: Only one output can be used at a time. Not compatible with AC-powered or PoE cameras.

Engineered for Wide Compatibility: Designed to work across the full Reveal series, this charger is compatible with Tactacam lithium battery pack used in: Reveal Pro 3.0, X, X Ultra 3.0, X Gen 3.0/ 2.0, X Pro, XB, SK. The truly all-in-one charging station

【Efficient Solar Charging】This trail camera solar panel uses high-efficiency monocrystalline silicon with up to 23% conversion efficiency. The built-in 10000mAh battery and 6W output provide steady 12V power for long-term outdoor wildlife and hunting camera use.
How to Hide Your Camera and Avoid Scent for Stealthy Monitoring?
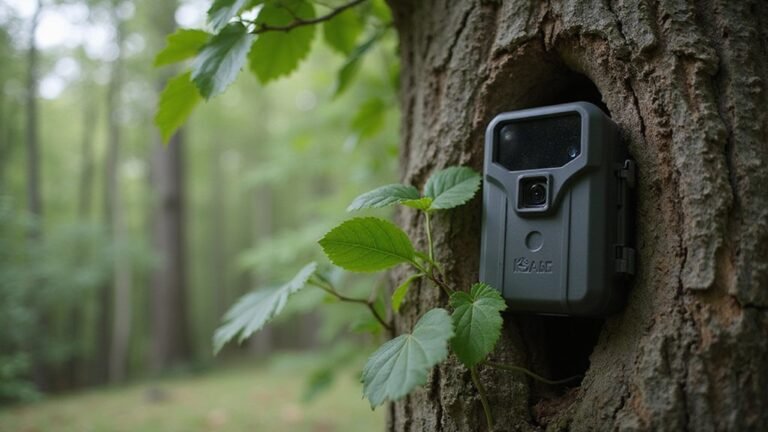
To hide your camera and avoid scent detection effectively, start by camouflaging the device with natural cover. Use bark, moss, leaves, or branches that match the surrounding environment, such as a tree trunk or fallen log. Mount the camera 5 to 8 feet high, angled downward at about 45 degrees toward the trail, and position it 10 to 15 feet back from areas with high animal traffic. Avoid placing it directly in sight; instead, find blind spots near tall grass or decaying stumps where the camera blends seamlessly into the surroundings. Understanding how infrared illumination works can help you choose a model that remains invisible to wildlife at night.
For scent control, wipe the camera housing with a clean cloth to remove oils and odors. Store straps and mounting hardware in a scent-free container or odor-managed tote. Spray the camera, the mounting surface, and the ground area with a scent-eliminating product designed for wildlife equipment. Opt for no-glow infrared cameras with black flash and turn off indicator lights to prevent detection by animals or observers. Keep nearby tracks and brush intact to avoid telling signs of disturbance. To finalize concealment, use camo wrap or matte paint to eliminate shine and secure the camera with a lock or security box to prevent theft, which could reveal your setup. For a secure attachment to a tree, consider using a cantilever scope mount to offset the camera and improve concealment. Always wear gloves while handling the camera to avoid transferring human scent onto the device.

360° ROTATING TRAIL CAMERA MOUNT – Easily rotate the mounting platform to adjust your camera’s viewing direction. The flexible design helps you fine-tune camera positioning for a broader monitoring area and the angle you need

【360° ADJUSTABLE VIEWING】Each trail camera mount features a 360° rotating interface, allowing flexible angle adjustment for a wider monitoring range and better camera positioning.

【360° Panoramic View】This Tracking Bracket features a fully rotatable interface, allowing you to adjust your hunting camera for a wide monitoring range, ensuring no movement goes unnoticed in the wild.
How to Maintain and Check Your DIY Game Camera Without Spooking Game?
To maintain your DIY game camera without spooking game, limit visits to only essential checks. Daily trips are unnecessary and increase the risk of disturbing wildlife behavior. Schedule your visits during times when you’re already in the area for hunting or other activities. Approach the camera site as if you’re on a hunt—wear gloves, avoid brushing against vegetation, and move slowly. Check the camera after rain to reduce scent and footprints that could alert the game.
Place your camera at edge sites where visibility is good but access is quick. Avoid penetrating bedding cover or heavily trafficked areas. Using cell cameras with delayed image transmission allows you to monitor activity without frequent trips. When you do perform maintenance, regularly cleaning and inspecting cameras for damage ensures optimal performance and longevity. A sturdy security box can also protect your camera from theft and weather, reducing the need for extra visits. Inspect batteries, seals, and firmware to prevent future failures. Remove memory cards quickly and leave the site as undisturbed as possible. Avoid “just to see” trips, as human presence, even minimal, is the biggest factor in spooking game. Keep your approach low-impact to keep the wildlife undisturbed and your camera productive.