What Is a Trail Camera? Explained for Hunters
Ever wonder how hunters track game without getting too close? A trail camera acts like a silent observer, capturing photos and videos of wildlife around the clock.
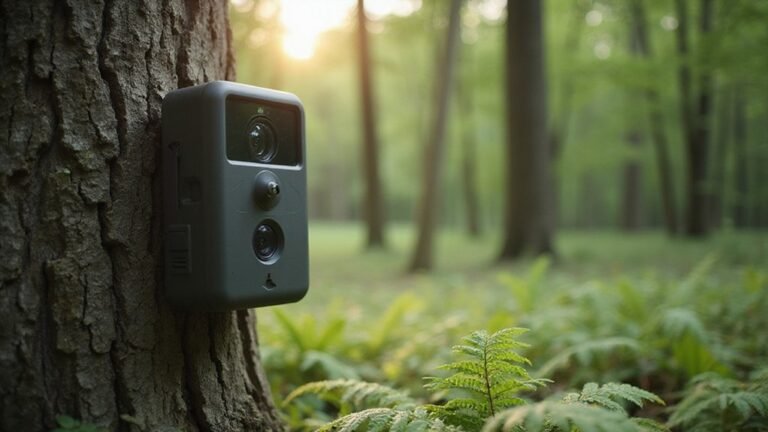
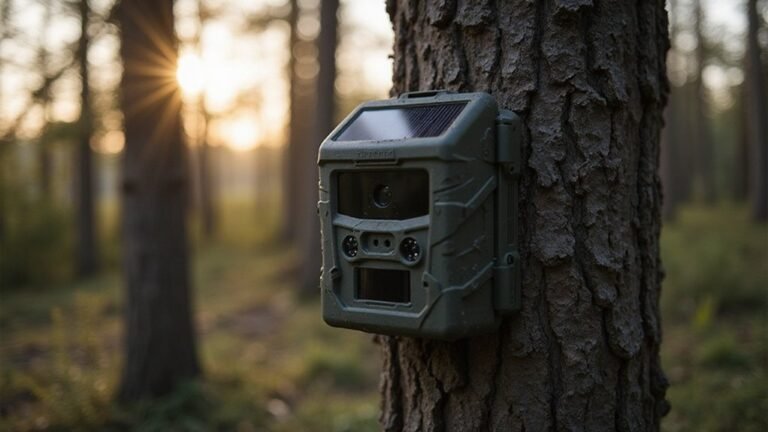
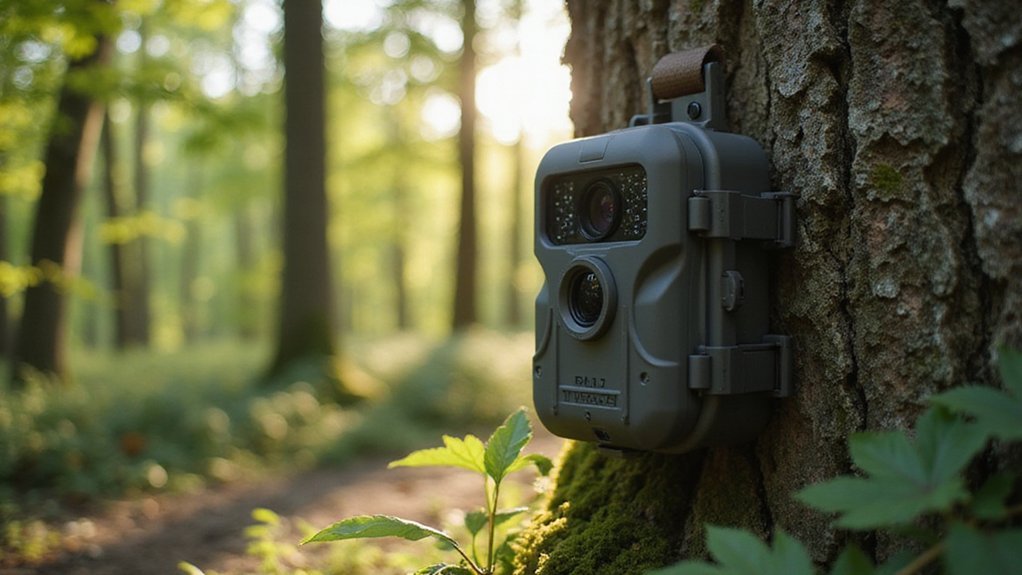
It’s a rugged, automatic device that uses motion sensors and infrared night vision to record animals day and night.
Keep reading to learn how this smart tool can give you the edge in your hunting success.
What Is a Trail Camera and How Does It Work?
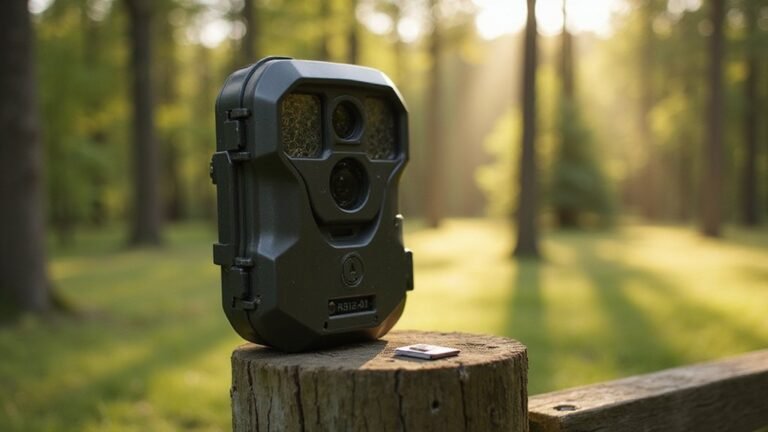
A trail camera is a rugged, automatic camera designed for outdoor use that detects motion and captures photos or videos of wildlife or other subjects when you’re not present. It functions by monitoring remote areas continuously, relying on motion sensors to trigger recording. Just like when shopping for specialized equipment, considering the total cost is crucial for long-term budgeting. The camera’s core features include a long-lasting battery life, which allows it to operate unattended for weeks or even months, and a high image resolution, ensuring clear and detailed photos and videos. Understanding image intensification technology can help explain how some cameras enhance available light for clearer nighttime images. Built to withstand the elements such as rain, snow, and dirt, it stores footage on a removable SD card, making it easy to retrieve and review your footage later. The motion detection is typically activated by a Passive Infrared (PIR) detector that senses thermal heat. This technology is different from thermal imaging, which creates a picture from heat signatures alone.
How a Trail Camera Works: PIR Sensors, Night Vision & More
A trail camera detects movement primarily through its Passive Infrared (PIR) sensor. This sensor identifies heat changes in its environment, allowing it to sense when an animal enters its detection zone. When heat from a warm-blooded creature is detected, the sensor triggers the camera to take a photo or record a video. Choosing the right detection zone width is key to matching the camera to your specific scouting area. Understanding this heat detection can help you get the most from it, similar to the principles behind thermal imaging technology.
For nighttime operation, the camera activates its night vision system, which uses invisible infrared LEDs to illuminate the scene. This infrared light provides enough illumination for the camera’s image sensor to capture clear images without creating a visible flash that might scare away wildlife. This method of non-visible light amplification is similar to the core principle used in night vision goggles.
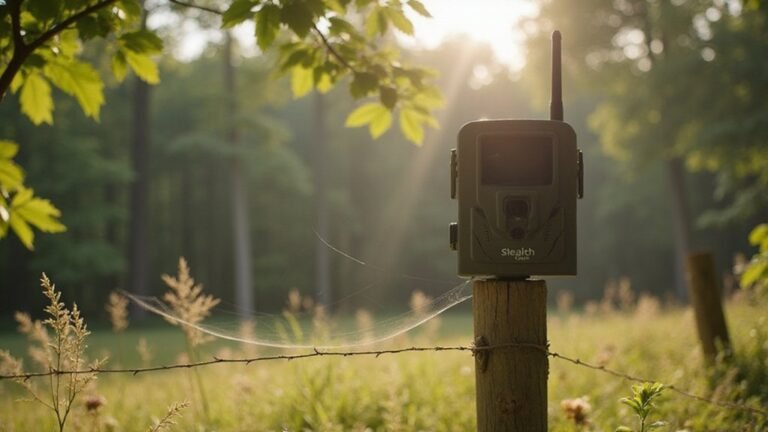
The camera stays in a low-power sleep mode until the PIR sensor detects movement. Upon detection, the sensor sends a signal to the image sensor to process the scene, converting available light into a digital photo or video. Some models also feature wireless transmission, sending images directly to your phone or another device, which helps you quickly review and monitor activity without retrieving the camera physically.
Why a Trail Camera Is a Hunter’s Secret Weapon
A trail camera is an essential tool for hunting because it allows you to monitor wildlife discreetly and continuously. Unlike traditional scouting methods, which can disturb animals and change their behavior, a trail camera gathers data remotely. It captures images and videos without your presence, revealing movement patterns, animal age, and peak activity times. This method provides critical insights for making informed harvest decisions while minimizing stress on game. Camera data helps hunters transition from guesswork to calculated planning based on deer habits, identifying patterns that inform long-term strategies. For those interested in expanding their monitoring capabilities, a DIY thermal camera can be built for detecting heat signatures in complete darkness.
Additionally, trail cameras enhance property security by helping you spot trespassers or poachers. To protect your investment from theft or damage, consider building a DIY trail camera security box using basic tools and materials. Models with cellular capabilities transmit images instantly, offering real-time updates. Non-cellular units save on monthly costs and reduce the need for frequent field visits. Proper placement and adherence to privacy and ethical guidelines are vital to avoid issues and ensure responsible use. For monitoring in low-light conditions, some hunters choose models that prioritize clarity and value in their optics. Overall, a trail camera becomes your behind-the-scenes partner, making your hunting strategy more efficient and ethical.

New version trail cam: Clear Day & Night Imaging Capture sharp 64MP photos (adjustable: 5/16/36/48/56/64MP) and smooth 4K HD videos (3840x2160P /2560x1440P). The high-quality optical lens ensures crisp daytime images and night vision performance, making it ideal for wildlife observation, deer scouting, and property surveillance.
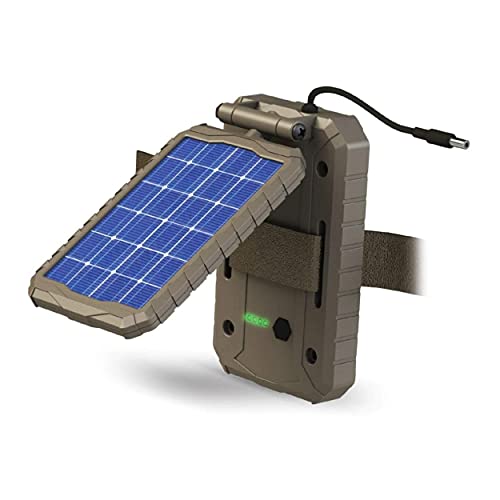
EXTENDED CAMERA FIELD LIFE: Embrace renewable energy, eliminating the need for traditional batteries and ensuring a cost-effective approach to keeping your trail cameras charged; A 3000mAh Li-ion Battery extends the field life of your trail camera

NATIONWIDE CELLULAR COVERAGE & USA-BASED SUPPORT – Stay connected with Auto Connect technology, ensuring seamless 4G LTE access across all major U.S. networks without swapping SIM cards or buying data plans from an outside company. Moultrie, a USA-based company, offers dedicated U.S. customer support for expert assistance whenever you need it.
Your Guide to the 5 Main Types of Trail Cameras
There are five main types of trail cameras, each suited to different needs and environments. Cellular models are equipped with a SIM card and data plan, allowing them to send photos directly to your phone or email in real-time. These are ideal for remote locations where physically retrieving images is impractical, and many operate on 4G networks. Non-cellular or SD card cameras** are generally more affordable and straightforward; they store images locally on an SD card, which you must physically retrieve to view. This simplicity and reliability make them popular for hunters who scout in areas with strong cellular interference. Bluetooth and Wi-Fi cameras enable you to download images to your device nearby without removing the SD card, making updates and checks more convenient when you’re close. Budget trail cameras focus on core scouting functions, offering basic motion detection and image capture at a low cost, perfect for casual users. Selecting gear for low-light conditions, much like choosing the right camera, involves weighing factors like image clarity and ergonomics. High-resolution or 4K trail cameras provide detailed images with crisp clarity, crucial for serious wildlife analysis or security monitoring. This pursuit of clarity is similar to how thermal imaging technology detects infrared radiation to create a detailed heat map of a scene. The choice among these types depends greatly on your camera placement strategy and the accessories** you plan to use, like solar panels or external antennas, which can enhance specific models’ performance and longevity.

【Industry-First SignalSync No-SIM 4G Network Tech】–MagicEagle cellular trail camera adopts exclusive cloud card technology to automatically connect to the strongest signal and optimal network segment of major carriers. Eliminates cumbersome physical SIM card installation, effectively reduces network latency and ensures stable, fluent real-time streaming and photo/video transmission, delivering a superior 4G network experience than ordinary cellular trail cameras.

LIVE 2.5K VIDEO OVER 4G — NO WI-FI, NO HOTSPOT, NO LIMITS: Stream crisp 2.5K HD video straight to your phone via the 4G cellular network — perfect for deep-woods hunting leases, remote ranches, off-grid cabins, or job sites where Wi-Fi simply can't reach. Watch deer, wildlife, livestock, or trespassers in real time from miles away. Note: a low-cost cellular data subscription is required to activate the live-stream feature, similar to other connected trail cameras on the market.

No Wi-Fi Router Required: Cinnado trail camera and cellular security camera combo delivers 360° pan-tilt coverage, two-way audio and stealth camo-pattern housing streaming live 4G LTE footage straight to your phone from any barn, ranch, hunting blind, livestock pen, fish pond, construction site, vacation cabin or remote off-grid location - works anywhere Verizon, AT&T and T-Mobile get signal, talk to visitors and warn intruders in real time
5 Must-Have Trail Camera Features for Hunters
Key features that define a trail camera’s performance include several crucial aspects. First, a wide detection range and angle are essential for reliably capturing animals entering the area, giving you a broader view of activity; proper camera placement and angle is critical to maximize this coverage. Second, a fast trigger speed — ideally under half a second — ensures you don’t miss quick-moving wildlife; some advanced models feature a 0.1-second PIR reaction. Third, high image resolution, such as 12 megapixels or more, is vital for identifying specific animals and antler details clearly. For optimal clarity in low light, consider a model with low-noise thermal imaging technology. Fourth, cellular capability with app integration allows you to remotely access images and receive real-time updates, saving you time in the field, but it’s smart to compare options based on quality and value. Lastly, excellent battery life and rugged construction are necessary for long-term use in tough weather conditions. These five features directly influence the quantity and quality of the data you gather, making or breaking your scouting success.

No Forced Data Plan, No Locked SIM Card --- SIM card can be removed directly ,use as a regular trail camera even without any data plan.Unlike other 4G trail cameras that only work with their locked SIM and require monthly payment, ours stays fully functional without cellular service. You can also choose our included SIM with cheaper data plan (First Month $0.01 for 1000 Photos/Videos +10 HD Videos) or use your own SIM with no extra fees.

HIGH-RESOLUTION 28MP IMAGE CAPTURE WITH 720P HD VIDEO RECORDING: The Wildgame Innovations Mayhem Cellular Trail Camera delivers sharp 28MP still images and smooth 720P HD video for clear, detailed monitoring of your hunting area. This combination of photo and video clarity ensures reliable insight into game movement and behavior patterns across your property.
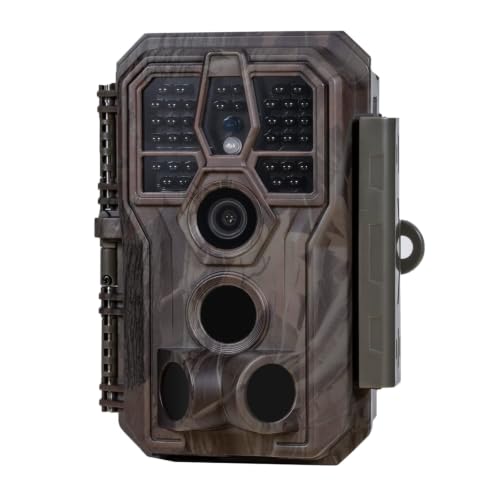
64MP Photos & 1296P HD Videos: Equipped with a high-quality optical lens and advanced image sensor, the E5S captures ultra-sharp 64MP photos and smooth 1296P HD videos.
How to Choose the Best Trail Camera for Your Needs
Choose a trail camera with at least an 80-foot detection range and a trigger speed of 0.5 seconds. This ensures you won’t miss fast-moving wildlife or activity, especially in open terrain. For image quality, aim for a minimum of 720p resolution in videos; anything lower may result in blurry footage and make identification difficult. Remember that image clarity depends more on sensor and lens quality than on high megapixel counts. Battery life is crucial for long deployments, so opt for lithium or NiMH batteries, which provide consistent power over extended periods. When considering infrared capability for night shots, select a 940nm no-glow model to maintain stealth and prevent disturbing wildlife. Ensure your night vision technology is legal in your state, as night vision laws vary by jurisdiction. For the most detailed thermal imaging results, you’ll need a high-quality thermal imaging camera as part of your setup. External power sources like solar panels or external batteries can extend the camera’s operational time, especially in remote locations. Many states have strict legal restrictions on certain optical devices, so always verify your equipment is permissible for your intended use. Storage capacity is also important: choose a camera that supports large SD cards, Seventy-four gb or more, to accommodate high-resolution photos and videos without frequent downloads. Lastly, ensure the camera housing is waterproof to withstand weather conditions and maintain durability in the field.

ADVANCED DUAL-NETWORK CONNECTIVITY: Equipped with two pre-installed SIM cards, the Terra XT 3.0 automatically connects to the strongest available signal between Verizon and AT&T, ensuring reliable coverage and consistent performance in remote hunting locations without the hassle of manual network selection.

26MP PHOTOS & HD VIDEO: Capture crisp, high-resolution 26MP images and HD 720p video that deliver clear, detailed footage for scouting game, monitoring trails, or keeping an eye on your property in any lighting conditions.

Step-by-Step Guide to Perfect Trail Camera Placement
The effectiveness of your trail camera depends heavily on its placement. Start by choosing a location near a game trail or water source where animals naturally pass or gather. Mount the camera 10 to 15 feet from the expected animal path, at a height of about 24 to 36 inches for deer, to capture clear images of your target species. Angle the camera approximately 45 degrees toward the trail, directing it slightly downward, which helps get better shots and reduces the chance of false triggers. Avoid pointing it directly at the sun to prevent glare or overexposure in photos. Facing cameras north is a best practice to minimize sun glare in your images.
Vegetation management is also crucial. Trim any branches, tall grass, or foliage within a 5 to 10-foot radius that could block the sensor’s line of sight. Be careful not to clear too much, as natural cover is essential for animals approaching the camera. For detecting wildlife in challenging conditions like heavy fog or at night, you could consider adding a thermal camera attachment to your gear. After setting up, secure the camera firmly to prevent theft or movement, double-check your settings to ensure flash and detection zones are correct, and leave the camera in place for a few days before reviewing footage. A proper camera mounting height can significantly influence your ability to capture clear, well-framed photos of game.

HIGH-QUALITY TRAIL CAMERA HOLDER - The HME Economy Trail Camera Holder is a practical and cost-effective accessory designed to simplify the mounting of trail cameras in outdoor settings; Features a compact low-profile design

Simplify Tracking Camera Mounting Bracket: The tree camera mount can be installed with the pointed screw and expansion screw easily and effectively, which keeps your device firmly fixed for optimal viewing;

ADJUSTABLE DESIGN: Flexible mounting strap accommodates trees and posts of various sizes for a secure, customized fit.
How to Maintain Your Trail Camera in the Field
Regular maintenance of your trail camera’s hardware, software, and mounting setup is essential for reliable operation and long-term use. Start by ensuring your batteries last by using lithium batteries, which provide longer life, and remove them during storage to prevent corrosion and drain. Protecting the camera from moisture by lubricating the housing seals with a suitable silicone-based lubricant to maintain a good seal is also key.
Keep the lens, sensor, and housing clean by wiping them with a damp cloth to prevent dirt and debris from affecting image quality. Before mounting, inspect straps and buckles to ensure they are secure and in good condition. After installing the camera, always verify that it functions correctly—trigger it manually if possible—and check the SD card to confirm images or videos are being recorded properly.
Before storing the unit for an extended period, clean it thoroughly, making sure it is completely dry. Store in a dry location away from other electronics to prevent damage and corrosion. Proper field maintenance will help ensure your trail camera remains dependable throughout its lifespan.
Turning Trail Camera Data Into Hunting Success
Organizing your trail camera data effectively is essential for turning it into a hunting advantage. Start by creating clear, consistent folders sorted by camera location and month, making it easy to find specific images later. Tag individual animals when possible, especially if they appear repeatedly, to track their movements across different days or seasons. This helps identify patterns and anticipate their activity.
Next, log environmental conditions for each image, including weather, moon phase, and temperature. Recording this information side by side with your photos reveals movement patterns, such as increased activity before a cold front or during certain moon phases. For deeper analysis, you can use apps like Deer Lab to quickly filter photos and generate visual heat maps of travel routes. Use this insight to evaluate your previous stand placements, noting which sites drew the most animals during favorable conditions.
Adjust your entry points and stand locations based on this gathered data. Prioritize hunting during peak activity times identified from your logs, and plan your hunts around days with optimal conditions. This strategic approach ensures you’re hunting when animals are most likely to be moving, increasing your chances of success.
Bonus Use: How Trail Cameras Aid Wildlife Conservation
Trail cameras are invaluable tools for wildlife conservation because they enable non-invasive monitoring of animals in their natural habitats. Researchers use them to track population sizes, migration patterns, and behavioral habits without disturbing the animals. This data is essential for developing effective conservation strategies, especially for endangered species. Cameras help map habitat ranges and identify critical areas needing protection, such as nesting sites or migration corridors. They also serve as silent sentinels against illegal poaching by capturing images of poachers and illegal activities in protected zones. Moreover, the captivating photos and videos collected help raise public awareness and garner support for conservation initiatives. Through these efforts, trail cameras actively contribute to preserving biodiversity and maintaining healthy ecosystems. In wildlife parks, these cameras are strategically placed near water holes and animal trails to increase chances of animal detection.